Million Dollar Bead Bracelet
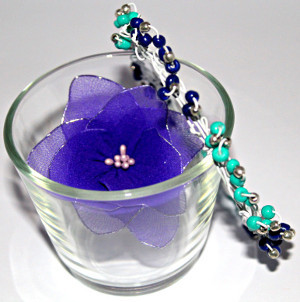
Making DIY beaded bracelets is so easy when you have pictures to help you along. This Million Dollar Bead Bracelet is simple to make with the useful tutorial that accompanies it. With just a few supplies, you can create a bracelet as personal as you would like it to be. DIY bead bracelets are beautiful to wear and to show off, which is what you will want to do as soon as this lovely bracelet is finished. Create a Million Dollar Bead Bracelet to feel like (and save) a million dollars.
Primary TechniqueBeadwork

Materials:
- 2 calendars/writing pads/binders with wire
- Chain nosed plier
- Beads of your choice
Instructions:
- Pull off the binders from the calendar or writing pad. This will be your wire for your bracelet. You will require two of these and the length of each should be twice the size of your bangle-size. The longer the length of the wire the better.

- Pull the wire from both ends and straigthen it roughly with your finger-tips just enough for the beads to slide through smoothly. Slide the beads.

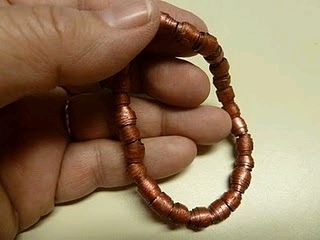
- Leave 2 inches of the wire and twist the first set of 3 beads as shown above. You may break the wire at this point so twist it very gently as the binder wires are very soft.
- Now twist the second set of 3 beads, again about 2 inches away from the first set.

- Likewise continue with the rest of the beads till you reach the end of the wire. Do the same with the other wire.
- Take one end of both the wires and using your chain nosed plier, gently twist them together.

- When you reach the beads, put the plier down and use you fingers instead to twist and tangle the wires together.
- As per your bangle-size, secure one end to the other and start rolling the wire to form a circular shape.

- Roll to form a circular bracelet till you reach the end.
- Secure the wire-end.
- Pull the beads outwards and gently try to tuck in the wires to shape it like a bangle.
Read NextMango Button Bracelet

