Foiled Dots and Buttons Tree Holiday Card
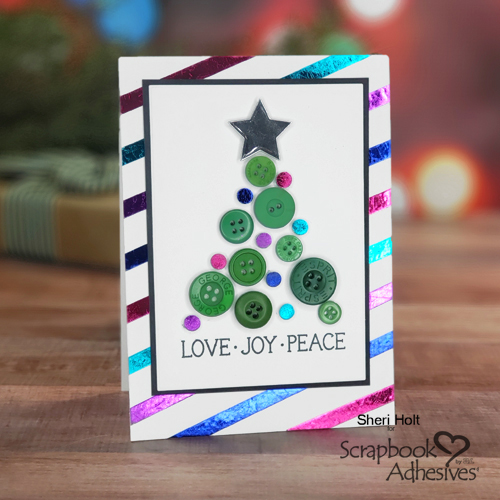
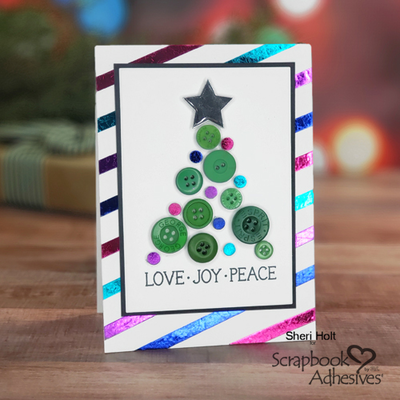
This is a very quick & easy card that brings adhesives out from behind layers to become the embellishments. This technique, Wear Your Adhesive on the Outside, extends your adhesive use to make something wonderful!
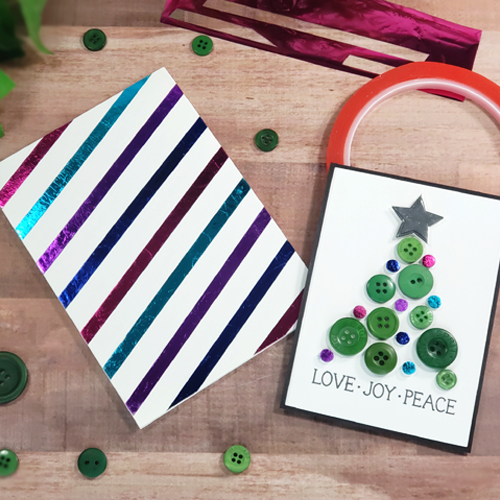
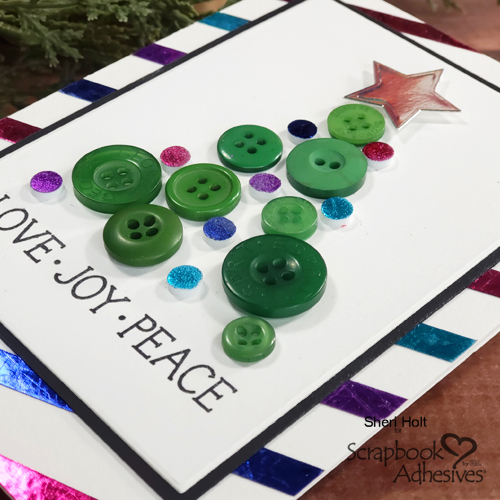
The foiled dots and buttons create an adorable holiday tree! It only takes a few ingredients for a one-of-a-kind card with lots of shine. Notice the background? It is matched with the holiday tree using adhesives and Metallic Transfer Foil Sheets in Variety Colors.
Materials List
- Scrapbook Adhesives by 3L®
- MyStik® Permanent Strips Dispenser
- Adhesive Dots – Small
- 3D Foam Circles Mix – White
- Metallic Transfer Foil Sheets Variety
- HomeHobby by 3L®
- Extreme Double-Sided Tape ¼ inch
-
Other
- Green Buttons; Star Shape Craft Die; Sentiment Stamp; Black Ink; White and Black Cardstock; Silver Mirror Cardstock
Foiled Dots and Button Tree Instructions:
-
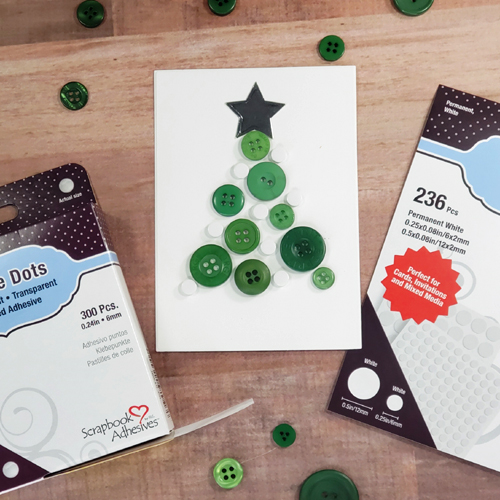
On a piece of 3 1/8 x 4 1/8-inch white cardstock panel, place various sized green buttons to form a tree.
-
Fill in the gaps of the tree with the small size of the 3D Foam Circles Mix in White until you get the desired shape. Simply remove the back liner to adhere and leave the top liners on.
-
Attach each button on the card panel by adding an Adhesive Dot Small on the back and replace in its position.
Foiled Striped Background Instructions:
-
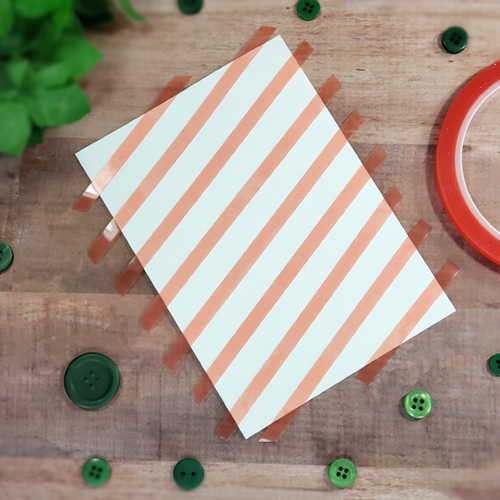
Diagonally apply strips of Extreme Double-Sided Tape ¼ inch to the front of a white A2-sized (4.25 x 5.5-inch) card base. Trim excess.
-
Using the same foiling steps as the 3D Foam Circles on the tree, foil each strip one by one.
-
Die-cut a star shape from a silver mirror cardstock and adhere above the tree with a large 3D Foam Circles Mix in White.
-
Stamp a simple sentiment in black ink at the bottom of the tree.
-
Cut black cardstock to 3.25 x 4.25-inch and mat the card panel.
-
Adhere the layered panel on top of the card base with the MyStik® Permanent Strips Dispenser.

