Ornate Ornaments Shaker Card
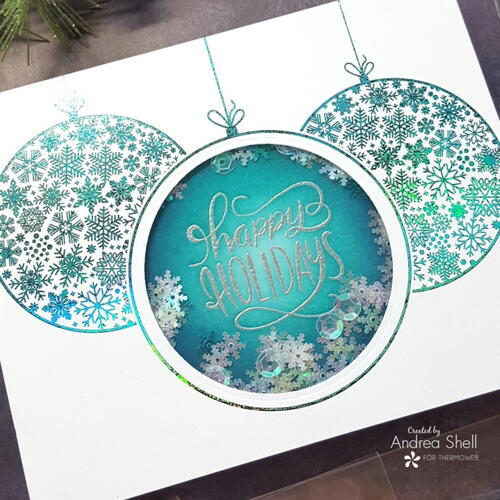
This holiday shaker card DIY is so pretty and festive!
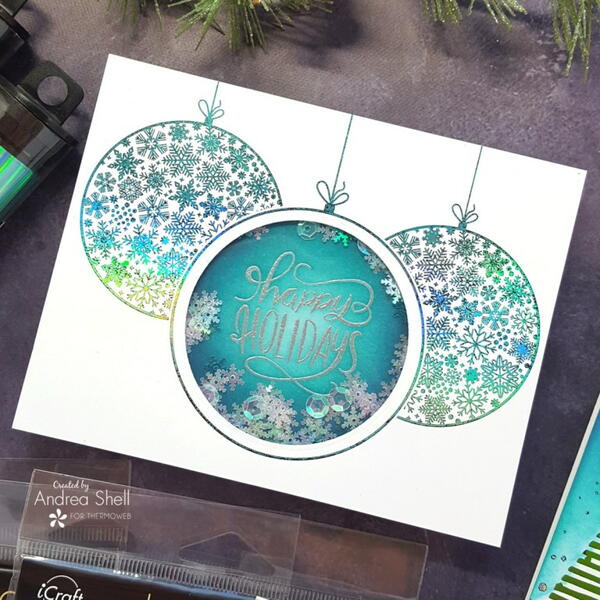
From Therm O Web: "Make holiday greetings sparkle with Deco Foil Unity Toner Card Fronts! The new winter-themed designs are festive, fun and easy to turn into beautiful holiday cards, like this frosty shaker card. You’ll also need a hot laminator and your favorite Deco Foil Transfer Sheets, now available in 70 dazzling colors."
Materials List
- White cardstock (Gina K. Designs): Heavy Base Weight, Layering Weight
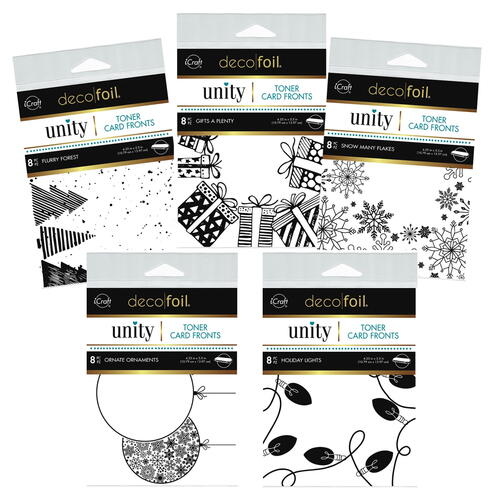
- Deco Foil Unity Toner Card Fronts, Ornate Ornaments (Therm O Web)
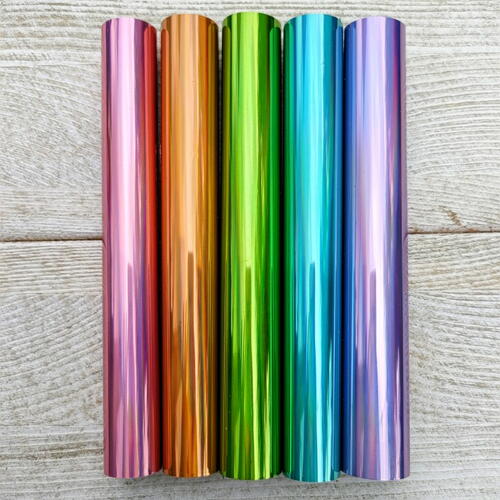
- Deco Foil Transfer Sheet, Glass Slipper (Therm O Web)
- Deco Foil Parchment Paper
- Unity Stamp Co. Glimmering Greetings Holiday Stamp Set (Therm O Web)
- Clear embossing ink pad and silver embossing powder
- Tim Holtz Distress Inks (Ranger): Peacock Feathers, Broken China, Chipped Sapphire
- Gina K. Designs Adhesives (Therm O Web): White Foam Tape, Terrific Tape
- iCraft Mixed Media Liquid Adhesive (Therm O Web)
- Clear acetate sheet or recycled packaging (for shaker window)
- Iridescent snowflake sequin mix
- Tools: hot laminator, die-cutting machine, circle die to fit open ornament, acrylic stamp block, embossing heat tool, ink blending brushes, soft lint-free cloth, anti-static embossing bag
Directions
Finished Size: 4.25”x5.5”
-
Remove a Unity Toner Card Front panel from the package and wipe with a soft lint-free cloth. Avoid touching printed areas with fingers. NOTE: Each package of Unity Toner Card Fronts contains eight toner-printed panels of the same design; there are five different holiday designs to choose from.
-
Cut a piece of Glass Slipper Deco Foil slightly larger than panel and place on top, color side up. NOTE: Glass Slipper is one of five new Fairytale Foils, vibrant pastels that color-shift to an opal-like iridescence when they move in the light, perfect for holiday cards.
-
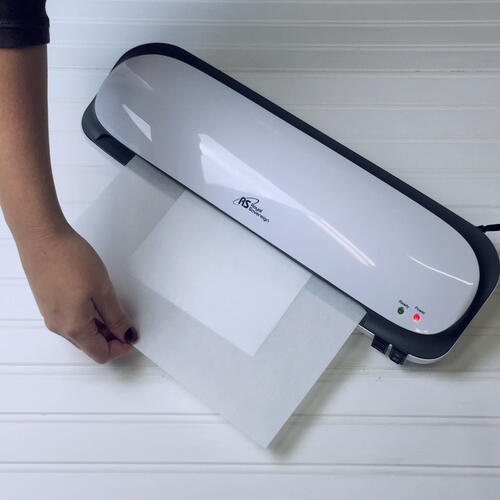
Place pieces inside a folded sheet of parchment paper and run through a hot laminator, leading with creased edge.
-
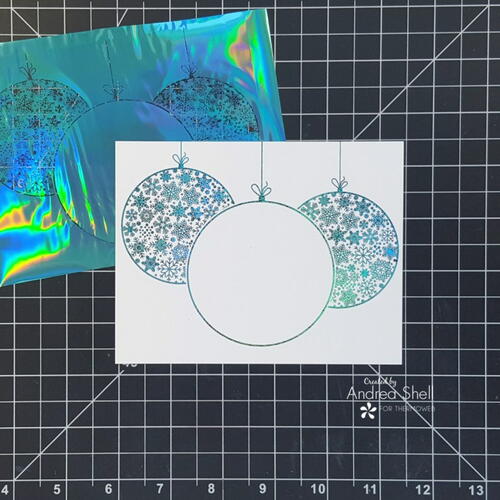
Remove transfer sheet to reveal foil finish.
-
Die cut a circle from the center ornament to create the shaker window opening. Trim a piece of clear acetate to fit behind opening and glue in place with iCraft Mixed Media Adhesive; let dry completely.
-
Apply a layer of Gina K. Designs White Foam Tape across back of entire ornament panel, framing the window opening with foam tape, as well. Be sure there are no gaps around the window. Lightly run anti-static embossing bag around inner edge of foam tape “frame” to prevent sequins from sticking once card is assembled.
-
Make a 5-1/2” x 4-1/4” top-fold card from heavy base weight cardstock and set aside.
-
Cut a 5-1/2” x 4-1/4” panel from layering weight cardstock. Rub anti-static embossing bag over center of cardstock. Use embossing ink to stamp sentiment onto center of panel; heat emboss silver.
-
Using blending brushes, blend Distress Inks onto panel, keeping color lighter in center to create dimension behind sentiment. Buff embossed words with paper towel to remove any pooled ink.
-
Carefully mound a small amount of sequins over sentiment and adhere foam-backed panel on top, capturing the sequin in the shaker window. Shake a few times to distribute sequins. Adhere completed shaker to card using Terrific Tape.
Read NextChristmas Present Gold Foil Card

