Prairie Point Christmas Tree
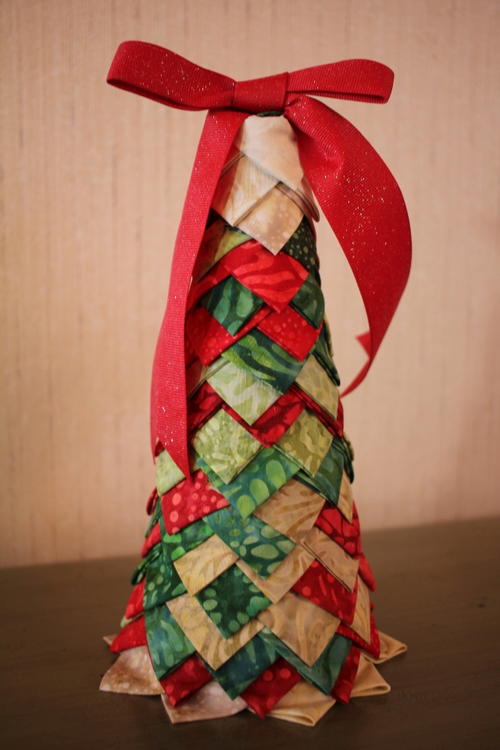
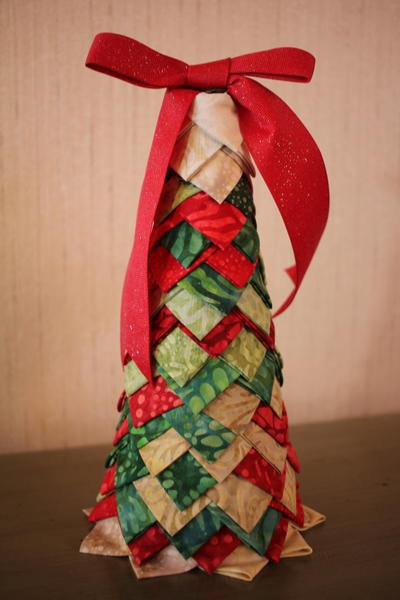
Learn how to make prairie points and become and expert in no time at all when you make the prairie point Christmas tree! This gorgeous project is a welcome Christmas decoration in any small space. If you have an end table you'd love to decorate at Christmas, or you live in an apartment or condo and need small space decorations, this is the perfect option. This beautiful project has a traditionally lovely aesthetic. Best of all, it can become an heirloom! Give it as a gift or pass it down for future generations.
Project TypeMake a Project
Materials List
- 5″ x 5" Fabric Squares
- Wonder Clips
- 3.8″ x 8.8″ Foam Tree Form
- Straight Pins
- Ribbon
Instructions
-
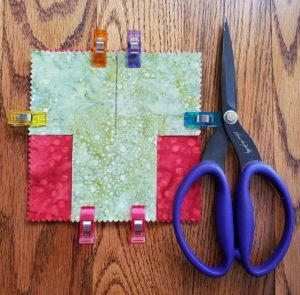
Make a cut in the middle (2 1/2″) of each 5″ fabric square stopping at the center.
-
On the opposite side, make a cut 1 1/4″ in from each side stopping at the center. Trim edge pieces off this side as shown above.
-
Clip several 5″ fabric squares together (four seemed about right) to speed up the cutting process.
-
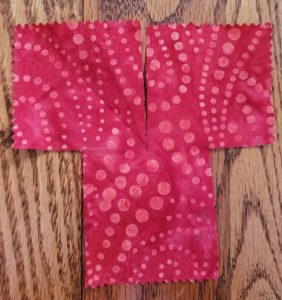
This is what the finished piece looks like…
-
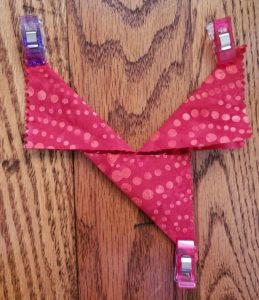
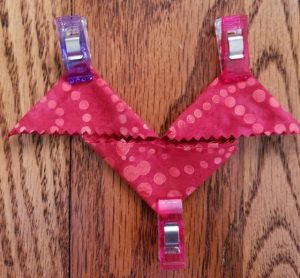
Fold each square diagonally into a triangle as shown.
-
Fold each triangle diagonally onto itself one more time to complete each Prairie Point.
-
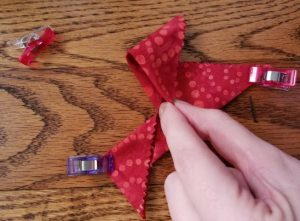
Use Wonder Clips to secure. Flip the middle triangle to join the other two in a row. Sew to secure if desired.
-
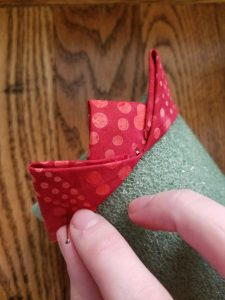
Pin the first row of Prairie points along the bottom of the foam cone. Line the valley of the points up with the bottom of the cone. Continue adding Prairie Points around the tree overlapping the sets.
-
Add a bow to the top and pin in place. Enjoy!

