Ribbed Brim Tutorial
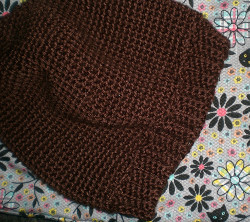
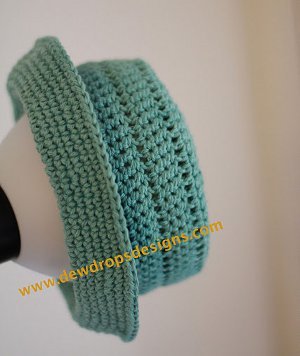
Learn how to attach the brim of a hat as you crochet it with this Ribbed Brim Tutorial. Create a ribbed effect that has stretch by crocheting in the back loop. You'll be amazed how much easier it is to make a hat with this clever crochet technique.

Instructions:
-
Finish off the body of your hat, or whatever else you're making. For me, I make hats in a spiral, so this involved slip stitching into to the first stitch of the round.

-
Decide how wide your brim will be. Chain an appropriate number of stitches, plus one for your turning chain. I wanted it to be six stitches wide, so I chained 7.

-
Skipping the first chain, single crochet your way down as you would normally do in the first row of any project.

-
Remove your hook from the loop (I pulled my yarn out more so the loop would stay in place. This is where you have to make decisions. If you decide to skip one stitch each time you join the brim to the body of the hat, the circumference (the distance around) of your brim will be about the same as your hat. If it's a teensy bit too loose, you can tighten it more by alternating skipping one with skipping two.
-
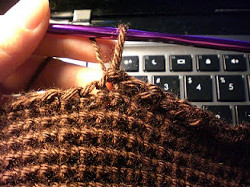
In any case, decide on your "pattern" of skipping. Now look carefully. The stitch where your work is attached is your starting point. I skipped one, so I put my hook through (from inside to outside, since the next row is worked with inside facing me) in the second stitch away. See image below.

-
Insert the hook back into the loop and pull it through.

-
Chain 1 for your turning chain and continue single crocheting as you normally would.

-
And after that, just continue! Finish this row, turn, work the next row, and again you will remove your hook, skip X number of stitches, and pull your loop through.

Read NextBeginner Granny Stitch Hat Pattern

