Star Spangled Banner
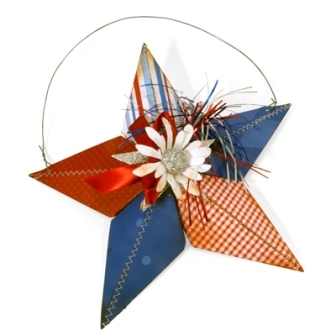
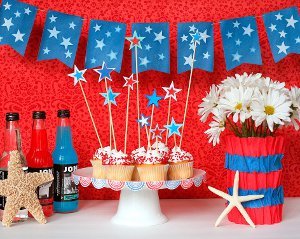
Create a star-spangled banner for quick and easy 4 of july decorating ideas. This 4th of July craft project by Chasity Gordon requires no sewing! Use fabric scraps for this no-sew craft.
Materials:
- Fabric- 5 white stars with heat and bond attached to the back
- Fabric- 2 @7x9 blue rectangles
- Fabric- 3@ 7x9 red rectangles
- 5 yards of bias tape( whatever you have will work I had 1/2 ")
- heat and bond lite
- iron
- chalk
Instructions:
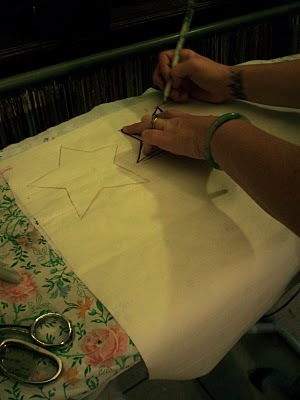
- Iron on heat and bond and cut out your pieces. I made paper patterns for all my pieces including a star. Also I used all scraps for these projects but you could definitely go for a more matching coordinated look.
- Lay out all your pieces
and arrange them in a most pleasing manner.
- Iron on your pieces.
- Pink the edges of your flags.
Use your pinking shears to trim up the three sides of your flags(leave the top side un-pinked.)
- Measure and mark your bias tape. I always eyeball everything first then I go back and measure and even everything out. Here are measurements I came up with. I start the flags on each side at 10" inside. Then I lay down a flag and measure 8 " and repeat till all your flags have a home.
- Attach flags to bias tape. Cut 5 strips of heat and bond 7"x ?" (?= the width of your bias tape mine was 1/2") and iron to the front top of each flag.
Then iron the flags onto the marked locations. The you can lay the bias tape flat or fold it over the top edge of your flags. If you want to fold it over I recommend using bias tape with adhesive already attached. or stitching it after you fold.
- You can make loops on the ends if you like or just pin through the bias tape.
Hang your bunting with handmade pride!
Find this project with 20 different 4th of July crafts in the 4th of July Crafts: Blogger Edition 2010 eBook.
Read NextAmerican Flag Afghan

