Mini Envelope Scrapbook
Turn envelopes into an artistic way to preserve memories with this mini envelope scrapbook project from Sandi Genovese. Once you learn how to make a scrapbook with this method, you'll never buy expensive albums again.
Materials:
- 4.75 x 6.5 inch envelopes (A6) – Kelly Paper
- Repositionable adhesive – 3L
- White Jelly roll pen – Sakura
- Patterned paper
- Stickers – Mrs. Grossman’s
Instructions:
- Select an even number of envelopes and connect them together by fastening the flap of one envelope to the back of the next envelope.
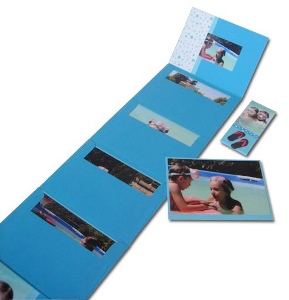
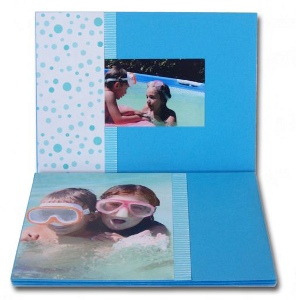
- Fill each envelope with photos, mounted onto sheets of card stock. Some envelopes may contain other souvenirs. It is important to do this now in order to see how thick the completed scrapbook will be.
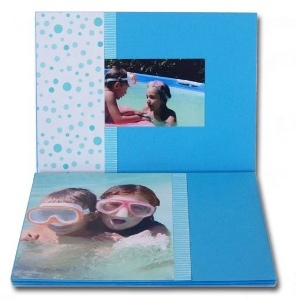
- Accordion fold the envelopes into a stack. Using a scoring tool, make a second fold on the flap of the final (top) envelope, so that it folds over the entire stack. Place adhesive on both sides of the flap and attach a card stock cover to both sides. The covers are the same size as the envelopes.
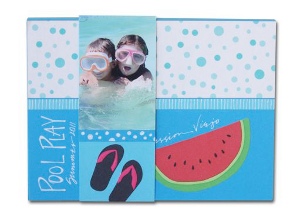
- Decorate the front cover with a band of patterned paper and a strip of striped paper, created with a white pen. Complete the cover with themed stickers and a handwritten title. Decorate the inside front cover with the same papers and a photo.
- Create a belly band with a two inch strip of paper that wraps comfortably around the completed mini book. Decorate the front of the belly band with a photo, patterned paper and themed stickers.
Read NextCoptic Stitch Bookbinding Tutorial

