Die Cut Windows Greeting Card
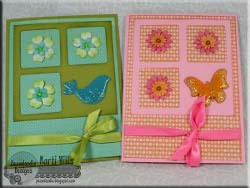
If you're looking for greeting card crafts, ideas for paper projects and more, look no further than this Die Cut Windows Greeting Card from Marti Wills. Add ribbons to the design for a multidimensional look. With this tutorial, you'll never need a store-bought card again.

Materials:
- Cardstock - 1 solid and 1 patterned
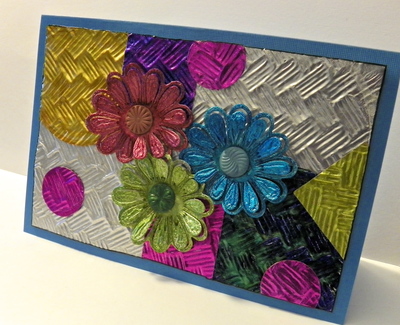
- Die cuts/embellishments (here I used flowers, liquid pearls for flower centers and chipboard shapes painted, glittered and covered with Glossy Accents.)
- Everywhere Window punch system and cartridge (square window used here)
- Ink and foam ink blending tool
- Ribbon
- Adhesive
Instructions:
-
Make card base from solid color cardstock, cut slightly smaller panel for card front from patterned paper. Ink the edges.
-
Tie ribbon around bottom of patterned panel and make a bow - adhere to card front.
-
Cut a 3 5/8” square from solid cardstock - place on the everywhere punch and place magnetic holder on top. Line up the corner of the paper with the 2nd grid lines in from the window and punch your first window. Move the paper so you line up the next window on the 2nd grid mark in and punch again - make 3 windows.
-
Ink the outer edges and adhere the window piece to the front of the card.
- Place your embellishments as shown.
Read Next64 Handmade Cards for Every Occasion
Your Recently Viewed Projects
lpalmer59 7490208
Mar 03, 2016
I think both of these cards are so cute and would be so easy for a group of children to do. This would be a great project to do with children on a day off of school to occupy them for an afternoon. No ink or paint involved so it would keep the mess down, and you could prep the cardstock for them or give them the cardstock and a punch and have them cut the squares. They could use glue does so there would be no mess with glue, so even easy clean up.
Report Inappropriate Comment
Are you sure you would like to report this comment? It will be flagged for our moderators to take action.
Thank you for taking the time to improve the content on our site.

