Floral Get Well Card
With this simply stunning design, you'll find out how to make a get well card that will have anyone feeling better in no time!
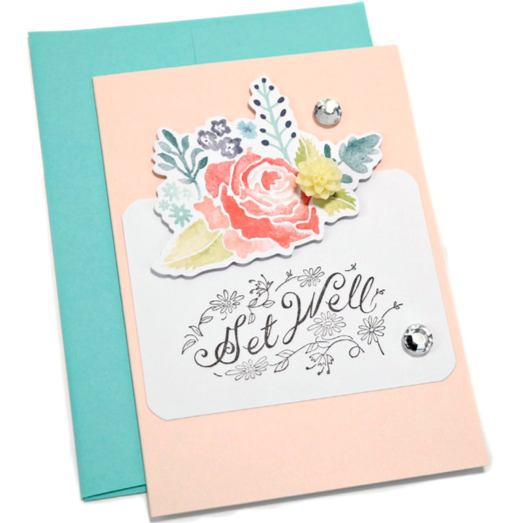
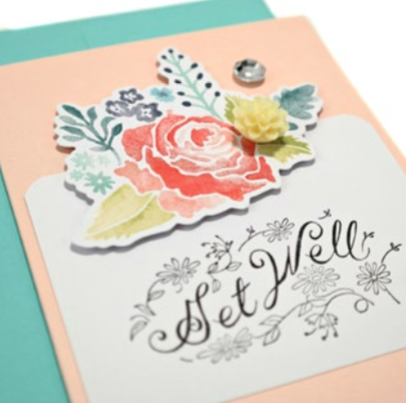
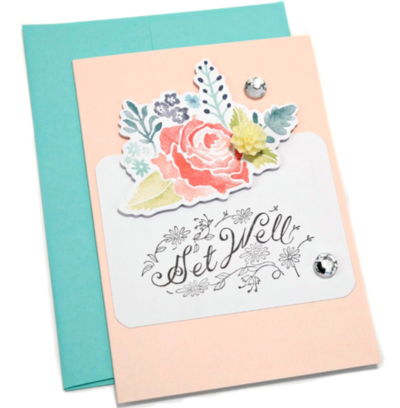
Everyone feels better knowing that they're thought of. Now you can learn to make a get well card that has a simple elegance that will brighten anyone's day. This floral card design from Scrapbook Adhesives by 3L uses a touch of rhinestone glitz, watercolor flowers, and a sophisticated cursive script to make the ultimate homemade get well card craft. Whether someone is recovering from surgery or getting over a cold, this lovely DIY card will do wonders for his/her health. Give the gift of wellbeing with a personalized touch using this easy-to-make stamp design.
Time to CompleteUnder an hour
Primary TechniquePaper Crafts
Project or Page SizeCard
Type of Paper UsedCardstock

Project TypeMake a Project
Materials List
- Scrapbook Adhesives by 3L® E-Z Runner® Permanent Strips Dispenser
- Scrapbook Adhesives by 3L® E-Z Runner® Ultra Strong Refill
- Scrapbook Adhesives by 3L® 3D Foam Circles White Mix
- Card and Envelope: Studio Calico
- White Journal Card: American Crafts
- Die-Cut: American Crafts
- Get Well Stamp: Great Impressions
- Permanent Ink: Tsukineko Jet Black
- Clear Rhinestones
- Resin Flower
Instructions
-
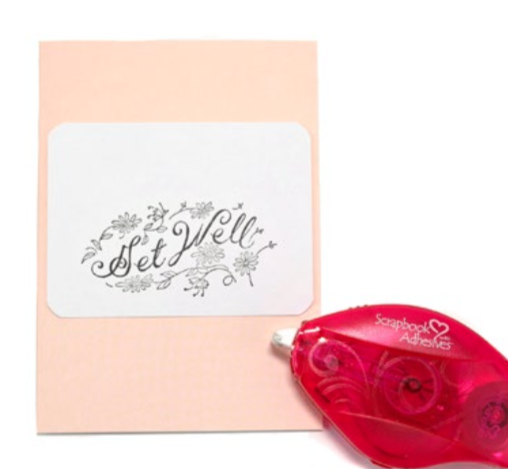
Use permanent ink to stamp a Get Well sentiment onto a white cardstock journal card.
-
Apply E-Z Runner® Ultra Strong adhesive onto the back of the stamped journal card and adhere it to the center of a blank 4 1⁄4 x 6-inch card base.
-
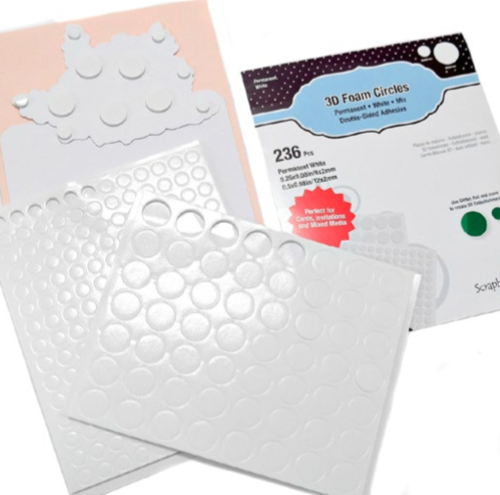
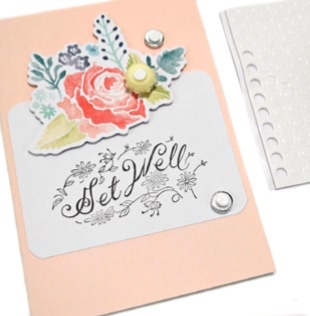
Apply 3D Foam Circles White Mix to the back of a floral die-cut. Remove the liners and press the die-cut onto the card so that it overlaps the top edge of the stamped journal card.
-
Add 3D Foam Circles White Mix small size to the back of rhinestones and a resin flower. Remove the liners from the back of the adhesive and press the embellishments onto the card as shown.
What is your favorite kind of card to make by hand? Let us know below in the comments!
Read Next64 Handmade Cards for Every Occasion

