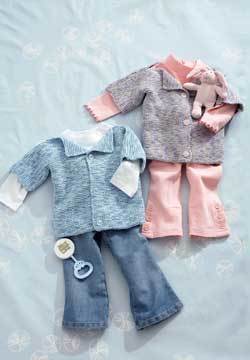
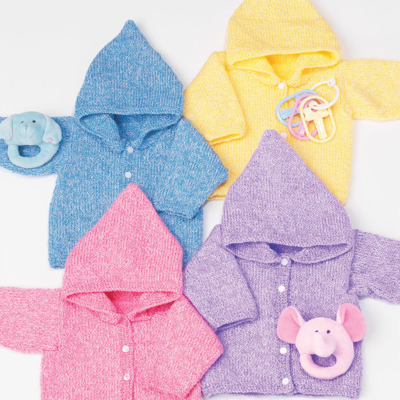
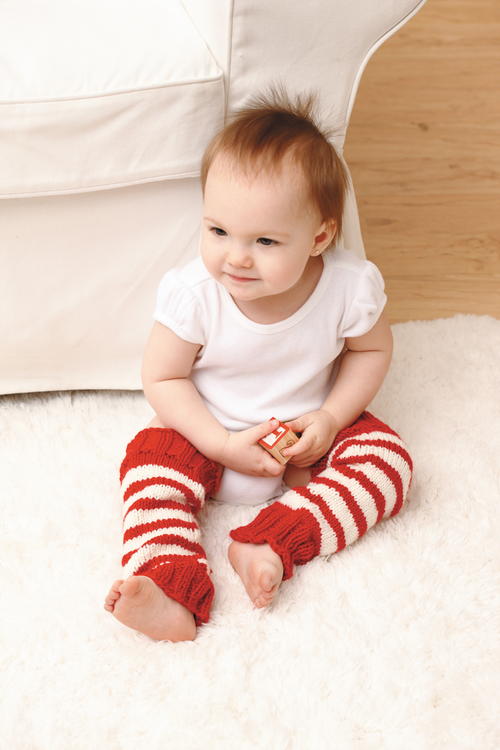
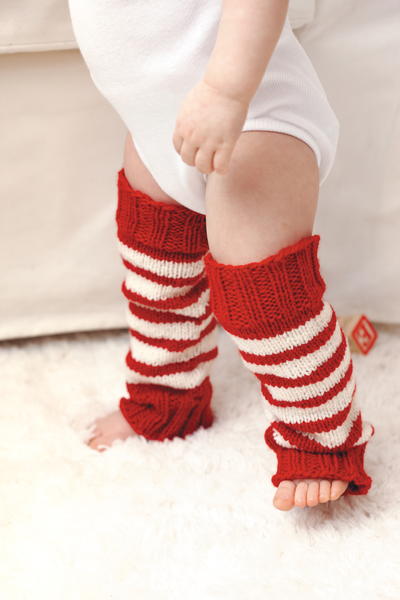
Candy Cane DIY Baby Leg Warmers
Dress your little one in these sweet candy cane knit baby leg warmers, and they'll be cozy all winter long!

If your baby is sweet like candy, your knitting should show it! With adorable red and white stripes, these Candy Cane DIY Baby Leg Warmers are the holiday-friendly accessory your little one will love all season long. Dress your little Sugar Plum Fairy or Nutcracker Prince in these winter-ready DIY baby leg warmers, and their legs will be snug during any snowstorm because of the medium-weight design. This free baby leg warmers knitting pattern is a cute craft perfect for any heartfelt Christmas gift. They're a cinch to knit, but they'll look like they were store bought.

Knitting Needle Size8 or 5 mm
Yarn Weight(4) Medium Weight/Worsted Weight and Aran (16-20 stitches to 4 inches)
GaugeIn stockinette stitch (knit one row, purl one row), 19 sts = 4'' (10 cm.)
Finished Size8-1/2'' circumference x 11-1/2'' long (21.5 cm. x 29 cm.)
Materials List
-
Medium weight yarn [3.5 ounces, 210 yards (100 grams, 192 meters) per skein]
- One skein in red
- One skein in cream
- Knook size H (5 mm.)
- Yarn needle
Instructions - Bottom Ribbing
With red, ch 42.
-
Pick up 41 sts on foundation ch: 42 sts.
-
Row 1: K3, P2, (K2, P2) across to last st, K1.
-
Row 2: P1, K2, (P2, K2) across to last 3 sts, P3.
-
Rows 3-12: Repeat Rows 1 and 2, 5 times.
Instructions - Body
-
Row 1: Purl across.
-
Row 2 (Right side): Knit across.
-
Rows 3-5: Repeat Rows 1 and 2 once, then repeat Row 1 once more; cut red.
-
Row 6: With cream, knit across.
-
Rows 7-10: Repeat Rows 1 and 2 twice; at end of Row 10, cut cream.
-
Rows 11 and 12: With red, repeat Rows 1 and 2.
-
Row 13: Purl across; cut red.
-
Rows 14-53: Repeat Rows 6-13, 5 times; at end of Row 53, do not cut red.
Instructions - Top Ribbing
-
Row 1: K3, P2, (K2, P2) across to last st, K1.
-
Row 2: P1, K2, (P2, K2) across to last 3 sts, P3.
-
Rows 3-12: Repeat Rows 1 and 2, 5 times.
-
Bind off all sts in pattern.
-
With right side facing and red, weave legwarmer seam
Abbreviations
- ch(s)
- Chain(s)
- cm
- Centimeters
- K
- Knit
- mm
- Millimeters
- P
- Purl
- st(s)
- Stitch(es)
- ( ) or [ ]
- Contains explanatory remarks
- colon (:)
- The number(s) given after a colon at the end of a row denote(s) the number of stitches you should have on that row
- right vs. wrong side
- On the finished piece, the right side of your work is the side that the public will see
What will you be knitting for your little one this holiday season? Let us know in the comments below!
Read NextSweet as Sunshine Baby Sweater
Your Recently Viewed Projects
Thanks for your comment. Don't forget to share!
mulberrygalprinces s
Aug 29, 2018
Don't you just want to hug this little one.? I read the directions and thank goodness they are easy because I haven't knitted in a while. But I have a little one in the North who will appreciate them when amwinter comes. Thank you for making a great, easy, cute project .
karensuewaldner 91 70666
Jul 10, 2018
am always making little slippers or hats for the little ones.
ridiculosity 67303 43
Jul 09, 2018
I don't have any little ones to knit for. But if I did, I'd probably be making them sweaters or hats.
Report Inappropriate Comment
Are you sure you would like to report this comment? It will be flagged for our moderators to take action.
Thank you for taking the time to improve the content on our site.