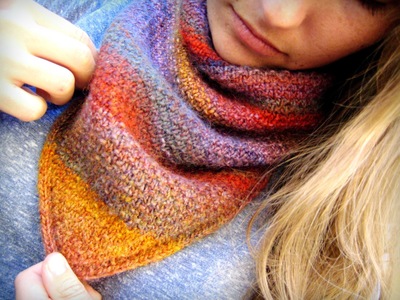
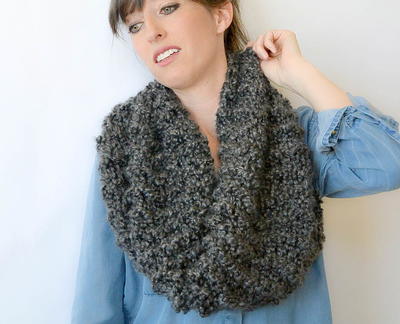
Knook Infinity Scarf Pattern
Learn how to knook and make a stunning infinity scarf pattern at the same time.

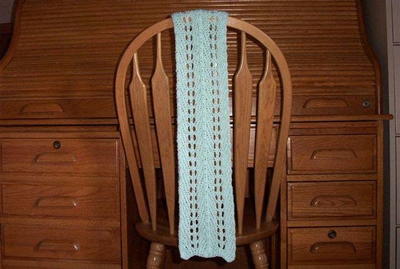
Learn how to use the knook and make a DIY cowl at the same time with this charming and easy, free knitting pattern. The Knook Infinity Scarf Pattern utilizes the knook tool and stunning, blue yarn to make a knit accessory that will keep you looking cool and feeling warm throughout the cool, winter months. If you are looking to learn how to make an infinity scarf pattern in a brand new way, this free knitting pattern is for you. Do not worry if you have never tried knooking before. The tool is easy peasy to use and may very well change the way you knit.
Yarn Weight(4) Medium Weight/Worsted Weight and Aran (16-20 stitches to 4 inches)
Materials List
- Medium Weight Yarn [4 ounces, 200 yards
- (113 grams,183 meters) per skein]: 2 skeins
- Knook, size I (5.5 mm)
- Yarn needle (optional)

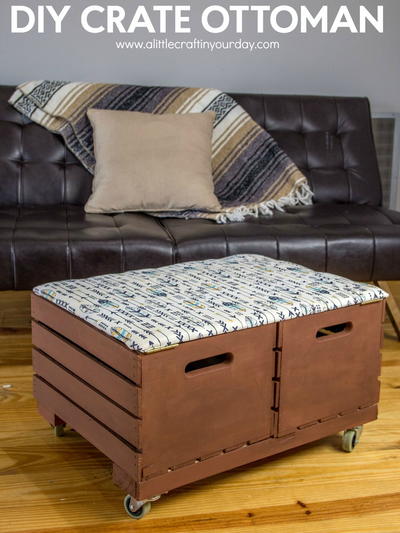
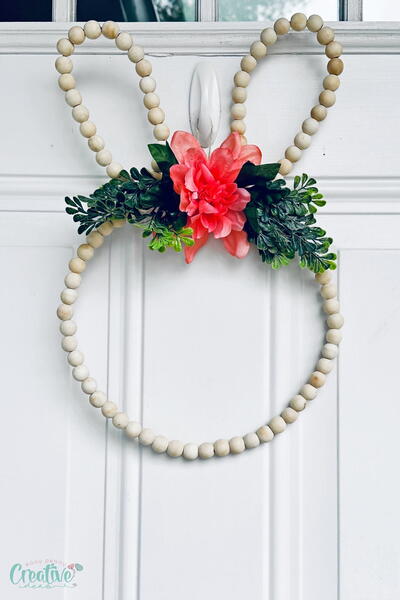
If you love this craft project idea, you will love the rest of the DIY crafts in
13 DIY Home Decor Ideas, Paper Crafts, and More
How to Knook: Infinity Scarf Pattern
Infinity Scarf
For a möbius or cowl, just complete the optional finishing. Wrap 2 or 3 times to wear.
Finished Size: 8” x 72” (20.5 x 183 cm)
Gauge: In Garter Stitch, 13 sts = 4” (10 cm) (see Gauge, page 7)
Scarf
Ch 26.
Pick up 25 sts on foundation ch (see Picking Up Stitches,page 2): 26 sts.
Row 1: Knit across.
Repeat Row 1 for pattern until Scarf measures approximately 72” (183 cm) from foundation ch edge or to desired length.
Bind off all sts loosely in knit (see Binding Off, page 3).
Cowl
FINISHING (optional) Thread yarn needle with a 16” (40.5 cm) length of yarn. Fold Scarf in half lengthwise, and sew foundation ch edge to the bind off edge.
Abbreviations
- ch(s)
- chains(s)
- cm
- centimeters
- K
- knit
- mm
- milimeters
- P
- purl
- st(s)
- stitches
- ( ) or [ ]
- work enclosed instructions as many times as specified by the number immediately following or contains explanatory remarks.
- colon (:)
- the number(s) given after a colon at the end of a row or round denote(s) the number of stitches you should have on that row or round.
- front vs. back side
- As you are working, the side facing you is the front of your work; the back is the side away from you.
- right vs. wrong side
- On the finished piece, the right side of your work is the side that the public will see.
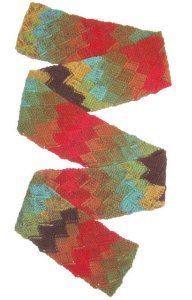
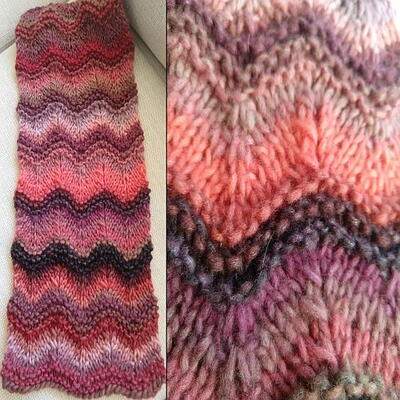
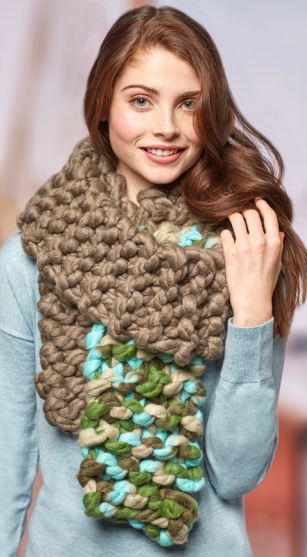
Read NextWave Pattern Knit Scarf