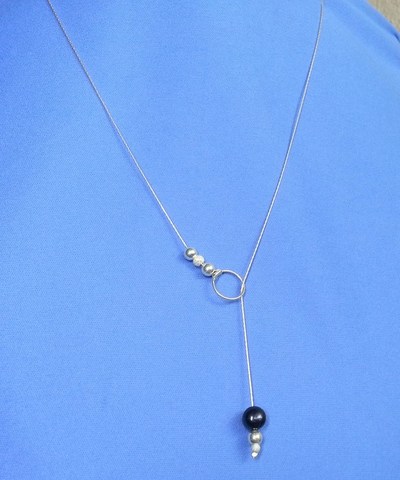
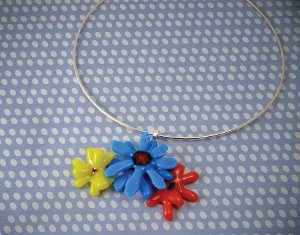
Pendant and Bead Necklace
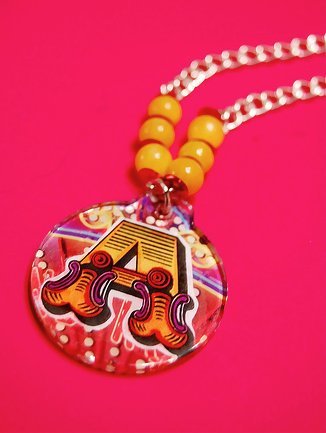
If you already know how to make a necklace, why not make one using a pendant with project instructiosn from Alexa Westerfield (a.k.a. Swelldesigner). Learn how to create your own personalized pendant that everyone will love. It's easy and fun to do!

Materials:
- Clear pendants (mine are by Tim Holtz and I purchased them at Michaels). Really good value, by the way!
- Laser jet images (I copied mine from this Dover publication book) or magazine images.
- Clear Gel Tacky Glue
- Collage Pauge Instant Decopauge
- Craft knife
- Markers (optional)
- Craft mat
- Pencil or pen
- Scissors
Instructions:
- Choose and cut out images to fit your pendants. For mine, I chose to use a Vegas magazine clipping + the ornamental alphabet letter.

- Color or accent your images with markers and glue to other image if necessary.

- Lay pendant down and trace around it. Cut it out with scissors.
- Coat the back of the pendant with the Clear Gel Tacky Glue. Coat generously.

- On a firm surface, lay pendant on top of cut out image. Press firmly to squeeze out any air bubbles that may form between the paper and the pendant. Make sure you squish around all the edges so that the glue goes to all the areas. Some of the glue may squeeze out the sides, but this is ok. Just clean up with paper towels. Let dry overnight on craft mat with the tile face up so you can see the image through the clear tile.
- Once dry, use craft knife to cut our pull off any glue or remaining paper around edges. Coat the back of the image with a couple thin coats of Collage Pauge and let dry. Insert your jump ring to make a charm!
Read NextEasy Tee Shirt Necklace Tutorial

