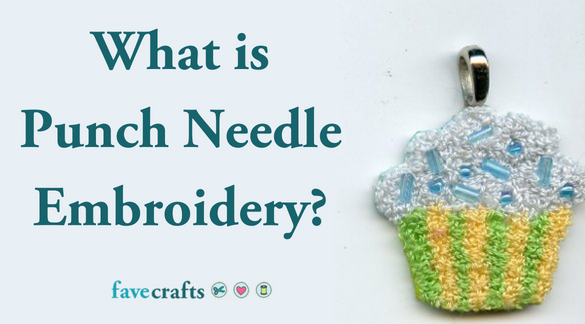
What is Punch Needle Embroidery?
Learn the basics of how to needle punch with this helpful how-to.
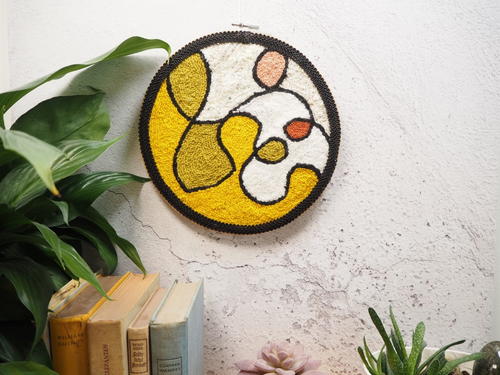
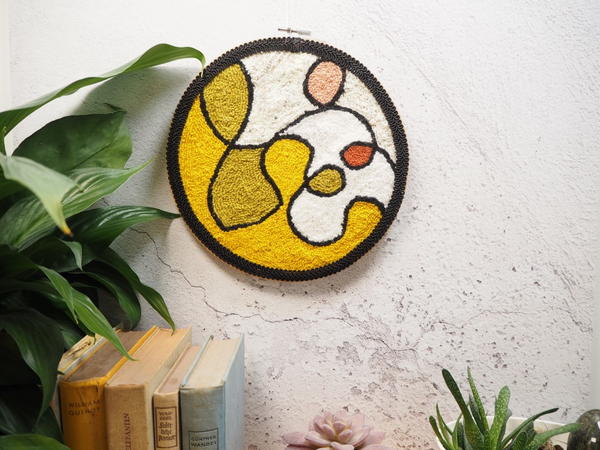
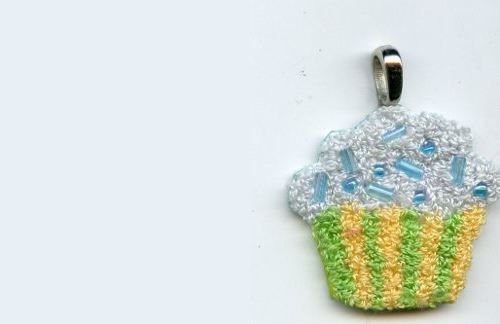
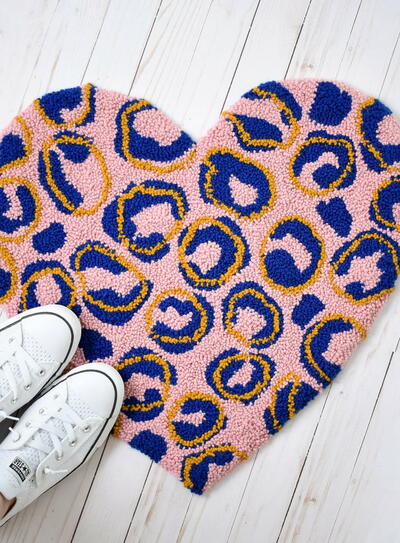
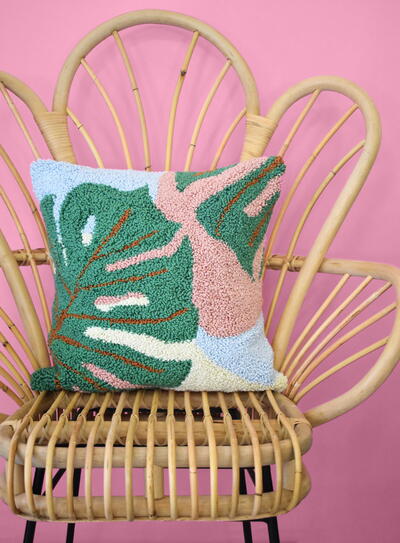
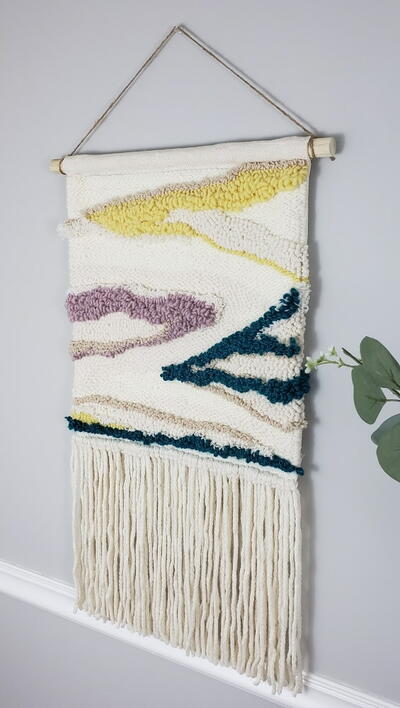
Punch needle embroidery is a craft where you punch loops of thread through fabric to create the look of a miniature rug hooking project. It allows you a great deal of freedom to play because you can easily draw a variety of designs on the fabric without the complexity of stitching them.
If you're a fan of rug hooking projects, you'll love the look of punch needle embroidery. You only need a few very basic tools to get started! If you buy a kit, it's easy to follow along with the pattern to create your project. However, if you're an artist you can design your own patterns, or you can use free printables online as your templates. Learn more about needle punching in our helpful article.
How to Do Punch Needle Embroidery
Needle punching is so soothing because of the rhythmic motion. It's perfect for working on with the TV on in the background. Learn the basics of how to "paint with thread" when you do punch needle embroidery!
Materials:
- Punch needle
- Embroidery floss
- Weavers cloth (cotton + polyester blend)
- Embroidery hoop or frame
Instructions:
- Thread your needle. Your punch needle should come with a threader along with instructions for how to do it.
- Draw or transfer your design to the weavers cloth. If you're working out of a kit, your design will likely be on the weavers cloth for you already.
- Stretch your cloth "drum tight" in your embroidery hoop or on the frame you're working with.
- Set your depth on the needle. This will affect the size of your loops.
- Begin punching! You want the bevel on your needle pointing in the direction of your work; the tail of the embroidery thread should not get in the way of your needle. Another way to think of it is that you should have the scooped out portion of the needle facing you. You also want to be sure you punch the full depth of the needle as this will help you maintain the even size of your loops.
- Punch about one needle's width apart.
- You'll be working on the reverse side of the project so that the back is facing you. This is okay! Some designers prefer how the back looks instead of the front, so this is totally up to you.
- Turn your work as you punch. This is easier!
- If your thread becomes frayed, you are punching too close together. Try increasing the distance between loops slightly.
Basic Punch Needle YouTube Video Tutorial by Notforgotten Farm
Have you tried needle punch? What tips and tricks would you say to a beginner?
mulberrygalprinces s
Sep 24, 2018
I too did this year's ago and had forgotten all about it until this reminded me. I made all kinds of cute embellishments. Now my hands are itching to try it again. It was easy and always came out just great. Thank you for reminding me about this old craft I had forgotten.
Sigo
Aug 30, 2018
This is a really fun technique and a trip down memory lane for me. It was during the 90's when I was making a lot of cute and soft animal appliques for my kids using needle punch embroidery. It was quite relaxing and the results always looked great. The kids loved their sweaters and sweatshirts I decorated with the appliques.
Editor Dana
Aug 30, 2018
Sigo, if you have any punch needle tutorials on your site, I'd love to feature them on FaveCrafts! :)
Sigo
Aug 30, 2018
I wish I had made images of those projects back then. ) If I make any new projects, I will surely submit them to Fave Crafts! I need to look and even find the needles in my craft jungle here. I have not seen nor used them since years.
Report Inappropriate Comment
Are you sure you would like to report this comment? It will be flagged for our moderators to take action.
Thank you for taking the time to improve the content on our site.

