This project was submitted by one of our readers, just like you.
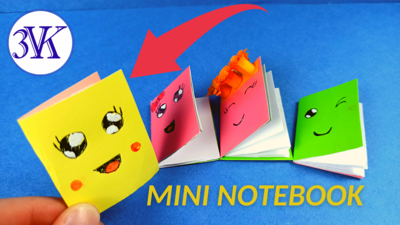
How To Make An Origami Mini Notebook
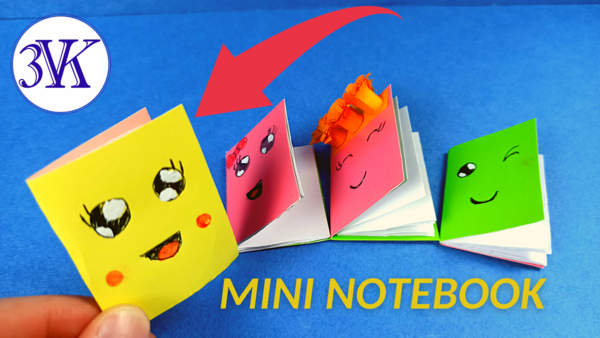
From the blogger: "At all times, since the first book appeared, people have not stopped reading. Books have always been an integral part of human life. The book is the largest treasury in the world, containing the wealth of all peoples. A book is a time machine that can tell us about the past, tell about the present, show the future. The book is a way of exploring the world for adults and children. Small origami paper books are an educational project for children. This paper book model can be made in 15 minutes."
Estimated CostUnder $10
Time to CompleteUnder an hour
Main MaterialPaper
Primary TechniquePaper Crafts

Materials List
- A sheet of colored paper
- A sheet of white paper
- Felt-tip pen
- Scissors
- Glue stick
- Simple pencil
Instructions
-
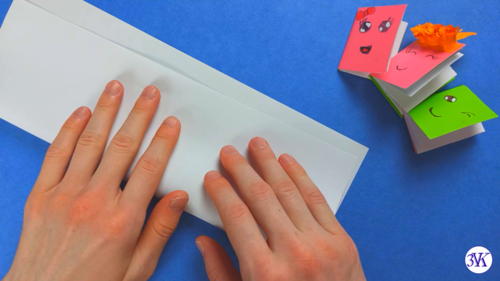
Take a sheet of paper 22 * 28 cm and fold it in half.
-
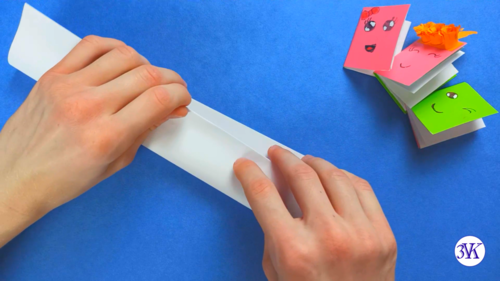
Take half a sheet of paper 22 * 28 cm and fold it in half again.
-
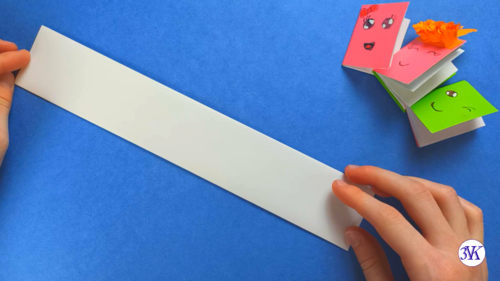
Get a sheet folded into two equal parts.
-
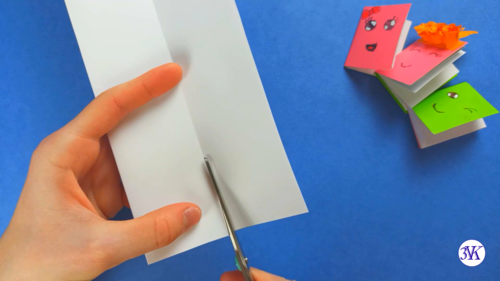
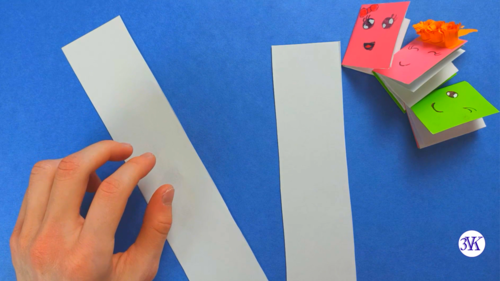
Cut the sheet along the fold lines.
-
Get two pieces cut.
-
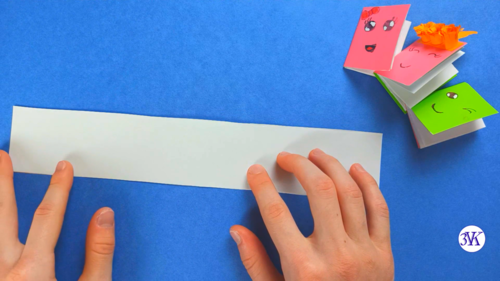
We take one strip of paper.
-
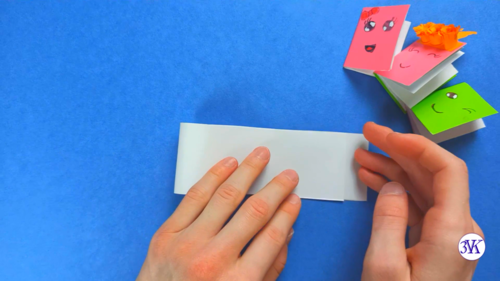
Start folding this strip of paper in half (first time).
-
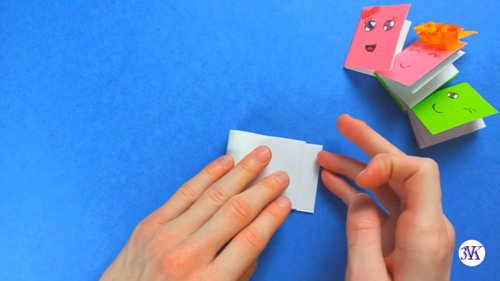
Continue folding this strip of paper in half further. Repeat steps 6-8 with another strip of paper.
-
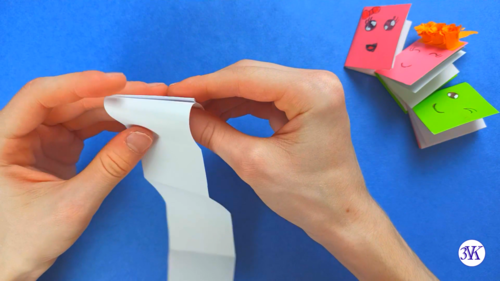
Begin folding the strips of paper in half three times.
-
Get ready-made folded strips of paper, as shown in the photo.
-
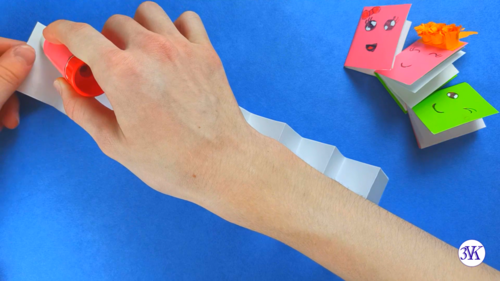
Start glueing the strips of paper.
-
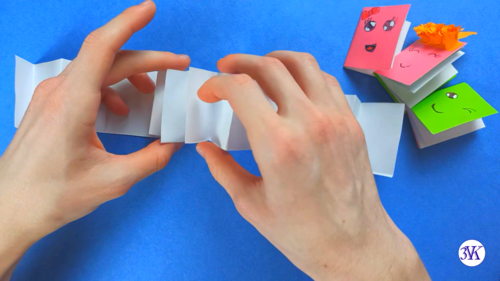
To do this, take the end of one strip of paper and glue it to the end of the other strip of paper.
-
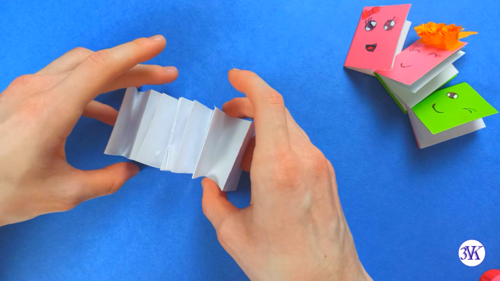
Press the strips together. Get the inside pages of the mini-book as shown in the photo.
-
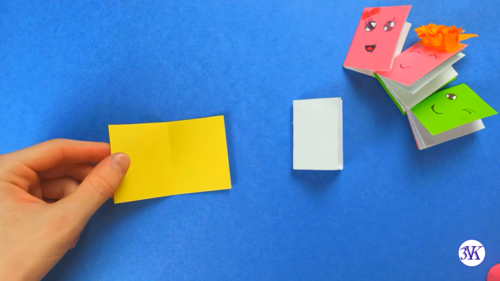
Make a cover for a mini book. To do this, take a sheet of colored paper and cut the cover 8 cm by 5 cm. And fold it in half.
-
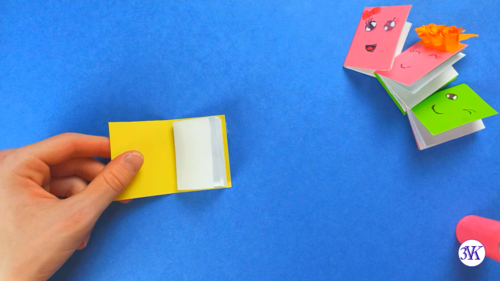
Insert the inner pages of the mini-book into the cover and glue together.
-
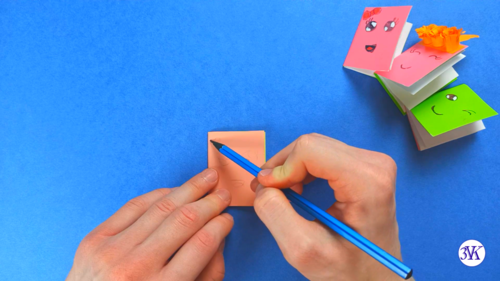
Take a simple pencil and sketch the face on the front of the mini-book cover.
-
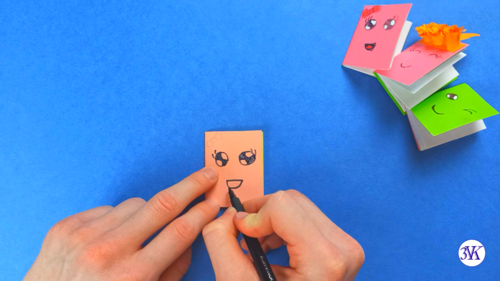
Draw the face on the front of the mini-book cover. The mini-book is ready!

Read NextSummertime Family Road Trip Journal

