Wax Resist Earthenware Heart Pendant
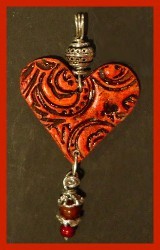
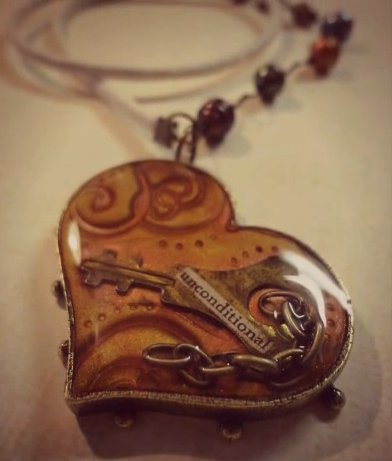
This technique is so easy, you won't believe it. This Wax Resist Earthenware Heart Pendant by Candace Jedrowicz is a fun jewelry craft idea because the unglazed clay is decorated with a crayon. Crayons are used because the wax resists the acrylic paint, creating a pretty design.

Materials:
- Clay
- Rubber Stamp and ink
- Crayons
- Acrylic paint
- Saqtin finish sealer
- 20 gauge silver wire
- Amber bead
- End caps
- Pen cap
- Spiral Ring
- Accent beads
Instructions:
- Wax resist works well on smooth surfaces, but it’s super cool on textured clay. This clay has been fired once. In this state the clay is referred to as bisque.
- You can paint on liquid wax and it preserves the white color beneath it. But I love using crayons for layers of luscious color.

- When I made the heart, I textured one side with a rubber stamp. (Remember that I then fired it to create bisque.)
- The first coat of crayon is straight up red. I gave the surface, front, back and sides, a once over with the first color.

- The second color is applied with a little pressure. You don’t have to cover the entire surface with this color.

- The last coat of color is applied the hardest. I like to get into the crevices as much as possible. You could even sharpen the crayon for the final coat. Again, you cover only what you want to. It’s all about what you like.

- This is the back of the heart. Here you can see the different colors layered on the clay.

- The the colors are just right, I paint over the whole heart with brown acrylic paint. I use a dark brown, but it works with any color.

- Before the paint dries I wipe the excess paint off with a dry paper towel. The wax resists the paint and the clay absorbs it.
- The next step is to get rid of the wax (as it would resist any sealer you apply as your final coat on this project).
- I put the heart on a paper towel in a foil lined pan. I set it in the oven, turn the oven on to 350 degrees and set the timer for 20 minutes. The wax burns out and the color stays.
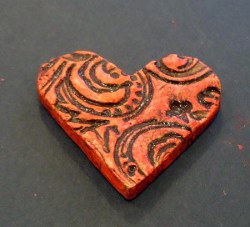
- I applied a single coat of a satin finish sealer for this piece. The heart has a top and bottom hole. I’m addressing the bottom hole first.
- I put a 20 gauge silver wire through the hole and bend both sides down.

- I bent the wire and twisted it twice.

- I love working with wire. I almost always use spirals in my art and wire spirals are especially fabulous!

- I also love anything that has movement. Here I’ve added a dangle. I hammered one end of a piece of the silver wire until it was flat and wide enough to stop a small bead. Then I put an amber bead and two end caps on and made a loop that I put on the spiral ring before closing.

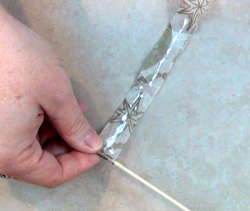
- To make the bail, I wrapped the wire around the flattish part of a pen cap three times. Then I twisted the wires. Half of the wire gets an accent bead and is then threaded through the top hole, front to back.

- The wire that went through the hole gets wrapped around below the accent bead. The other end of the wire gets wrapped around above the accent bead. And, voila, the pendant is ready for a chain.

Read NextVintage Spoon Pendants
Your Recently Viewed Projects
flowergirl
May 22, 2018
Custom beads make jewelry pieces more beautiful. This is pretty interesting for me, I've worked with different clays but wax resist is definitely a new experience. I love the texture on it after firing and the fact that I can create a different pattern everytime. This will make a killer pendant.
Report Inappropriate Comment
Are you sure you would like to report this comment? It will be flagged for our moderators to take action.
Thank you for taking the time to improve the content on our site.

