Clay Butterfly Charm
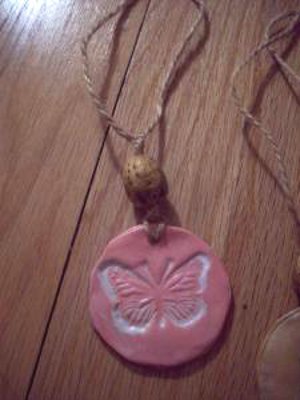
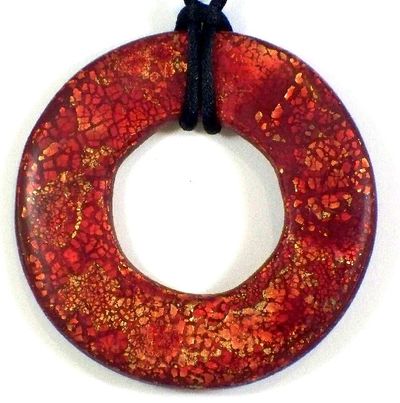
Great for gift packages or jewelry, this Clay Butterfly Charm is a great project for crafters of all ages. All you need is a little square of clay and your favorite rubber stamp and you're just a few steps away from a new clay pendant or tag. You could also use a toothpick to write a message on the tag as well.
You can find this project, as well as many other Polymer clay tutorials, in our free eBook, 24 Polymer Clay Tutorials: Polymer Clay Jewelry, Decor and More!

Materials:
- Clay (I used Sculpey, at least 2 squares per pendant)
- Clay roller (optional)
- Wax paper
- Assorted rubber or plastic stamps
- X-acto knife
- Toothpicks (optional)
- Baking sheet
- Paper towels
- Paint
- Paint brush
- Mod Podge (optional)
- String
- Beads (optional)
Instructions:
-
Condition 2 Sculpey clay squares (warm it up in your hands until it’s ready to work with) and roll out into a circle shape, about 3” in diameter. Press your stamp into the clay. You can work on a table or lay wax paper down, which will allow for easy removal of your clay.
-
Here’s what I used to create my pendants. As you can see, I used a variety of rubber stamps, but you can also use everyday items. The blue pendant is made with a broken earring. Use coins, beads, or other unique pieces of jewelry to create a unique look in your clay.

-
Once your stamp is on, remove excess clay with a knife or a shape cutter. You can include writing on your pendant by using a toothpick to poke out the letters. I wrote “Sing” in the green pendant.
-
Remember to create a hole in the top of the pendant to allow for your necklace string!
-
Bake your pendants on a metal or glass surface according to package directions. Let cool completely.
-
This is the fun part! Lay your cool pendants on a paper towel or paper plate and paint over the pendant with regular fabric paint. Working quickly, wipe off the paint with a damp paper towel. Some of the paint will stay on the clay, which is what you want. Try different techniques like rubbing the paint in one direction, dabbing or sponging with the paper towel, or using your painting skills to paint directly on the clay. It’s totally up to you! Use like colors for cool shadows and opposite colors for contrast.
-
Let your pendants dry completely.
-
Once your pendants are dry, paint on a layer of Mod Podge. This step is optional, I just like the shine! Let that dry, too.
-
When your pendants are dry, string your chain through the hole. You can add a bead if you’d like…I used beads from a bracelet that snapped a few years ago.

Read Next4 Barnyard Polymer Clay Ideas

