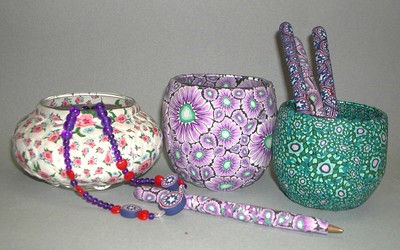
DIY Clay Key Decorations
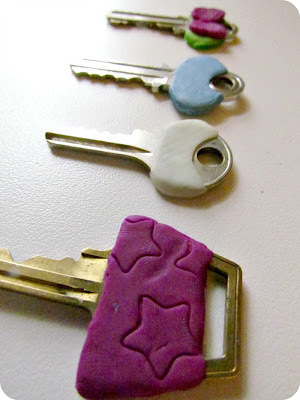
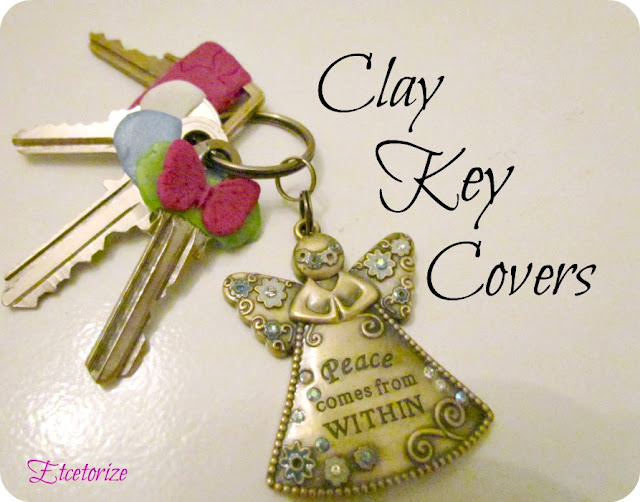
You'll never forget your keys again once you use craft clay to create colorful covers. Design your own DIY fashion with a material that's sturdy and very easy to use.
Materials:
- polymer clay
- metal keys
- cutting tool
- pasta machine or some other way to flatten out clay (optional)
- embellishing tools, glitter, beads, etc. (optional)
Steps:
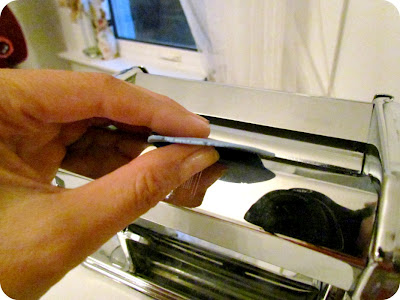
1) Condition your clay by warming it up and rolling it between your hands. Once it's soft, roll it out flat. My pasta machine has 9 settings and I went down to about a 6 gradually. You can just use a rolling pin or some other flat tube if you don't have a machine (just make sure to never use your tool with food ever again!)
2) Place the top part of your key on top of your clay, keeping the part that goes into the lock clear.
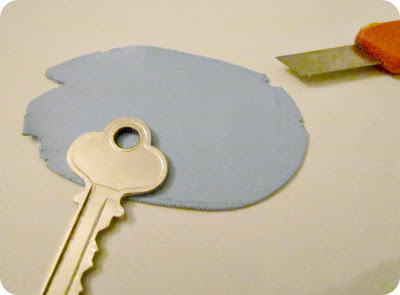
3) Trim the clay around the shape of your key. Make two pieces, one for each side.
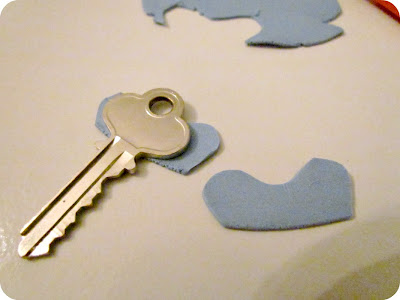
4) Sandwich your key between the layers of clay and press together. Trim the clay some more and gently work the edges together to seal them.
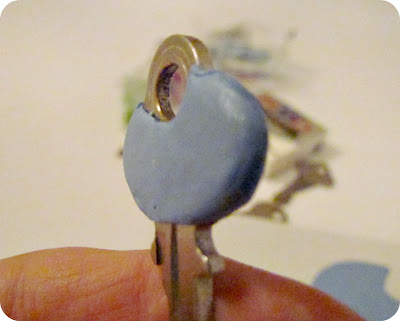
5) You can leave it there if you want and just follow the manufacturer's directions for baking. The temperature of the oven should be very very low so it won't damage your keys. Obviously, do not use keys that have plastic or other flammable pieces on them.
If you want to take it to the next level, try some of these ideas:
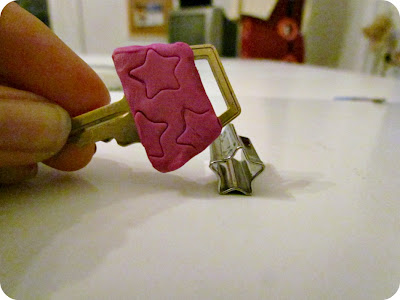
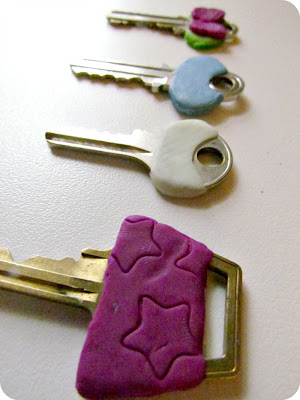
Emboss it!
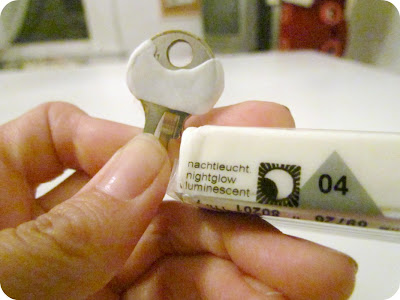
Use Glow in the Dark clay!!
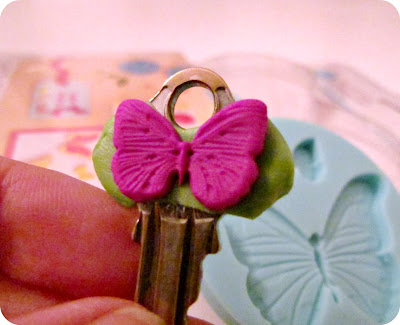
Add a small embellishment from a mold!
You could even add glitter or beads! Use your imagination and see what you come up with! (As stated above...only use non-flammable items).
Read NextHow to Make Mokume Gane Polymer Clay
Your Recently Viewed Projects
mychellem
Mar 12, 2016
This looks like a great way to distinguish between similar looking keys -- and to easily tell which set is mine and which is my husband's!
Report Inappropriate Comment
Are you sure you would like to report this comment? It will be flagged for our moderators to take action.
Thank you for taking the time to improve the content on our site.

