This project was submitted by one of our readers, just like you.
A Simple Baby Scrapbook Layout
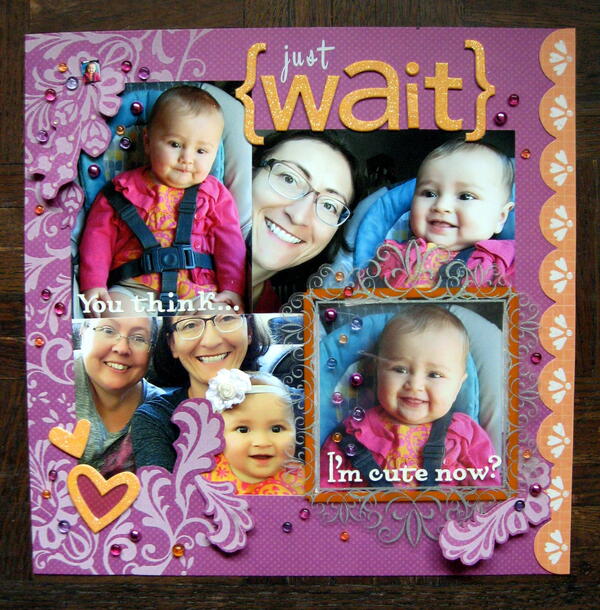
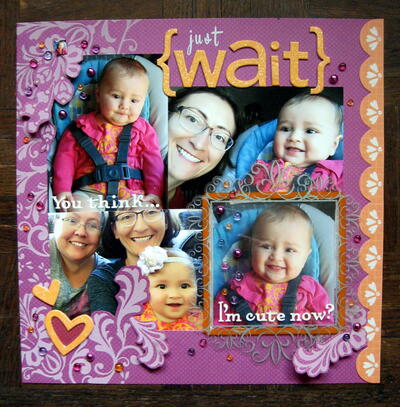
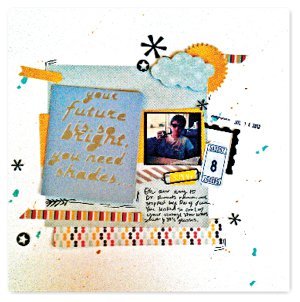
From the designer: "This simple baby layout features a large bold title. A great way to stretch your supplies is to rescue large bits of pretty paper that will be covered by photos for use on another project. Lightly mark the area with a pencil and then use a craft knife to slice and remove the section of paper that will be covered by the photos. Elevate your layout from just 'nice' to 'breath-taking' with the perfect finishing touch of faux bubbles and give your layout a subtle twinkle by using a scattering of Dew Drop gems to the layout."
Estimated Cost$11-$20
Time to CompleteIn an evening
Primary TechniqueScrapbooking

Materials List
- scrapbook paper 12x12" / scalloped border
- acetate frame
- ribbon rose / chipboard hearts
- Large chipboard letters, small white letterrs (Dew Drops, The Robin's Nest)
- letter stickers
-
Glossy Accents clear medium, liquid adhesive
transparent round gems
Instructions
-
Arrange the photos in a central cluster. Carefully cut around some of the flourish designs in the paper to be used as embellishments. Slide the photos under the flourishes in order to merge the background with the photos.
-
Adhere the photos. Add a transparent frame over one of the photos.
-
Next, add a scalloped edge border strip down the right side.
-
Add the title to the upper right corner. Use different sized letters in different fonts. If needed add a secondary subtitle in a smaller font across the bottom of two of the photos.
-
Adhere a chipboard heart frame to a bit of coordinating paper. Then, apply Glossy Accents clear medium to the inner portion of the heart. Attach it to the layout when it is thoroughly dry.
-
Finally, attach a scattering of Dew Drops randomly on the layout in groups of bubble-like clusters using liquid adhesive. For added interest, select a variety of sizes in numerous colors that coordinate with the layout.


