Faux Fur Tabletop Christmas Trees
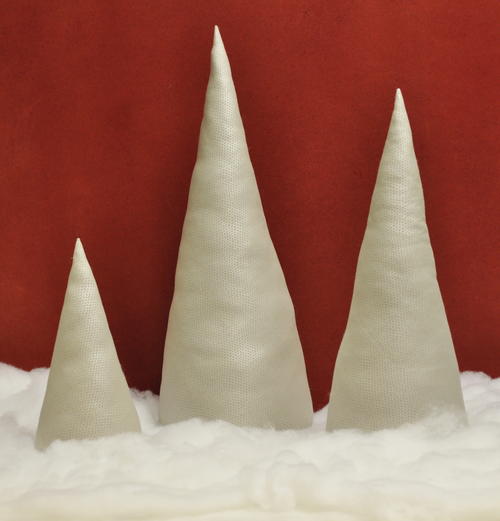
This is one of those tabletop Christmas tree ideas that is versatile for any time of year - you'll see!
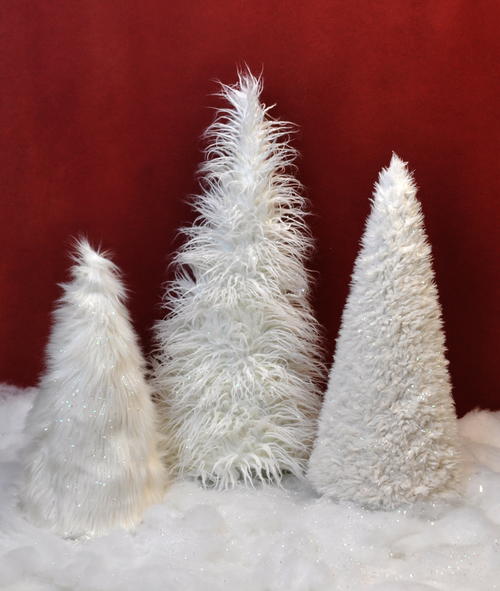
Learn how to make beautiful and simple Faux Fur Tabletop Christmas Trees that have a secret! These versatile trees have a solid base and interchangeable covers so you can swap out your trees for different colors and themes throughout the year. Start with a basic sewn cone base and then create your faux fur covers. By creating covers for your tabletop trees, you'll be able to switch them out as needed. You can easily clean them, which is a fantastic perk. Once you learn how to sew tabletop trees for winter, you'll want to theme them for every holiday!
Time to CompleteIn an evening
MaterialsFabric
Primary TechniqueSewing

SeasonWinter
HolidayChristmas
Project TypeMake a Project
Sewn byMachine
Materials List
- Tabletop Tree Base Materials
- 2 1/2 yds. Fabric
- 32oz. Bag Poly-fil Fiber Fill
- 24oz. Bag Poly-Pellets Pour & Store
- Coordinating Thread
- Pattern
- Faux Fur Tree Toppers Materials
- 1 yd. White long faux fur fabric for Large tree
- 3/4 yd. White short faux fur for the medium size tree
- 1/2 yd. White medium faux fur fabric for the small tree
- 32 oz Poly-fil fiber fill
- Coordinating thread
- Supplies
- Sewing machine
- Basic sewing supplies
Instructions
From the Fairfield World Team: "These soft weighted Christmas Trees will make a great addition to your holiday decor. You can make them with your favorite fabric and embellish them as you wish or combined them with our Tree Toppers (Project is also on FairfieldWorld.com) in a variety of different colors and patterns. By changing the toppers these trees can be displayed all year round. You can play with the dimensions and make some as small or big as you would like. Why not make a giant floor tree for a child’s room or playroom. Because they are soft there are no worries if they accidentally get knocked over. Use your imagination to have some creative fun."
Tabletop Tree Bases
Please note: 2 ½ yards of fabric will make all three trees but if you would like to make them individually you will need 1 yard for the large tree, ¾ yard for the medium tree and ½ yard for the small tree.
These instructions are for the medium size tree base but you can just increase or decrease the measurements by a couple of inches to make the large and small trees.
Click any of the images below for a larger version.
-
Cut and assemble the tree template and base templates. Take your fabric and lay it on the table. Now fold it in half diagonally with right sides facing in. Place the tree template on top of the fabric lining it up with edge and fold. Pin and cut out from the fabric. Now take some of the remaining fabric and again, fold it in half, place the base template on top lining it up to the fold, pin, and cut.
-
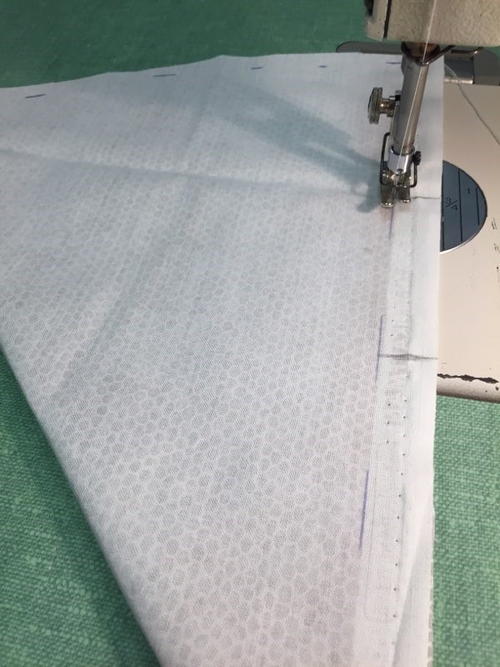
With the right sides facing in sew along the side edge of the tree using a 1/4 inch seam allowance and leaving a 3 inch opening in the center for stuffing.
-
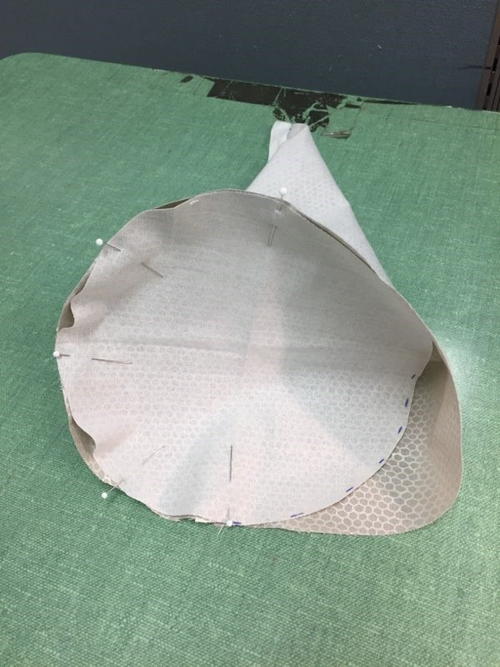
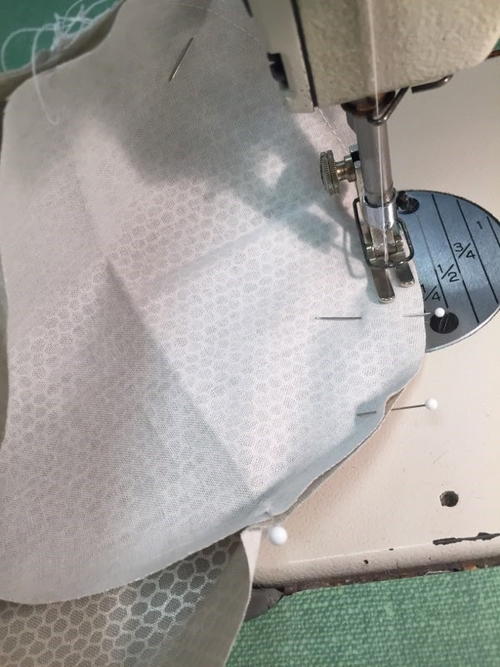
Now pin the base circle to the bottom of the tree again with the right sides touching, and sew using 1/4 inch seam allowance.
-
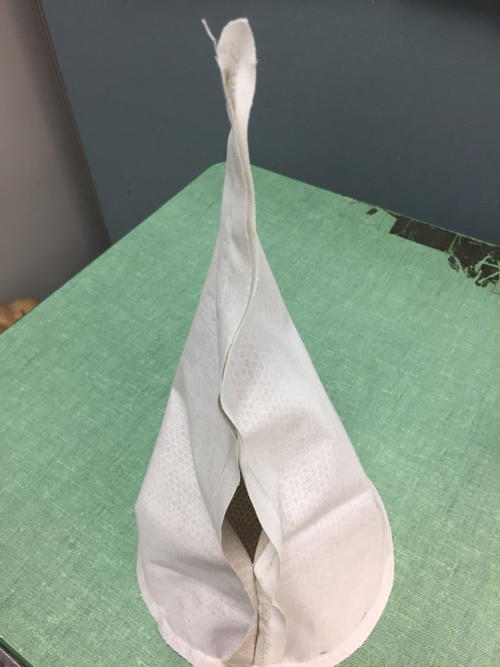
To get a nice point on the top of the tree make sure you trim the seam allowance before you turn it right side out. Turn right side out. Pour about 2 to 2 1/2 cups of Polly-Pellets into the base, fill firmly with Poly-fil fiber fill and hand sew the opening closed. Embellish as you wish.
For the large base you will need to use 3 to 3 1/2 of Poly-Pellets and for the small tree about 1 1/2 cups.
Fur Tree Toppers
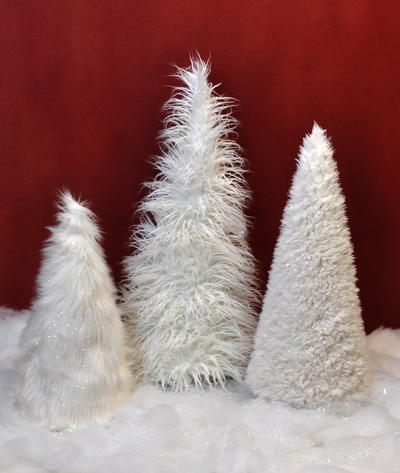
From the Fairfield World Team: "We love love love these faux fur trees. They are so easy to create and make and such a statement. We used three different white furs from Shannon Fabrics but you can let your imagination run wild and use any fabric or embellish that you wish. The pattern can easily be adjusted to make trees anywhere from 6 inches to 6 feet."
-
Please note: When cutting any type of you will need to cut it from the back as to not cut off too much fur. That is why we ask you to trace the template on both the front and back of the folded fabric.
-
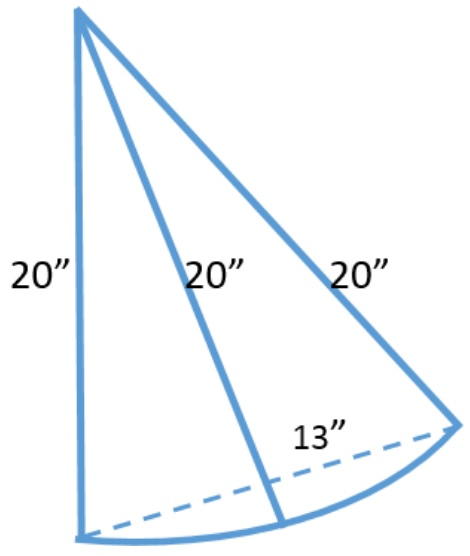
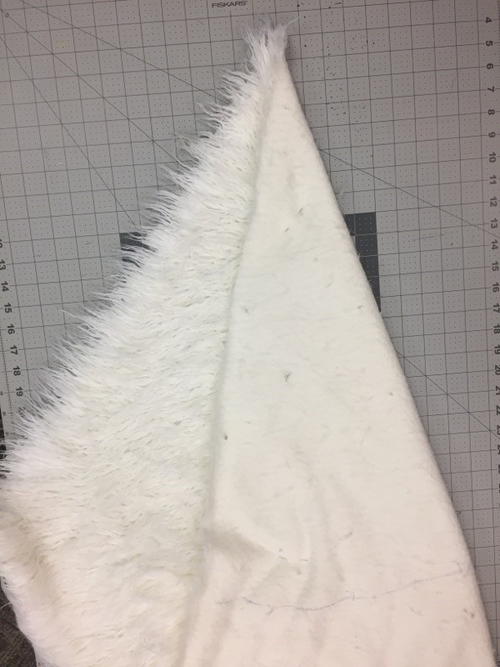
For the medium size fur tree. Lay fabric on the table with right side facing up. Starting at one of the corner points fold the fabric in diagonally on the bias creating a triangle. Create a template from the diagram below and lay it on top lining it up with the fold and trace.
-
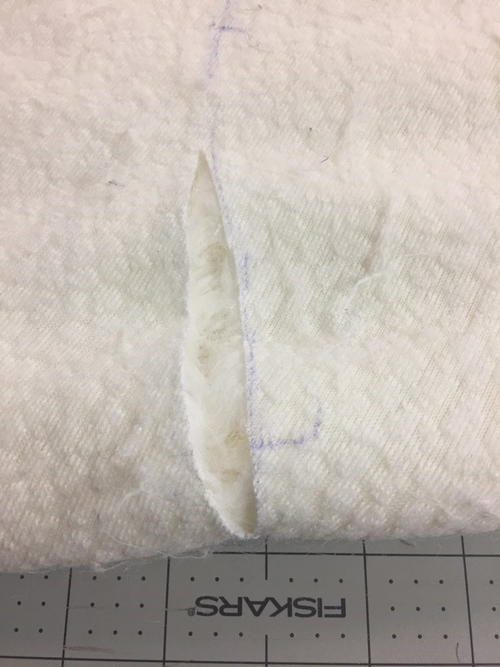
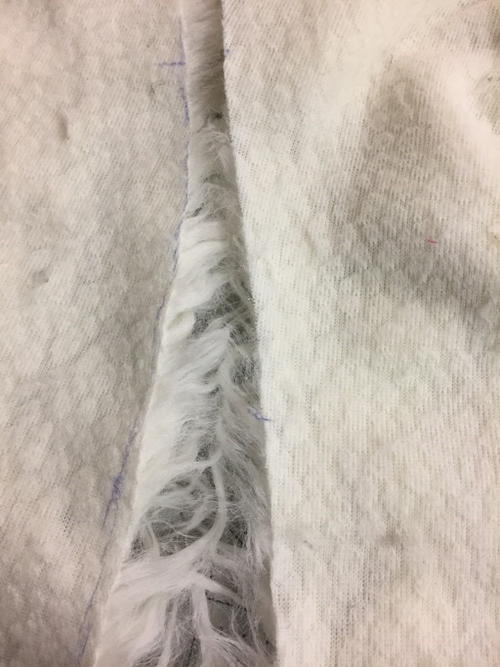
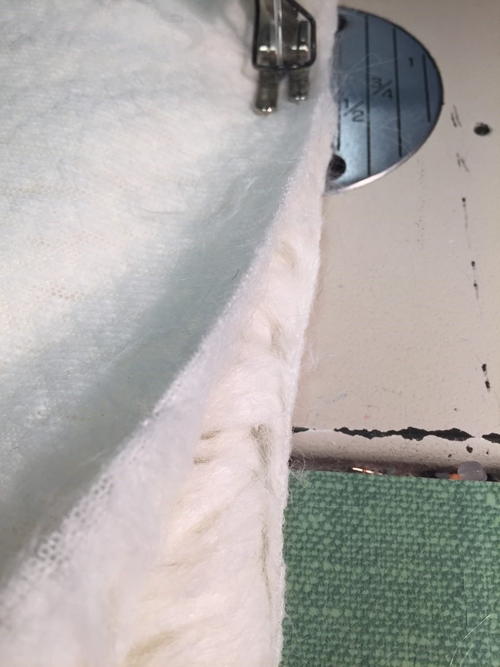
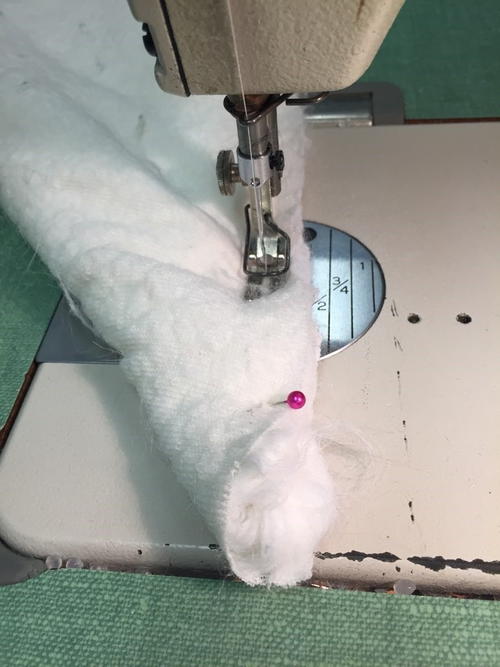
Pin together just to hold it in place. Flip over and trace the template again. Unpin and cut out the shape from the back of the fur. Refold with right sides facing in, pin and sew from bottom to top along the flat straight edge using 1/2 inch seam allowance and tucking the fur as you go.
-
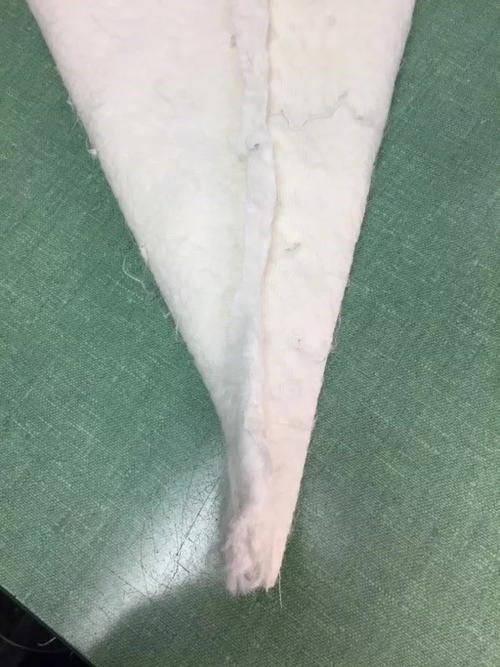
Tip: To get a nice point on the top of the tree make sure you trim the seam allowance before you turn it right side out.
-
Turn right side out.
-
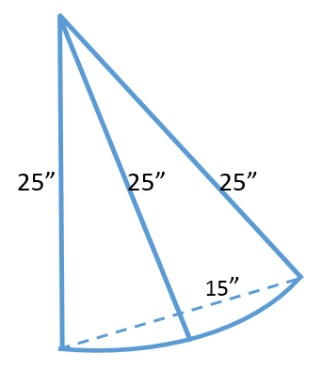
For the Large tree use the same process with the longest length fur and measurements of 25″ in length and 15″ in width.
-
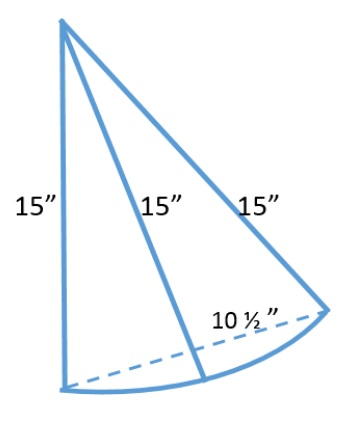
For the small tree use the same process with the mid-length fur and measurements of 15″ in length and 10 1/2 ” in width.
-
Place the Poly-fil fiber fill around the base of the trees to look like freshly fallen snow.
Contest Rules:
- There is a maximum of one extra entry per person. The extra entry will be based upon a comment left on this post. Duplicate comments are not tallied.
- The winner will be selected at random from the comments on this page and the entries on the contest page.
- The winner will be contacted on the morning of December 24th, 2018.
- Email Address provided in your account (please do NOT leave your email address in the comments--you already provided it when you created your account)
- You have until December 23rd, 2018 at 11:59pm EST to leave your comment on this post. Comments posted after that will not be counted.
- Contest open to anyone 18+ in US and/or Canada. Excludes Quebec and Puerto Rico.
Where is the best place to arrange your tabletop trees?
Read NextDIY Rice Heat Packs
Your Recently Viewed Projects
KnotSewCraftsy
Dec 17, 2018
This looks like a great centerpiece for a table and the trees could be easily decorated.
Ma1030
Dec 12, 2018
We have a small octagonal table where we enter the house, that's where I would place these, it's also where we have our Christmas tree (tabletop) as we don't have room for anything larger. I especially love the middle tree, so pretty.
aketch
Dec 04, 2018
My table top trees look best above the fireplace. I add them to my arrangement of candles , pine boughs and lights.
Report Inappropriate Comment
Are you sure you would like to report this comment? It will be flagged for our moderators to take action.
Thank you for taking the time to improve the content on our site.

