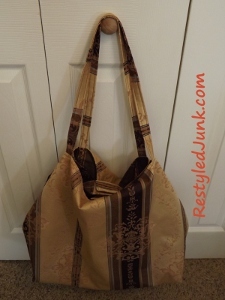
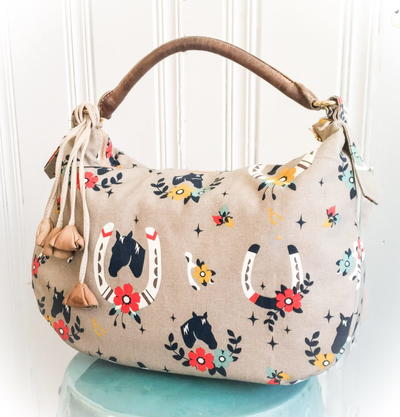
Large Festival Tote Bag
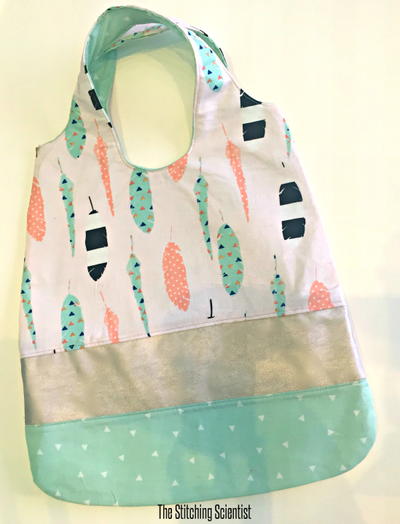
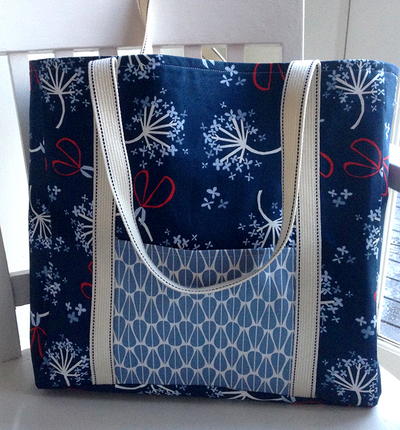
Don't head to a farmer's market or summer gathering without this Large Festival Tote Bag. This free tote bag pattern is easy enough for beginners to follow but still challenging enough for sewing veterans. Carry all of your essentials in this sturdy sack - it's big enough to store all of your valuables. This is a great summer carryall that you'll want to show off.
Materials:
- 1 yard medium to heavyweight fabric
- Measuring tape
- Scissors
- 1 yard lining fabric
- Straight pins
- Sewing machine
- Iron
- Large safety pin
- 1/2-inch-wide hook-and-loop tape, 4-inches
- Zipper foot
Instructions:
- Cut two 22-inch-wide by 28-inch-long rectangles from medium to heavyweight fabric such as denim, canvas or home decor fabric. This will be the outside of your tote. Cut two rectangles of the same size out of lighter fabric for the lining. From the same fabric as the tote, cut eight 2 1/2-inch-wide by 4-inch-long rectangles for the tabs and two 2 1/2-inch-wide by 28-inch-long strips for the handles.
- Place the two tote rectangles together with the wrong sides facing out. Pin the two short edges and one long edge. Sew the pinned edges using a 1/4-inch seam allowance. Repeat with the lining rectangles, leaving a 4-inch opening in the center of the long edge.
- Lay the stitched tote rectangles flat on your work surface. Cut a 4-inch square from each bottom corner. Repeat with the lining.
- Open one bottom corner of the tote. Squish the corner together diagonally, matching the side seam of the tote with the bottom seam. Pin the edges together. Sew the pinned edge using a 1/4-inch seam allowance. This creates a boxed corner. Repeat on the remaining bottom corner of the tote and the two bottom lining corners.
- Fold a handle strip in half with the right sides together and the long edges matching. Pin the long edges together. Sew the pinned edge using a 1/4-inch seam allowance. Repeat with the remaining handle strip.
- Turn each handle strip right side out and press. Top stitch along both long edges of both handles.
- Turning Tip: Attach a large safety pin to the edge on one end of the handle tube. Insert the pin into the tube and guide it through the tube and out the other end.
- Place two tab rectangles together with the right sides facing. Sew the long edges and one short edge using a 1/4-inch seam allowance. Repeat with the remaining tab rectangles for a total of four tabs. Clip the corners to eliminate bulk and turn the tabs right side out. Press the tabs and top stitch along the long edges and the stitched short end.
- Turn the tote body right side out. Matching the raw edges of the tabs with the raw edges of the body's opening, pin a tab to the center front, the center back and over each side seam.
- Measure out 6 inches on each side of the center front tab. Pin the ends of one handle at these measurements. Pin the remaining handle on the back of the tote in the same way.
- Insert the right-side-out tote body into the wrong-side-out lining. Match the raw edges of the opening and the side seams. Pin around the opening of the bag. Sew the pinned edge using a 1/4-inch seam allowance.
- Turn the tote right side out through the 4-inch opening in the lining's bottom edge. Stitch the opening closed.
- Tuck the lining inside the tote. Press around the top edge of the opening. Top stitch around the pressed edge.
- Cut two 2-inch lengths of hook-and-loop tape. Pull each tape length apart. You will have two fuzzy pieces and two hard-bristle pieces. Lay the tote flat on your work surface. Center and pin one hard-bristle piece on a center tab, on the side of the tab facing outward. Stitch around the edges of the tape using a zipper foot. Flip the tote over. Center, pin and stitch one fuzzy piece on the center tab, on the side of the tab facing inward. Attach the remaining two pieces in the same way on the side tabs. To close the tote, fold the front and back tabs over each other. Repeat with the side tabs.
Read NextUpcycled Sewn Denim Mini Pouch
Your Recently Viewed Projects
mulberrygalprinces s
Dec 21, 2016
I usually only sew to put linings in the crochet purses I make but something about this one just called to me. It's cute and I have material so why not give it a shot? The directions are very clear and with all the pictures I should be able to do it. Thank you for offering it.
The Designing Peng uin
May 10, 2016
I don't know about farmer's markets, but this would be an ideal bag - room for a camera, puppy cookies, an extra leash, a book, wallet, notebook and pen, knitting -- all the things that travel with me wherever I go -- sturdy with lots of room to toss in specimens (pine cones, stones, etc.) I find along the way or packages. I love it
Heidi Lorene
Mar 30, 2016
I love the idea of using this as a nice sturdy roomy bag to take to the farmers market. It would be roomy enough to carry all your purchases in and then if it gets dirty you can easily throw it in the washing machine when you get home. and it is easy to scale down to a smaller size if you don't need it to be quite so large.
quanahs 5032097
Mar 18, 2016
This is a nice roomy bag, with great clear instructions and photos. I bought a bunch of Sunbrella fabric on sale a couple of years ago, this might be the perfect use for it. The bag may be too big to carry groceries in, but the pattern can be scaled down. At this size, its perfect to take to the beach filled with towels and all the other things you need.
Report Inappropriate Comment
Are you sure you would like to report this comment? It will be flagged for our moderators to take action.
Thank you for taking the time to improve the content on our site.

