Quilled Thanksgiving Place Setting
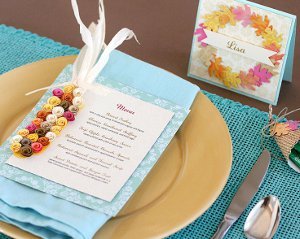
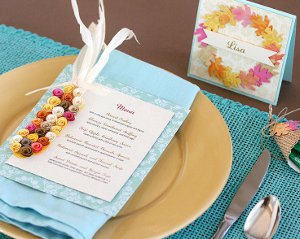
Your Thanksgiving table will look absolutely beautiful with this Quilled Thanksgiving Place Setting. Made with colorful paper quilled flowers and leaves, this menu and place card set will turn your autumn harvest into a colorful cornucopia of colors. Paper quilling is an easy technique to learn and helps give your paper projects a neat 3D look. It's also a fantastic way to use up all those leftover paper scraps that you have lying around your craft room! Create this Quilled Thanksgiving Place Setting for a feast to remember.
Materials:
- Round ’n Round Squeeze Punch (Medium)
- Bracket & Journal Shape Template (8 1/2" x 11")
- Circle Shape Template (8 1/2" x 11")
- Ultra ShapeXpress™ Shape Cutter
- Micro-Tip® Scissors (No. 5)
- Cream floral cardstock for place card by My Mind's Eye
- Teal patterned cardstock for menu by KI Memories
Instructions:
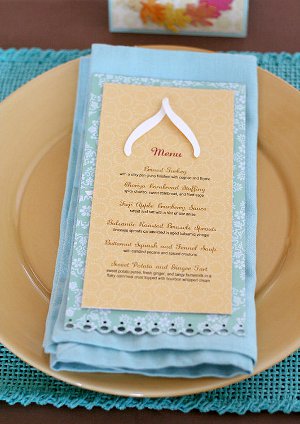
- Print out your menu onto cardstock (leaving room on the left side) and mount onto patterned paper.
- Using the Ultra ShapeXpress and the Bracket and Journal Shape Template, cut out the shape below. Trim off side points by hand with scissors to create a corn base.
- Punch numerous medium Round 'n Round circles from assorted cardstock and cut a spiral from edge to center. Beginning from outside, wind spiral around toothpick and allow to release. Add a large glue dot on top of the spiral's center and press flower down to secure. Adhere flowers is random rows covering corn base.
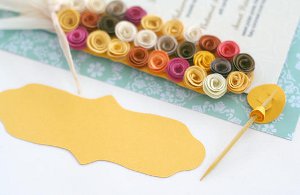
- Glue corn husks (or raffia) at top and tie off. Adhere corn to left side of menu.
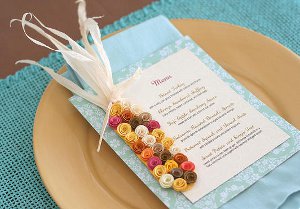
Wishbone Menu
- Using the Ultra ShapeXpress and the Bracket and Journal Shape Template, cut out one bracket from white cardstock. Fold at center to create wishbone shape.
- Adhere to top of printed menu.
- Run Effervescence Border Punch along bottom of menu before adhering to pattered paper background.
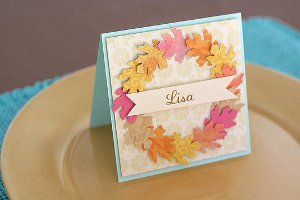
Leaf Wreath Place Card
- Punch numerous Strong as an Oak Squeeze Punches in assorted fall colors. Lightly trace a circle onto a square of cardstock using Circles Shape Template to use as a guide for placing leaves.
- Mount onto folded cardstock and add name at front.
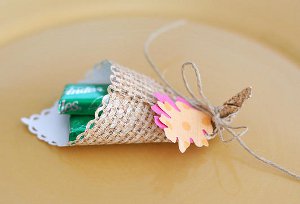
Cornucopia After-Dinner Mints
- Cut a 4" square of cardstock and punch around perimeter with Lace and Lattice Border and Corner Punch. Trim off outer frame.
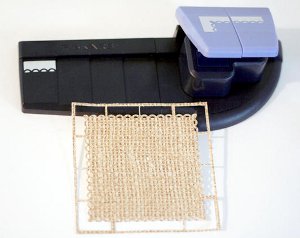
- Fold two opposing corners together to roll into cone and adhere closed with glue dot.
- Pinch and twist end to form cornucopia.
- Top with twine and leaf punches and fill with mints.
Find more ways to decorate your table for the big feast with this collection of 12 Thanksgiving Craft Centerpieces + 4 New Ideas.
Read NextLi'l Turkey Crochet Pattern

