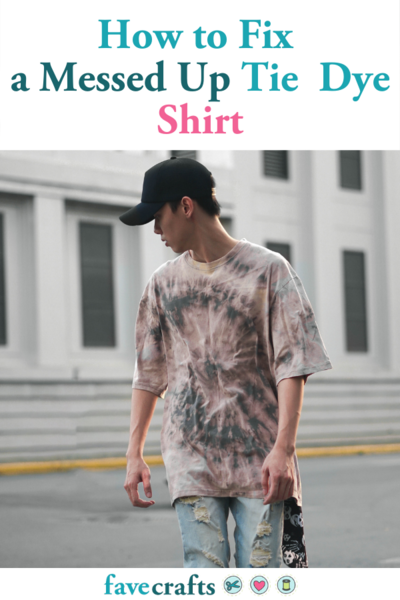
How to Fix a Messed up Tie Dye Shirt
Tie dye didn't turn out the way you'd planned? Do some tie dye troubleshooting and rescue it!

It’s happened to all of us. You’ve waited patiently for your tie dye to dry, taken the time to wash out any extra dye, and now you’ve found that your finished product is not exactly what you had hoped it would be.
Now you’re left wondering how to fix a messed up tie dye shirt. There are not a ton of options here but one method we know works is overdyeing!
Overdyeing, or re-dyeing, can take an old, unattractive project and turn it into something new! You might not get the exact pattern you had hoped for initially, but you could get something even better. Often, re-dyeing can result in special, unique patterns you couldn’t have achieved with one dye.
Keep reading to learn more about overdyeing and the mistakes you can avoid to ensure successful projects in the future!
Looking for easy craft tutorials? Get free projects sent straight to your inbox!
Subscribe to FaveCrafts
How to Fix a Messed up Tie Dye Shirt
What Does Overdye Mean?
Overdyeing refers to the process of dyeing previously dyed fabric a new color. By dyeing over the old color, you can freshen up outdated or boring clothing pieces or any other form of fabric.
The problem with overdyeing is there’s no knowing what color your product will turn out. Some pastel colors can be light enough to dye over without affecting the final color, but most dyes will mix with your overdye to create a new color. This may sound as simple as knowing the color wheel, but there are always shade variations. To overdye successfully, it is smart to test a piece of fabric in a similar color before you begin.

How to Overdye for Tie Dye
Materials
- Messed Up Tie Dyed Piece
- Tie Dye Suplies
- Bleach or Laundry Whitener (optional)
Overdye is not only used for tie dyeing, but mainly for completely dyeing fabric one color. This bears some obvious differences to the process for tie dyeing, namely the act of tying.
1. Bleach
To begin your re-dye, you will want to look at the colors of your original tie dye. If they are relatively light, you can get away without bleaching. However, if the colors are dark, you will have to lighten them with bleach or any overdyeing will be pointless.
Bleach in increments of 2 minutes, checking the color until you are happy with the lightness. (Remember the fabric will be about two shades lighter once dry!) Rinse the bleach and proceed to the next step. You could also use a laundry whitener to remove some of the dye.
2. Examine
Next, you will want to decide what it is that you don’t like about the shirt. This will help you decide which method of re-tying to follow in the next step. Look at the colors themselves, the saturation of the dye, and the placement of the patterns.
Be sure to get the shirt damp again before attempting any dyeing.
3. Re-tie and Re-dye
In the case that the dye simply didn’t penetrate the fabric as well as you would like, you can just refold and dye it in the same way again. This may also work if you decide you don’t like the colors. In that situation, re-fold it and cover the old pattern with new colors. Darker colors will work best here.
If the dye bled into the fabric where you didn’t want it, you can try creating a new design using the old messed up pattern as your base. Re-fold the shirt using a different method to create a unique and unexpected final product.

Tie Dye Troubleshooting
Maybe now you are content with your shirt, but what went wrong in the first place? It might be helpful to understand the root of common tie dye mistakes so your next shirt will turn out perfectly on the first try!
Why did my tie dye bleed?
If the colors of your tie dye are running together, you are probably applying too much dye. Once the dye can’t soak into the shirt anymore it forms puddles on the fabric, which can then leak onto areas you wanted to remain dye-free. It is also possible that your ties aren’t tight enough. If rubber bands aren’t working for you, you could try sinew which can be wound tightly around the fabric and doesn’t absorb the dye.
Why did my tie dye fade?
The shirt will definitely fade after the first wash, but it should not lose too much color. If your shirt fades dramatically after the first wash, it could be that you did not leave it to dry for long enough. Tie Dye should be left to dry for at least 24 hours before washing. Once you have washed the shirt and gotten rid of excess dyes which could run, you will want to immediately place it in a hot dryer. This will set the dyes and prevent future fading.
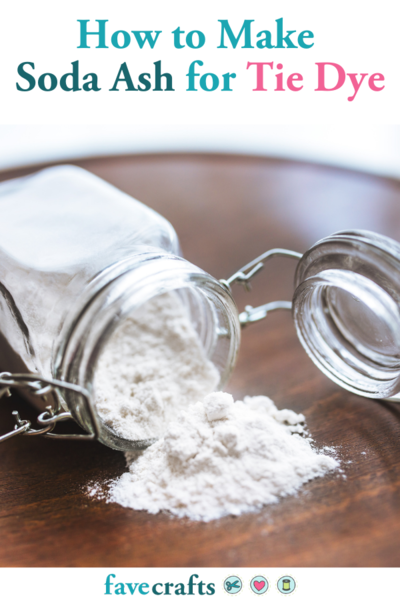
Tie Dye might also fade if you did not soak your fabric in a soda ash solution before dyeing. Soda ash increases the pH to allow the dye to permanently bond with the fabric. To learn more about what soda ash does for tie dye and how to make it, check out How to Make Soda Ash for Tie Dye.
Other Tie Dye Tips
If your tie dyes are too white, you might not be getting enough of the dye into the folds. Be sure that you are applying enough dye and not tying your piece too tightly. Tie dye can be a balancing act. Too much or too little can ruin your project. Practice will help you to know what the perfect amounts are.
Use the correct dye for your fabric. Reactive dyes work best for natural fabrics with plant-like fibers such as cotton, silk, and rayon.
Don’t let the dye settle in the bottle. If left too long, the dyes can form sediments which affect how evenly the color is applied.
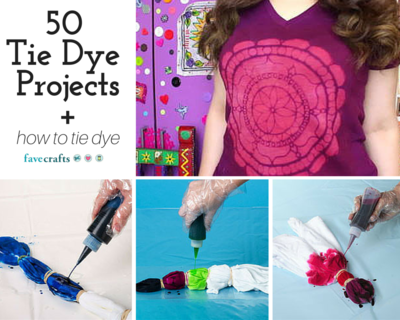
Up Next:
Read Next100+ Tie Dye Patterns and Techniques