How to Dry Flowers 7 Ways
These 7 techniques will have you drying flowers in no time!
Spending hours in the garden, tending to your flowers is such a fun way to spend the spring and summer. But when the fall rolls around and it starts to get colder, it can be difficult to say goodbye to the beautiful creations you've spent months cultivating. That's where drying comes in!
Drying flowers is so easy, and it's a simple way to preserve those flowers that you just can't stop staring at. Plus, it makes your house smell amazing. What's not to love!
There are basically seven different methods to choose from when it comes to drying flowers, and they all have their pros and cons. Whether you go the more traditional route by air drying your flowers or you use a less conventional method, like drying with desiccant packs, you know that if you preserve your flowers with drying, you'll be able to retain that natural beauty.
"An old friend taught me to dry flowers without losing most their color by keeping them in a dry dark place, then the glue you use on the cards keep them bright. You can put just a very light sprinkle of baking soda powder on the wax paper you use for drying the flowers. It helps get rid of the dampness.”
-Berta from birdiecreates.blogspot.com
Table of Contents
- Method 1: Air Drying Flowers
- Method 2: Drying Flowers in the Microwave
- Method 3: Drying Flowers in a Convection Oven
- Method 4: Drying Flowers in the Oven
- Method 5: Drying Flowers with Borax
- Method 6: Drying Flowers With a Desiccant
- Method 7: Drying Flowers in Sand
- Pressing Flowers
- 4 Dried Flower Crafts to Try
Method 1: Air Drying Flowers
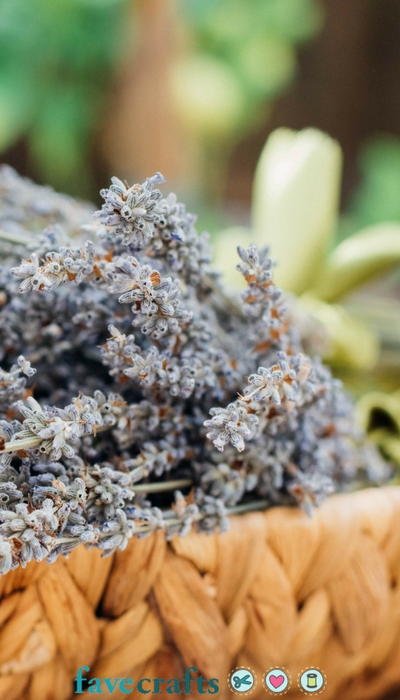
Air drying flowers is the "old-fashioned" method of drying. It's easy to do because most of the work is just waiting! It's inexpensive, plus the drying flowers will make your home smell incredible. For this method, you can hang the flowers upside down from just about anything, like rafters, pieces of wood, or tension rods.
What's really important with air drying is that the flowers remain in a dry, dark place. Moisture and light will cause browning in the flowers, causing them to lose their color.
Something to note is that this method will make your flowers very stiff and almost brittle, so proceed with caution. This method will also make certain bright colors (especially hot pink) fade.
Instructions:
- Separate the flowers into bunches of 6-8 flowers with their stems attached.
- Tie a string around the bunches that is tight enough to hold them together but not so tight that the stems become damaged.
- Use string to hand the bunches upside down from a dry, warm, and dark place.
Note: Be sure to keep enough space between the bunches so that they do not touch. - Leave the flowers undisturbed for four weeks.
Method 2: Drying Flowers in the Microwave
This method for drying flowers is great because it really only takes a few minutes. This method is like magic! All you need is two microwave safe plates, paper towel, and the flowers.
The only real downside to this method is that you might have to dry your flowers in batches instead of all at once. Be careful with this method if you are drying flowers with extremely delicate petals. They are likely to tear or turn brown if they are in the microwave too long. It's best to start out with flowers that are a little sturdier.
There is an alternative method to drying flowers in the microwave, which involves submerging the flowers in cat litter and microwaving in short bursts. This method works well, but if you decide to do this, know that there is a risk of the cat litter damaging the petals.
Instructions:
- On a microwave-safe plate, sandwich the flowers you are drying between two layers of paper towel.
Note: Using two pieces of paper towel on either side of the flowers works best. - Cover the whole thing with the second microwave-safe plate.
- Microwave in roughly 30-second increments.
Note: Certain types of flowers will take longer than others. - Repeat until the flowers are completely dry.
Method 3: Drying Flowers in a Convection Oven
This method is another great method for drying flowers in a hurry. It only takes a few hours, and you will get stiff, brittle petals that retain much of their color. This method is very similar to drying with a regular oven; however, convection ovens often have much better ventilation, which means that less moisture will be caught inside the oven.
Instructions:
- Line a small baking sheet with aluminum foil.
- Arrange the flowers on the baking sheet and place in the convection oven.
- Heat the flowers at the lowest possible temperature (or 100-150 degrees F) for about two hours.
- Check the flowers every 20-30 minutes and rotate them, so they will dry evenly.
- Remove the flowers from the oven and let them cool.
Method 4: Drying Flowers in the Oven

Like drying flowers in the microwave, this method is great because it works so quickly. Drying flowers in the oven is simple to do, and it really only takes a couple hours. Plus, this method will retain a lot of the flowers' colors and will leave the shape largely intact. If you don't have a lot of room in your house to air dry your flowers, this method is a great alternative.
Instructions:
- Set your oven to the lowest temperature it can go. 150-200 degrees F is fine.
- On a metal drying rack or thin cookie sheet, arrange your flowers.
Note: Do not stack your flowers. If you have more flowers than will fit on your cookie sheet, simply dry them in batches. - Place the flowers in the oven.
- Check them every 20-30 minutes, turning them, so they dry evenly.
- After about 1.5 to 2 hours, your flowers should be dry.
Method 5: Drying Flowers with Borax
Did you know you can dry flowers with Borax? This fun method is a unique way to get the job done. Plus, it's a great replacement for drying with a desiccant. This method is less expensive than regular desiccant packs, and you won't get the same brittle flowers that you do with air drying.
Instructions:
- Mix two parts Borax with one part white cornmeal.
Note: You can use regular sand if you don't have cornmeal, but bear in mind that the sand might damage the petals. - Let the flowers sit in the Borax mixture.
- Leave the flowers in a sealed container, such as tupperware, for two weeks.
- Keep a close eye on the flowers during the two weeks; if left two long, the Borax can destroy the flowers.
Method 6: Drying Flowers With a Desiccant
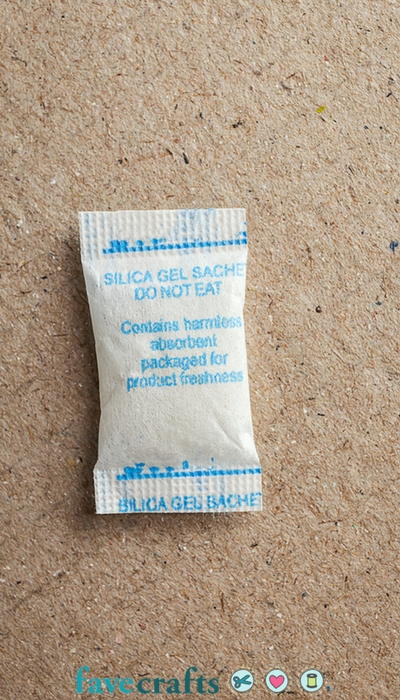
You probably know silica gel packs (or dessicant packs) as those little packets of granules that prevent moisture from forming. But really, a dessicant is simply anything that acts as a drying agent to keep out moisture. And you can use them for drying flowers, too!
By far the most common is in the form of silica gel packets. You can find these just about anywhere from your local craft store to the grocery store. What's great about using silica gel is that it will turn pink, so you know when the water from the flowers has been absorbed. The down side to this method is that the coarse granules can sometimes puncture the petals of your flowers.
Instructions:
- Lay the flowers in a sealable container, like a deep tupperware dish.
- Slowly and carefully cover the flowers with the silica gel granules.
- Seal the container tightly.
- Leave the flowers to dry for one week.
- Remove the flowers gently, careful not to puncture the petals.
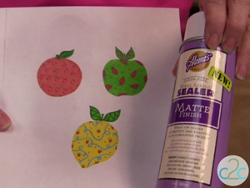
- (Optional) Spray the flowers with a surface sealer and leave them to dry on wax paper.
Method 7: Drying Flowers in Sand
This method of drying flowers is very similar to drying with silica gel and Borax. Oolitic sand is the sand of choice for flower-drying connoisseurs. Oolitic sand granules are hollow, which is great for absorbing water. They're also have a high pH, which helps your flowers retain their color, and they're smooth, which prevents damace to the petals. If you plan to use play or builder's sand to dry your flowers, it must be washed first.
This method will give you the best color and shape retention of any method. The down side is that oolitic sand is often hard to find.
Instructions:
- To wash play or builder's sand:
Place in a bucket with water and a small amount of liquid detergent. - Stir and pour off the water.
- Repeat this until the water runs clear.
- Dry the clean sand in the oven at 250 degrees F.
- Add 3 tablespoons of melted paraffin wax, 1 tablespoon of baking soda, and 1 tablespoon of silica gel for every 15 pounds of sand.
Note: This creates an effect in the sand that's similar to oolitic sand. If you are using oolitic sand, you can skip steps 1-5. - To dry the flowers:
Place the flowers in a sealable container, like a tupperware dish. - Slowly add about one inch of sand to the container, covering the flowers.
- Seal the container tightly.
- Leave the flowers to dry for 1-2 weeks.
- Remove the flowers very gently.
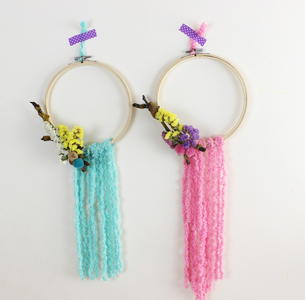
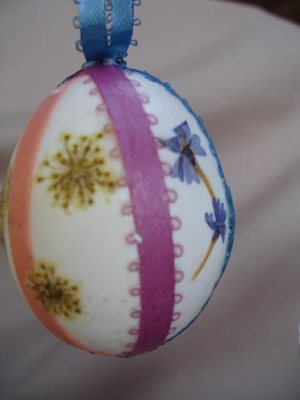
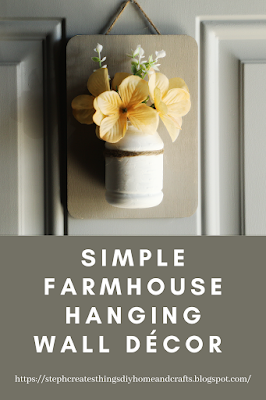
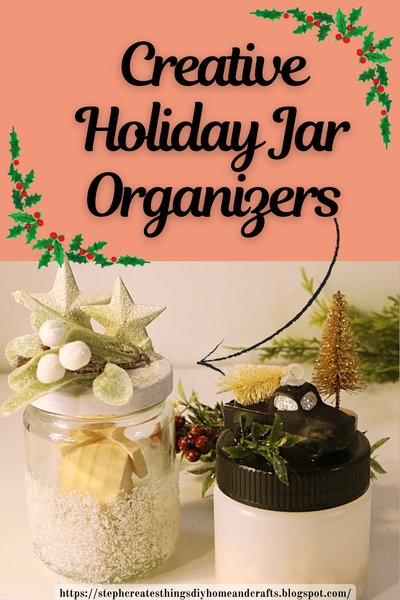
4 Dried Flower Crafts to Try
Read NextMacrame Wall Hanging for Beginners
Your Recently Viewed Projects
EditorLP
May 31, 2018
Oh man, I really wish I had read this article before my wedding. I currently have my bouquet hung to dry in my pantry, but I think I waited too long to take it out of the vase and hang it. It lost a lot of the color and started to brown. Hopefully a few of the blooms will still be salvageable!
CScarnegie
Aug 25, 2017
Ahhhh I love this!! Dried flowers are so gorgeous, and I'm so glad I now have plenty of techniques to use when I try it myself!
springchix71 68572 34
Jun 12, 2011
Last October I dried my cut hydrangeas flowers upright in vases without water and they are still fine. When this season is over, I plan to do the same. Nothing else was used. Try it.
Carmen40
Apr 12, 2011
I have been trying different methods for drying flowers for years. Methods I have only heard about from other people. I am very happy to find this website where I can get the information I need. This website is wonderful.
dholm46
Oct 04, 2010
I have used all of the above forms to dry flowers...when I'm making dried flower bouquets my fav way to just to hang dry the flowers. I think it gives the flowers more character and charm. I used to know of a way to dry hydragena's with water and mineral oil. I misplaced the receipe and would like to find out the ratio of water to mineral oil is. If anyone knows I would sure appreciate the info.
Crafter 5862547
Jun 13, 2010
I use my silica gel flowers to decorate packages. Most people say they are so lovely that they save them. Roses are my favorite and baby breath. I also take bowls and turn them upside down on rimmed dishes or candle flat holders. If I have a request to preserve wedding or funeral flowers, I make such an arrangement, and them use clear drying glue to seal them in. If kept out of the sun, they last forever. It makes a wonderful keepsake that is priceless. I have also found that adding little bunches of tulle and dried babies breath is very nice.......try it....you'll love it.
hq9858hotmailcom
Apr 18, 2010
I actually have a microwave press which works great! I just wish it was bigger as you can only do one layer at a time and it's only 8x8 inches. Retains color very well. I also use a small press i bought and one I made using the same principals. You need to get blotter paper to use instead of papertowels or newsprint. Newsprint PH takes away color and papertowels leave the pattern on the flowers.
Member 20442
Apr 14, 2010
I really enjoyed this information.What I would like to know is what is the best way to clean the dust off of your dried flowers?
Crafter 20802
Nov 07, 2009
I learned that if you put a flower before it has wilted (preferably after it has just been picked or a day or two later but not required) in to the middle pages of a heavy book like a dictionary and close it, leave it there for a few days to a week then it should be like a pressed flower for preseveration. The draw back to this is that it doesn't usually save the color. This method is best used for those that don't really care about color preservation so much.
Report Inappropriate Comment
Are you sure you would like to report this comment? It will be flagged for our moderators to take action.
Thank you for taking the time to improve the content on our site.


