Bridal Shower Jar
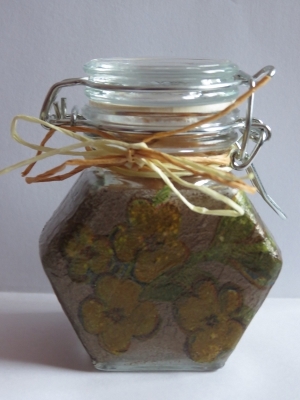
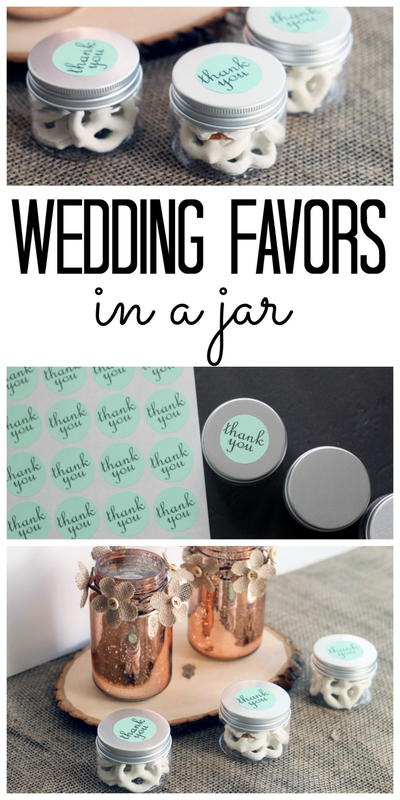
This Bridal Shower Jar is a wonderful way to thank someone for coming to your bridal shower or wedding. Turn a simple glass jar into a decorative and sweet wedding or shower favor that guests are sure to love and cherish. Fill the jars with homemade candies, fudge or other sweets for a gift that will keep on giving!

Materials:
- One small glass bottle with a flip-top lid
- White tissue paper
- One napkin with pictures of yellow and orange flowers
- Mod Podge
- Water-based varnish
- Antique bronze acrylic paint
- Cream and caramel colored paper craft string
- A few sheets of old newspapers to protect the working area
- 10/32” paint brush
- Sponge ~ use one that was inside a medicine bottle
- Hairdryer
- Standard scissors
- Miniature cubes of vanilla-flavored home-made fudge
Instructions:
-
Wash the bottle in warm soapy water and then leave it upside down overnight to dry thoroughly.
-
Cut small strips from the white tissue paper.

-
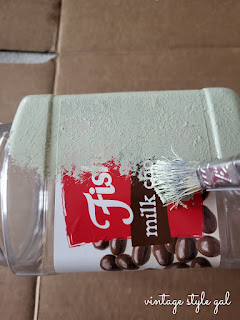
Paint a substantial amount of Mod Podge to the bottle.
-
Put the first strip of tissue paper in position on the bottle. Paint Mod Podge over the strip of tissue paper, so that it will stick to the bottle. As the tissue paper can stretch or tear easily, it is best to start painting from the middle of the strip towards the sides, and working in small triangles.
-
Use the hairdryer to dry the strip of tissue paper.
-
Repeat steps 4-5 with the other strips of tissue paper, until the bottle has been covered with the white tissue paper.
-
Use the sponge to give the bottle a wash with the antique bronze acrylic paint. Remember not to use too much paint when using a sponge, as this will cause the paint to smudge. Remove excess paint by dabbing it onto a sheet of newspaper before applying the sponge. Allow the bottle to dry thoroughly.

-
Cut out the flowers from the napkin and remove the bottom layers from all the napkin cutouts.

-
Put the first cutout in place and paint a substantial amount of Mod Podge over the top of the cutout, so that it will stick to the bottle. Remember to start painting from the middle of the cutout towards the sides, and working in small triangles. The Mod Podge must now only be applied to the top, and must not run underneath the cutout.
-
Use the hairdryer to dry the cutout.
-
Repeat steps 9-10 with all the other cutouts.
-
Paint a thin layer of Mod Podge over the bottle. Remember to paint only over the white tissue paper cover and over the flowers. The Mod Podge will protect the pictures and give the product a smoother finish.
-
Dry the bottle thoroughly with the hairdryer.
-
Add a layer of water-based varnish to the bottle, again only painting over the tissue paper and flowers. Use the hairdryer to dry the bottle thoroughly.
-
Fill the bottle with the cubes of fudge.

- Tie the paper craft strings around the bottle and make a bow.
Read NextWinter Pinecone DIY Wedding Favors

