Fluffy White DIY Snowman
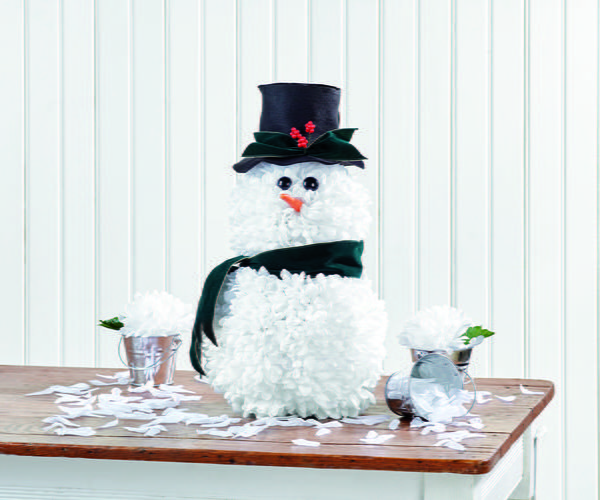
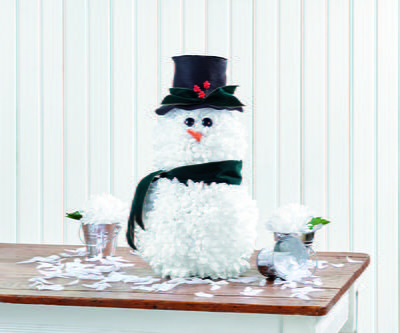
This Fluffy White DIY Snowman is a super cute way to bring the magic of winter into your home. Handmade Christmas decor like this can instantly get you into the holiday spirit, and kids and adults of all ages are sure to appreciate this cute and cuddly snowman! Let him welcome guests as they enter your home or have him on display on your mantel all winter long. The best part about snowman decor is that it easily transitions into the months following Christmas, so even after the big holiday is over, you can continue to have your snowmen on display through the end of February. Best of all, this snowman is made with a secret material...flowers!!
Time to CompleteIn an evening
Primary TechniqueGeneral Crafts

HolidayChristmas
Materials:
- FloraCraft® Make It: Fun® Foam
- Balls: 6” and 5”
- (2) Large White Mum Bushes
- (¼ Yard) Felt: Black
- (1-½ Yards) 2” Velvet Ribbon: Green/Gold Stitching
- Small Faux Carrot or Wood Dowel Painted Orange
- 1” Half Round Black Eyes
- Small Red Berries
- Toothpicks
- Wooden Dowel
- Make It: Fun® Foam Cutter or Serrated Knife
- Low-Temp Glue Gun
- Scissors
- Wire Cutters
Check out this project and other great DIY Christmas crafts in our free eBook 20 Easy DIY Holiday Projects!
Instructions:
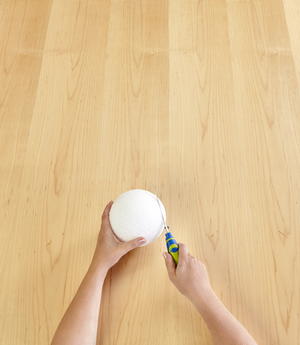
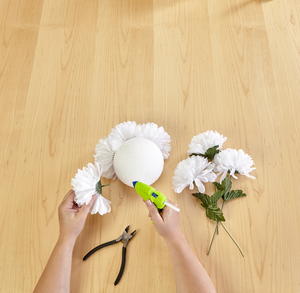
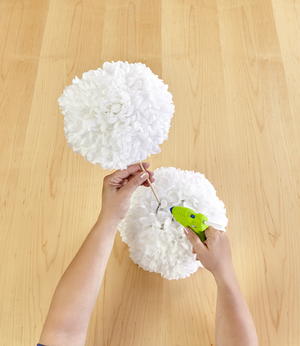
- Cut a flat spot off the bottom of the 6” ball with the serrated knife. Cut the flowers from the stems leaving about a 1” stem. Glue the flowers side by side around the balls to completely cover. Leave a small bare space at the bottom of the head and the top of the body to connect the two balls together. Also, leave a small bare space at the bottom of the body so the snowman will stand. Insert the wooden dowel into the bottom of the head and glue the other end into the body.
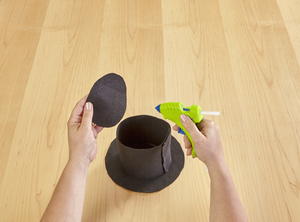
- Cut a 9” circle, 6” circle and a 16” x 5” rectangle from the black felt. Glue the rectangle ends together into a ring and glue the ring centered on top of the 9” circle. Glue the 6” circle on top of the ring to complete the hat. Tie a small length of ribbon into a knot, then glue the knot and the berries to the hat.
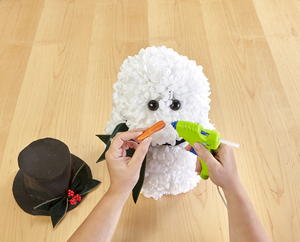
- Tie the remaining ribbon around the neck for the scarf. Trim the ends into a “V” shape. Glue a toothpick to the backs of the eyes then glue in place on the face. Glue the nose in place below the eyes. Place the hat on the head.
Your Recently Viewed Projects
mulberrygalprinces s
Sep 28, 2016
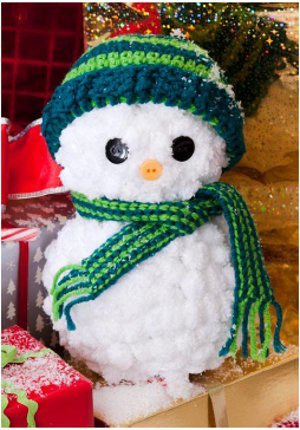
This is so cute. It has inspired me. But I need to cut corners on decorating cost so I have wrapped the balls with yarn I had, it's Pipsqueak yarn that looks like snow. The nose is a broken off tip of an orange crayon and the eyes are straight pins with black balls on the ends, you could also use tiny black beads on pins.
Report Inappropriate Comment
Are you sure you would like to report this comment? It will be flagged for our moderators to take action.
Thank you for taking the time to improve the content on our site.

