The Peggy Skirt
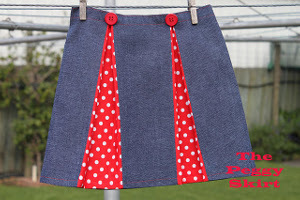
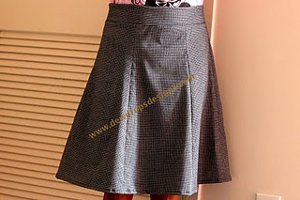
The Peggy skirt is influenced from the chic fashion of the 1950s. This free easy sewing pattern will make you feel like the lady of the past and will become one of your favorites in your wardrobe.
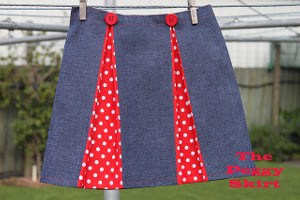
Materials:
- 1/2 metre (yard) denim
- 40 cm (16") contrasting fabric (I used some quilting cotton - you only need a small amount)
- thread/sewing machine
- 2 buttons
- 1cm wide (1/2") elastic
Instructions:
- For the front of the skirt you will need to have 3 denim pieces and 2 contrasting fabric pieces, 11.5cm wide, 38 cm long (4.5"x15")
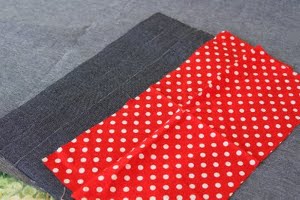
- For the back you'll need 1 denim piece 38cm x 38cm (15" x 15")
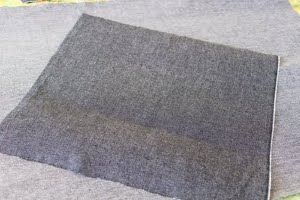
- Those measurements will make a skirt that is approximately a size 3. By adjusting the widths and lengths you can make it for any size. Just measure your child's (or your) waist, halve it, add an inch on either side for seam allowance, and that is the width of your back piece. For the front piece, you want the denim pieces to add up to make that measurement (eg. If its 18" you will cut 3 pieces of denim 6" wide each, and cut your 2 contrasting pieces the same.)
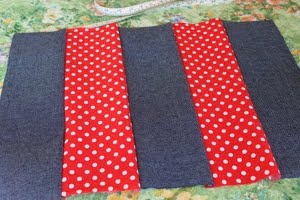
- Pin together and sew the front skirt pieces together using a 1/4 cm seam allowance. The denim pieces should be the outside panels and the centre panel. You will end up with a piece like this:
- I cut my seams with pinking shears to reduce fraying, then pressed the seams open.
- Next, mark the centre point of your pleats.
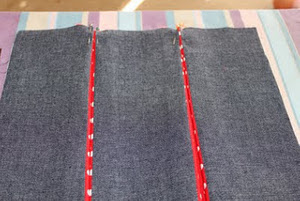
- Fold the denim either side so your pleat fabric is concealed inside the pleat. Pin the pleat into place. Once you have both pinned it should look something like this:
- Machine baste across the top of your pleats to keep them in place.
- Fold the top of the skirt over 1/2cm (1/4") and press. Fold over 2 1/2cm (1") and press. This creates a casing which will be decorative on the front of the skirt and will coordinate with the elastic casing on the back of the skirt.
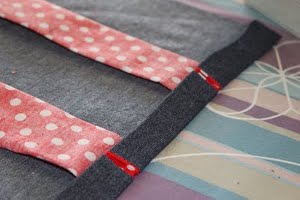
- Sew the casing and top stitch along the top of the skirt.
- Put the front section aside, take the piece of denim for the back of the skirt, and create a casing for the elastic using the same measurements as for the front piece.
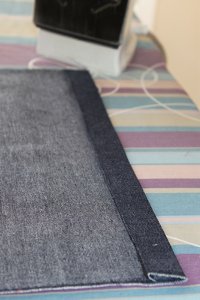
- Stitch the casing in place then topstitch along the top of the back piece so it looks the same as the front.
- Cut your elastic approximately 2/3 size of the width of the skirt (mine was 15" so I cut the elastic 10")
- Thread the elastic through the casing and pin it into place at each end.
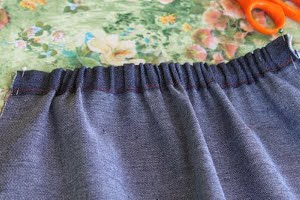
- Pin the sides together and sew the side seams.
- I don't have an overlocker (serger) so I finished them by using a zig zag stitch, but for you lucky ladies who have overlockers, that would be the ideal way to finish the seams.
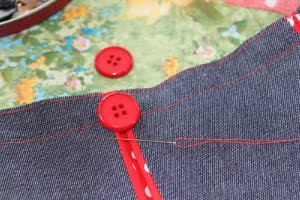
- Hem your skirt to the desired length, then hand sew your buttons onto the front of the skirt, over the top of your pleats and boom, you're done.
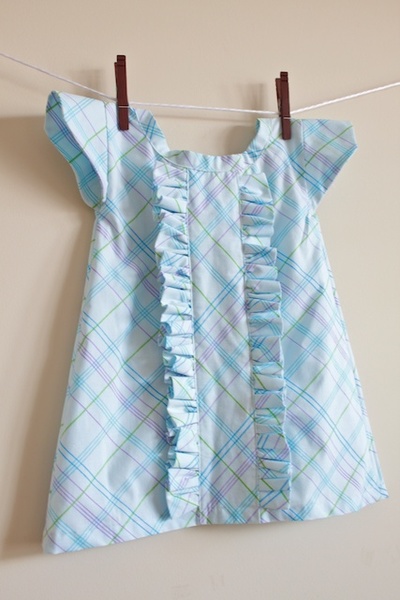
Read NextGirl's Ruffle Dress from Pillowcase
Your Recently Viewed Projects
EditorLP
Nov 03, 2016
This skirt is such a cute retro style! This would be precious for a little girl. If I made it myself, I would probably make it in a monochromatic color-scheme to make it a little more grown-up.
solodeogloria 3962 337
May 22, 2013
Hey, ladies. I think you are right that for a lady you would need to measure the hips, but if you look carefully at the directions, she HAS written "a child"... and for girls we would need to measure the waist.
lucyang15 2251150
Jul 11, 2012
The skirt is really cute for a little girl. However, I don't understand the measures. Point 3. you mention to measure the waist, halve it, add 1 inch, and that is the width of the back. Shouldn't it measure the hips, halve it? please let me know. thank you,
mom2347 0741801
Jun 02, 2012
Correct me if I'm wrong, but shouldn't the instructions in #3 say 'measure you HIPS'?
Report Inappropriate Comment
Are you sure you would like to report this comment? It will be flagged for our moderators to take action.
Thank you for taking the time to improve the content on our site.

