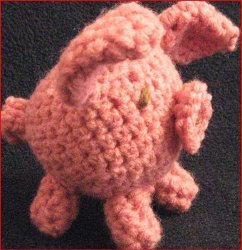
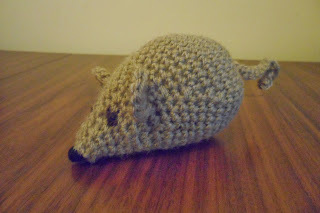
Pink Pig
Oink oink. Crochet yourself this amazingly cute pink pig. Collect them for yourself or create it for a friend. Amigurumi is the newest craze.
Find this and other fun amigurumi patterns at "19 Free Amigurumi Crochet Patterns"!
Materials:
- Used: Red Heart Comfort 3147 (Dusty Rose)
- Worsted weight yarn in pink or other desired color.
- Polyester fibrefill
- Crochet hook : 4.25mm or G hook
- Optional: Two 6x9mm pony beads or two washer-backed safety eyes** in your choice of colour and size. Yarn needle, for weaving in ends and sewing the pieces together.
** If using safety eyes, I recommend making a small support round that you'll but the eye's post through before the body, to give the post and washer more fabric to hold as well as to further hide the washer. If you don't use this round, the washer may show through holes around the eye. Just sc 6 in a circle using the amigurumi double ring. Pull it closed so the middle hole is big enough to recieve the safety eye post and bind it off with a slip stitch. weave in the end and pull it into the stuffing of the body when attaching the eyes, to hide and secure it. Alternatively, you can use a felt circle in a contrasting colour, to add dimension and detail to the eyes.
Abbreviations:
R = round (or row)
sc = single crochet
st = stitch
tog = together (sc 2 tog = decrease)
sl st = slip stitch
ch = chain
instructions between * are repeated
Steps:
Body:
R1 - sc 6 in a circle (amigurumi double ring) = 6st
R2 - 2 sc in each st around = 12 st
R3 - *sc 1, 2 sc in next st* = 18 st
R4 - *sc 2, 2 sc in next st* = 24 st (For bead eyes, crochet in pony beads twice on this round, on either side of the round)
R5 to R8 - sc around = 24 (If using safety eyes, insert them after you've made enough fabric to support the washers)
R9 - *sc 2, sc 2 tog* = 18 st
R10 - *sc 1, sc 2 tog* = 12 st
R11 - *sc 2 tog* = 6 st
If you wish, turn the form inside out to get a different, textured surface showing. Stuff it with fibrefill as you get close to the end here. Bind off with a sl st, leaving 12" or so, and sew the hole closed. With this long end, ch 4. Put 3 sc in the 2nd st from the hook and 3 in each ch leading back to the body. Bind off with a sl st and weave in your end. This should create your pig's curly tail.
Feet (make 4):
R1 - sc 6 in a circle (amigurumi double ring) = 6st
R2 to 5 - sc around.
Stuff each with a small ball of polyester fibre fill and sew the edges to the underside of the pig, two in front, two in back. Exact placement is your preference.
Nose:
R1 - sc 6 in a circle (amigurumi double ring) = 6st
R2 - 2 sc in each st around = 12 st
Bind off with a sl st and sew this to the face, dead centre with either your cut end or a contrasting colour for nostrils. Sew it in two spots, where you want nostrils.
Ears (make 2):
R1 - sc 6 in a circle (amigurumi double ring) = 6st
R2 - *2 sc in next st, sc 2* = 8st
R3 - *2 sc in next st, sc 3* = 10st
R4 - *2 sc in next st, sc 4* = 12st
R5 - *sc 2 tog, sc 3* = 10st
R6 - sc 2 tog, sc 2, sc 2 tog, sc, sl st last st = 8st
Bind off and cut, leaving a 4" or so end, with which to sew the ear to the top of the body, just above the face.
If you didn't use pony beads or safety eyes, embroider your eyes on after placing the nose and ears, for best control over the facial expression and placement. You can also embroider a smile, frown or smirk under his nose, if you like.
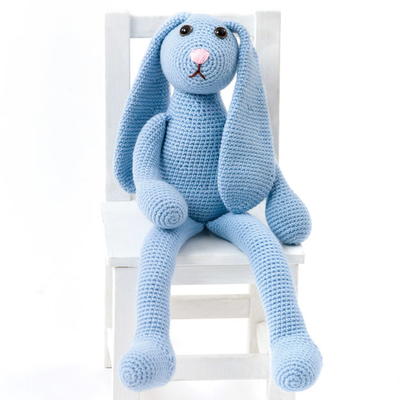
Read NextBlue Crochet Bunny Pattern
Your Recently Viewed Projects
sofia7shepherd 303 5420
May 11, 2011
This is such a great pattern!!! I am going to make them every birthday and christmas for presents!!! Thank you for sharing!
3fiavan
Jun 16, 2010
Thanks for the cute pattern. I made it for my little son. http://3fiaalkot.blogspot.com/2010/06/vegre-horgoltam-megint.html
Report Inappropriate Comment
Are you sure you would like to report this comment? It will be flagged for our moderators to take action.
Thank you for taking the time to improve the content on our site.

