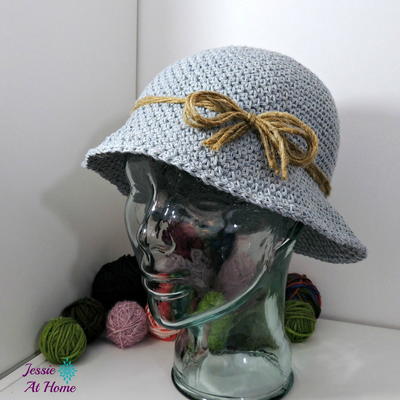
Crocheted Hats to Donate
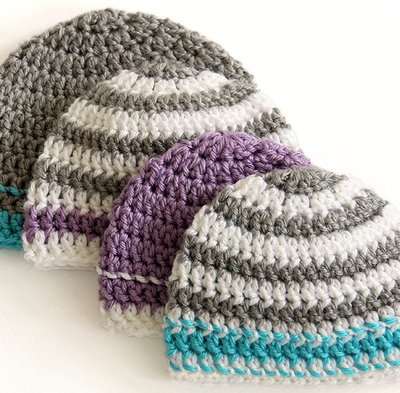
Do you love easy crochet patterns that you can whip up in an afternoon? Then you're going to love these Crocheted Hats to Donate. Easy enough for beginners, these simple crochet hat patterns work up quickly and effortlessly and make wonderful gifts to donate to your local shelter or hospital. Available in a variety of sizes, this simple crochet hat pattern is a wonderful one to add to your collection of must-have project tutorials.
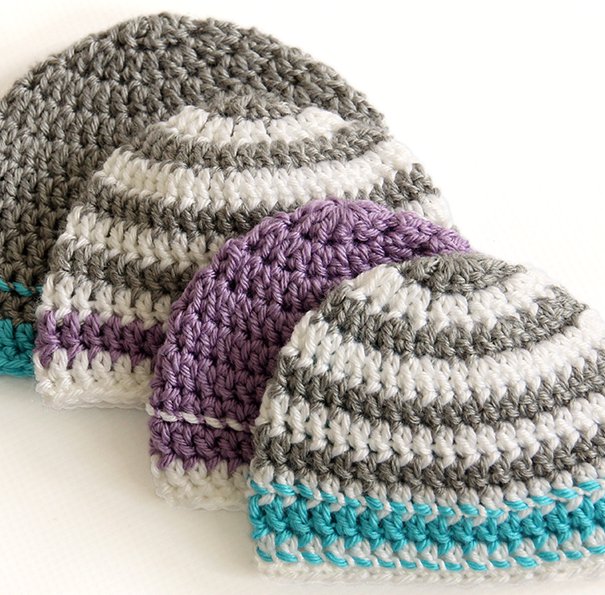
Materials:
- A soft medium weight yarn. I used Red Heart Soft. Choose as many different colors as you’d like.
- Crochet Hook – US J10/6 mm. I used this larger hook size for the baby hats so that the hats were a little more airy and stretchy but feel free to use a smaller hook if you prefer.
- Yarn or tapestry needle
- Scissors
Instructions:
-
Ch 5 and then join together into a ring with a sl st (keep all your stitches loose). Or use the magic ring method if you prefer.
-
Ch 3 and then make 11 double crochets into the ring. Join with sl st.
-
Ch 3 and then 2 dc into the same stitch. Now do 2 dc in each stitch around and then sl st to join.
-
Ch 3, 2 dc in the first stitch then 1 dc in the next and the repeat this pattern for the entire row. Sl st to join.
-
Ch 3, 2 dc in the next stitch then 1 dc in the next TWO stitches and repeat in this pattern for the entire row. Sl st to join. (*Hats for preemie babies skip to step 7 – note that hospitals ask that hats for preemie’s be a little bit longer so that they can fold back the edge of the hat)
-
Ch 3, 2 dc in the next stitch then 1 dc in the next THREE stitches and repeat in this pattern for the entire row. Sl st to join. (*For larger hat designs you’d just keep increasing the number of stitches between each dc by 1 until you get the size you’d like. Example: the next row would be 2 dc in the next stitch then 1 dc in the next FOUR stitches, the next row would be 2 dc in the next stitch then 1 dc in the next FIVE stitches, etc…)
-
Ch 3, double crochet in each stitch and join with a slip stitch. Continue this for each row until the hat is as long as you want it. (I usually do 6 rows for my baby hats)
-
Final row, chain 1 and then sc in each stitch and slip stitch to join (keep this last row loose or else it will make the hat too tight at the bottom).
- Fasten off and weave the ends into the hat using your yarn/tapestry needle.
Tips:
- For the striped hat design just alternate different colors for each row (and add a third colour in the second last row of dc’s if you’d like). For the hat with the second color along the rim, change the color in your last row of dc’s and then keep that color for step 8. I really like having at least 2 colors in the hat design, it just makes it a little more exciting to look at and you can have fun coming up with contrasting colors.
- To add the single woven thread through the hat, thread your tapestry needle with a piece of yarn about 24″ long. Starting at the back seam of the hat, weave in the yarn and tie in with a knot and then weave in and out of each stitch around one row. See photo below for exactly where you put your needle through to get the same design I’ve done. When you’re done the row fasten off and weave in any ends.
Read NextGrey Garden Crochet Hat
Your Recently Viewed Projects
len10pin
Apr 23, 2017
I love that these hats are fast and easy. Since many of my family members, including my oldest son, los their hair during chemo. I want to make some and donate them to the cancer patients where my son took chemo. I know the patients would love these cute hats to wear.
lcarr
Dec 31, 2016
These hats are incredibly easy and quick to make. I have made one of these hats in as little as 15 minutes. They are easy to adjust. They are plain, so you can embellish them any way you like. If you need something quick and versatile that you can make in a hurry for gifts or a bazaar, this is it!
Report Inappropriate Comment
Are you sure you would like to report this comment? It will be flagged for our moderators to take action.
Thank you for taking the time to improve the content on our site.

