Magnet Board Frame
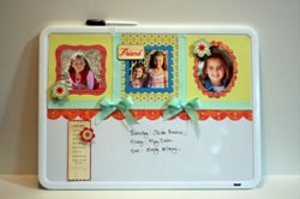
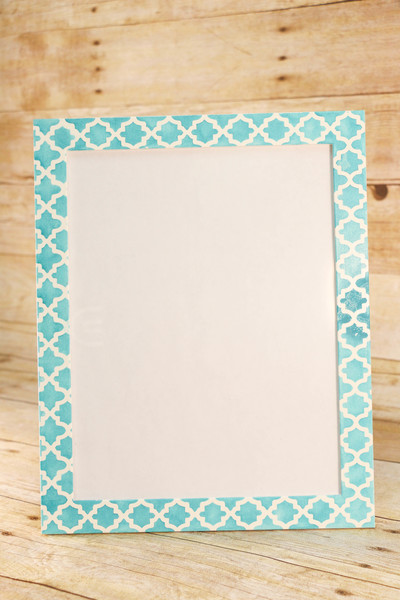
Use a metal sheet, wood frame and scrapbook papers to create a clever Magnet Board Frame from Imaginisce for displaying pictures. You can switch out pictures quickly and easy with homemade magnets.

Materials:
- 12” x 12” Good Morning Sunshine (aqua side) paper #001897
- 11” x 11” Tweet Talk paper #001895
- 12” x 12” Daisy May (striped side) paper #001895
- 6" x 6" Twinkle Twirls papers paper #001893
- Flutter Phrase Rub-ons #001910
- i-top Brad Maker Tool #001309
- 3 - Large Magnet Daddies #002180
- Chestnut Roan chalk ink, Clearsnap
- 12" x 12" Wood Frame w/ Glass
- 12" x 12" Metal Sheet
- Pattern Sheet
Instructions:
- Using the pattern on page 2, cut shape from aqua side of Good Morning Sunshine.
- Ink edges of all trimmed papers using the Chestnut Roan chalk ink.
- Adhere Tweet Talk paper to center of striped side of Daisy May. Now adhere aqua shape to center of Tweet Talk.
- If you're not sure where to get your 12" x 12" sheet of metal. We've found most local heating/cooling place will cut custom pieces of metal (including drilling holes) for a minimal cost.
- Paint your frame if needed. Remove back of frame and place layoutbehind glass, then metal sheet and replace frame backing.
- Place "Sweet Thing" rub-on phrase to glass.
- Using itop Tool and large Magnet Daddies, create magnets as desired. We use the large punch and punched the flower images from the Twinkle Twirls paper.

- You can put your custom magnet board on an easle or mount to wall.
Read NextRoad Map Picture Frame

