Framed Magnet Boards
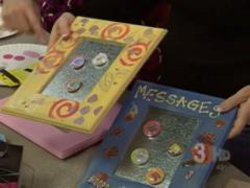
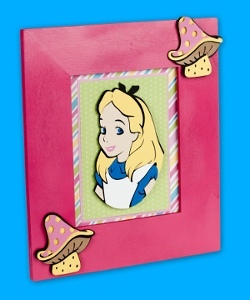
Make these cute Framed Magnet Boards with easy project instructions from Terri O. You can use the boards to keep important messages on or for treasured photos and keepsakes. Craft magnet boards are useful and fun to make.

Materials:
For Frames:
- Frame
- Paint
- Stamps
- Rhinestones
- Sheet Metal
For Magnets:
- Small Glass
- Paper or Cardstock
- Glue
- Tacky Glue
- Magnet
Instructions:
To Make Magnet Frame:
- Remove glass from center of frame. Paint frame. Before you start decorating check the back to make sure you know where the holes are for hanging properly. You want to make sure you are not decorating your frame upside down.
- For the girl frame stamp one design in a color and let dry. Repeat with two more stamps and two more colors making sure each layer is dry. Stamp over some designs so you can get a layering pattern.
- Glue rhinestones in sets of 3 or 4 around the frame.
- Insert a 4x 5 piece of sheet metal into the center of the frame.
- For the boy frame paint your frame and let dry. Once again be sure and check the back before you decorate.
- Peel and stick the sports themed stickers in a random pattern all around the frame.
- With a sharpie write the word “messages” at the top.
- Insert a 4x 5 piece of sheet metal into the center of the frame.
To Make Magnets:
- Trace a circle around the glass on a piece of paper or cardstock and cut out. Do this for each piece of glass.
- For both frames we used smaller patterned paper with sayings and cut them out smaller than the piece of paper you just cut for the glass.
- Glue the smaller paper with the pattern or saying with the words facing down on the flat side of the glass with tacky glue.
- Place the traced circle on top of that paper with tacky glue.
- Cut and place a magnet on the back of the paper.
- When you turn your glass over it will magnify the pattern or word you just glued on. Don’t worry the glue will dry clear. Make sure it is dry before you start lifting it on and off your metal piece.
Read NextPeace Lamp

