Handmade Photo Transfer Christmas Ornament
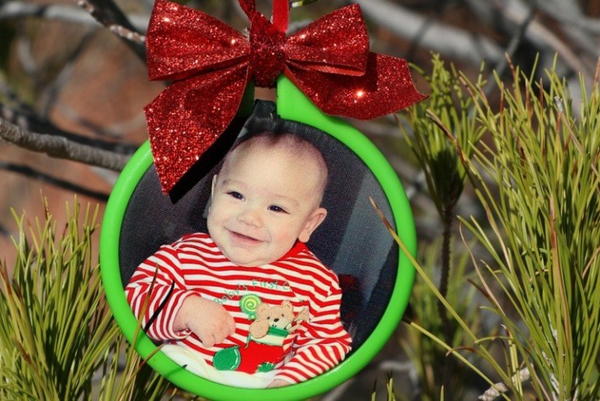
"A homemade gift for a child to give to grandparents, teachers or friends can become a wonderful treasure when it’s personalized with a photo. This quick-and-easy tutorial is a busy parent’s dream!"
HolidayChristmas
Project TypeMake a Project
Materials List
- Green embroidery hoop, 3”
- Red ribbon: satin, ¼” wide; glitter, ¾” wide
- Black cotton fabric, 5”x5”
- HeatnBond EZ Print Inkjet Transfer Sheets for Dark Fabrics (Therm O Web)
- Inkjet printer
- Fabric Fuse Liquid Adhesive
- 4” circle template
Instructions
Finished Size: 3” diameter
-
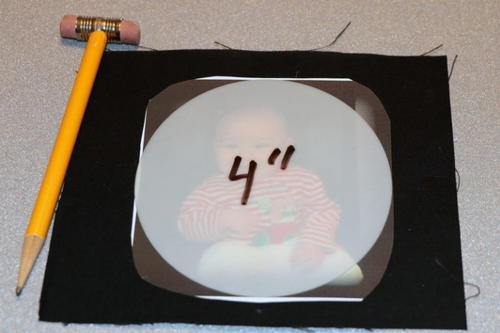
Following package instructions, format and print a 4”x4” photo onto EZ Print Inkjet Transfer Sheet. Note: Four photos will fit on a single Inkjet Transfer Sheet, good if making multiples, and photos DO NOT have to be reversed when working with dark fabrics. Let print dry for 30 minutes to avoid smudging.
-
Cut out printed image, leaving a ¼” narrow border and round corners to prevent lifting during ironing. Double check size of photo inside hoop before continuing.
-
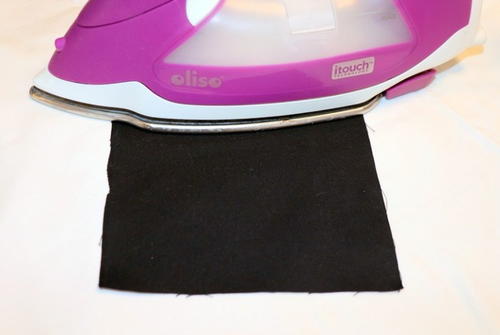
Preheat iron for 3 minutes at cotton setting, no steam. Iron black fabric square 1-2 minutes to release moisture.
-
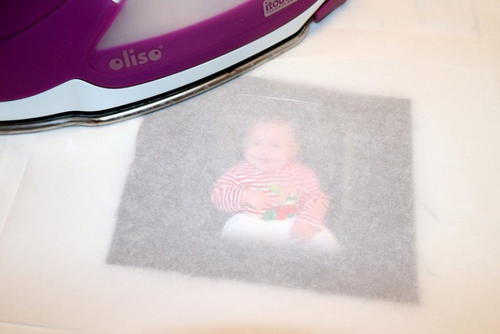
Following package instructions for ironing time, cover photo with provided pressing sheet and iron using heavy and constant pressure.
-
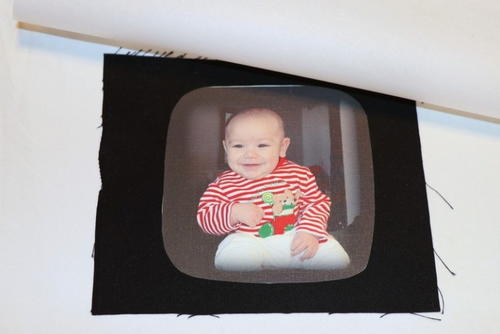
Peel away pressing sheet while photo is HOT, using smooth, even motion. Let cool.
-
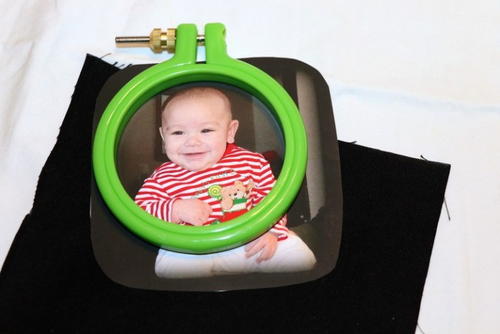
When photo is cool, draw and cut it into 4” circle.
-
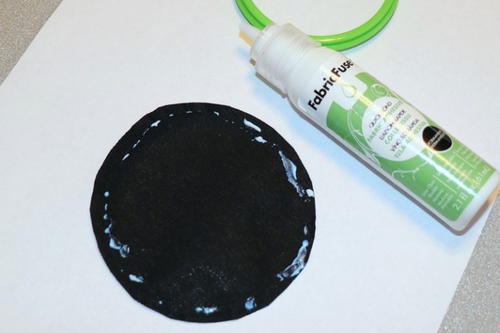
To help keep photo in place while positioning outer clamp hoop over inner hoop, spread a small line of Fabric Fuse around edge of wrong side of photo circle. Place inner hoop on glue and let dry.
-
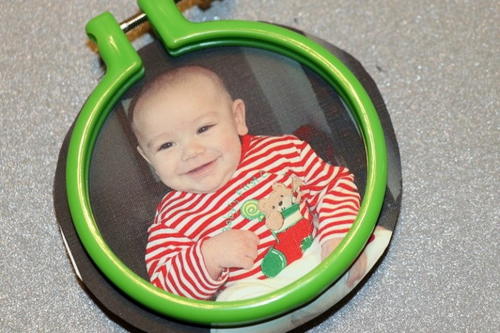
Place clamp hoop over inner hoop, easing photo between hoops. Add bow and hanging ribbon.
-
Many other holiday gifts can be made with HeatnBond EZ Print Inkjet Transfer Sheets, including t-shirts, pillows, quilts or small books with family pictures for toddlers.

