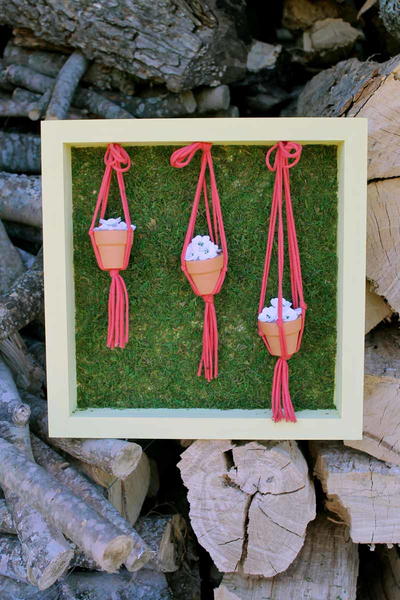
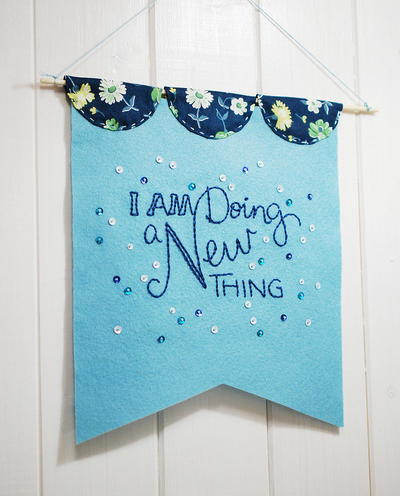
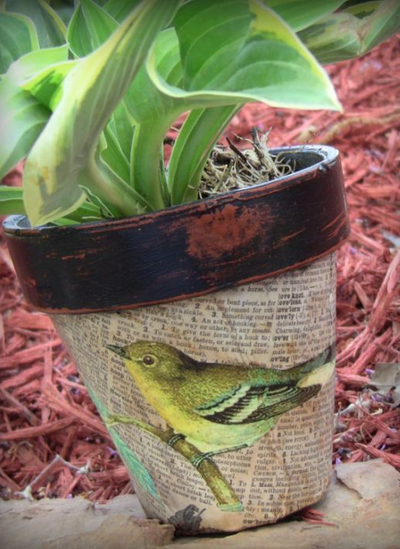
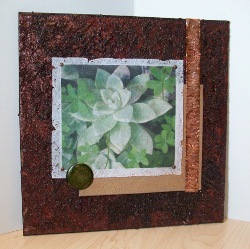
Garden Inspired Wall Art
Enjoy nature and create fantastic mixed media art - what could be better? Garden Inspired Wall Art from Lisa Fulmer is a great way to capture the essence of spring. When the weather gets cold again, you can have this piece to remind you of the season.

Materials:
- 10x10 canvas board
- Lutradur Mixed Media Sheets
- TAP Transfer Artist Paper
- Household iron and a heat gun
- Acrylic paints, sponges and brushes
- Liquitex Resin Sand Texture Gel Medium
- Spray ink and alcohol inks
- Glossy Accents clear medium
- Strong craft glue
- Sandpaper and cardboard
- Metal strip, large metal brad, mini metal brads
Instructions:
- Sponge paint canvas board randomly with two colors (I used bronze with black highlights) and allow to dry.
- Apply a generous amount of texture gel medium on top of canvas board, tap with a brush to create peaks and allow to dry...this texture looks like rich soil to me!

- Spritz the canvas board with a spray ink (I used a coffee color) and allow to dry.
- Inkjet print your image on to TAP Transfer Artist Paper and transfer to a sheet of Lutradur with an iron (follow instructions in TAP package).

- Trim edges of the Lutradur to give a white border around image (mine is about 5-1/4" x 6") and lightly blow the edges with a heat gun to distress.
- Highlight any dew drops on your plant image with Glossy Accents and apply mini brads to corner.
- Glue a sheet of thin sandpaper to cardboard to stabilize and trim to the same size as Lutradur.
- Layer the Lutradur on top of the sandpaper, offset and glue both to canvas board.
- Crinkle a narrow metal strip, flatten out and dab with a darker shade of alcohol ink to "antique" it, then glue into place as shown.
- Glue a large metal brad into place as shown, dab with alcohol ink if you want to alter the color.
- Add a self-adhesive picture hanger to the back and enjoy your new work of art!
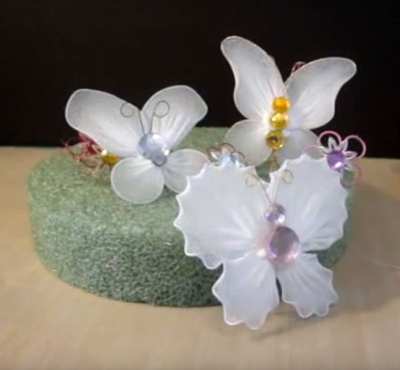
Read NextClutter of Nylon Butterflies
Your Recently Viewed Projects

Thanks for your comment. Don't forget to share!
Report Inappropriate Comment
Are you sure you would like to report this comment? It will be flagged for our moderators to take action.
Thank you for taking the time to improve the content on our site.