Tie Dye Winter Gloves
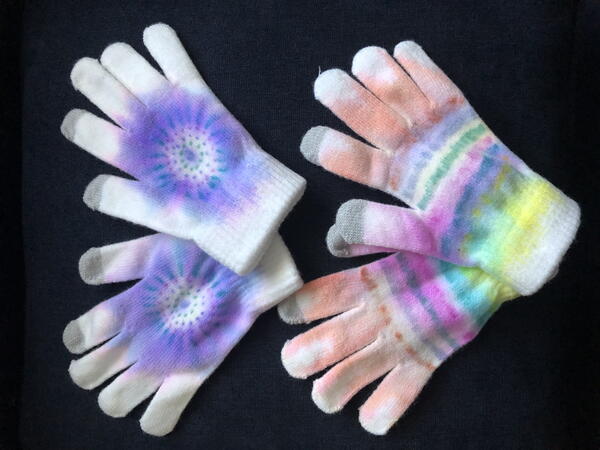
Traditional tie-dye can be a bit of a mess and tad bit involved. You have to prep your dye, wear gloves, prep your workspace, let your project sit for a while and so forth. But what if I told you that you could get the same tie-dye effect using permanent markers and rubbing alcohol? It’s possible. And while you can do this with t-shirts, let’s take a look at trying the technique out with some accessories.
With winter coming up how about trying this technique using inexpensive magic stretch gloves. These are available at numerous stores for less than $2 a pair. I actually picked these white ones up at a local craft store.
Time to CompleteIn an evening
Main MaterialFabric

SeasonWinter
Materials List
- Accessories to tie-dye
- Permanent markers in array of colors
- Rubbing alcohol
- Eye dropper
- Cookie Sheet
- Aluminum foil
- Plastic wrap
Instructions
-
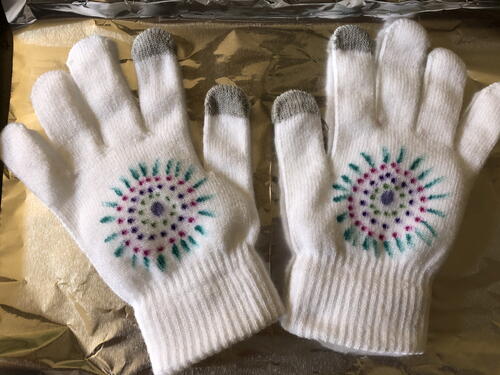
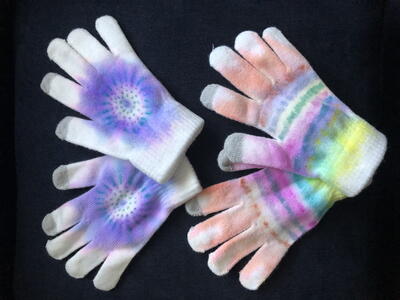
Draw a pattern on the gloves using permanent marker. I decided to only draw on one side of the gloves.
-
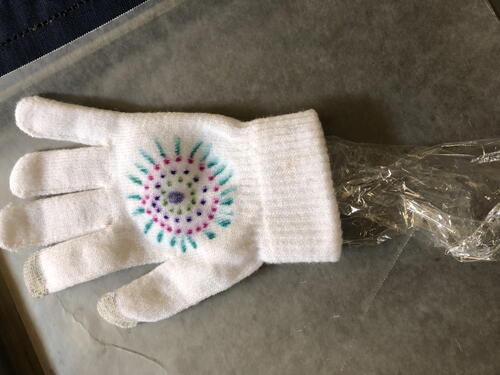
Before applying the alcohol, place a piece of plastic wrap inside of the glove to prevent the colors from bleeding too much onto the palm side of the gloves.
-
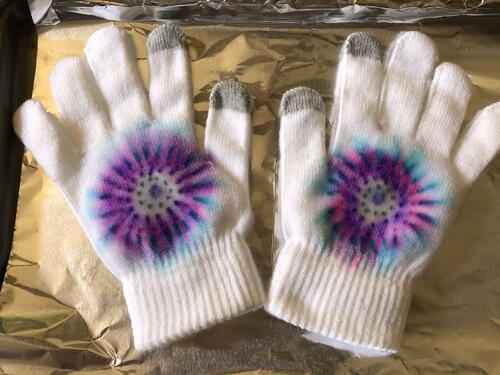
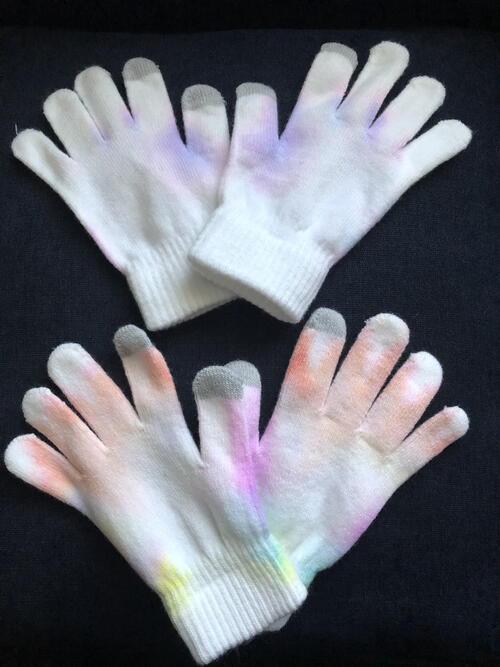
Apply the alcohol onto the gloves using a dropper. It’s not too long before the tie-dye effect is visible.
-
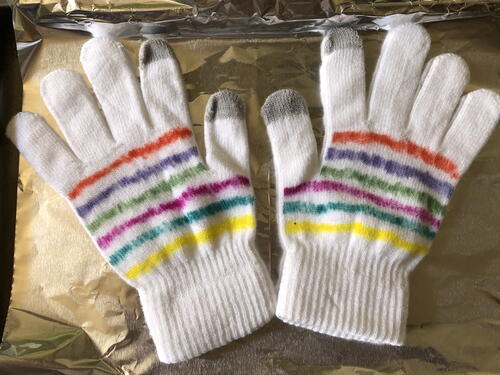
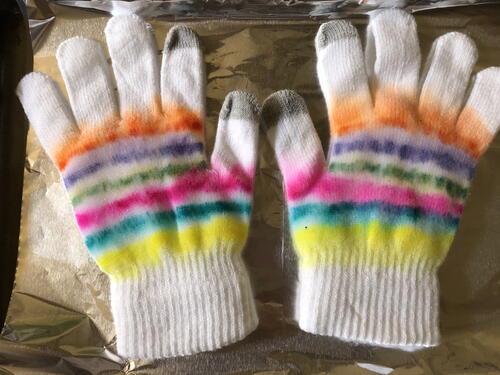
I also tried a rainbow effect as well…
-
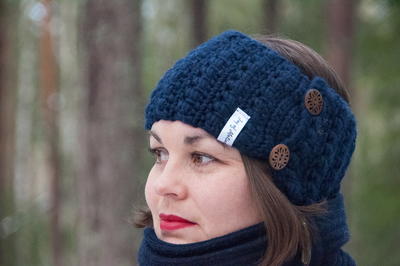
And while the color did bleed a little onto the palm side of the gloves, it wasn’t terrible. For something really unique you could make a set of winter accessories – hat, scarf and gloves - in tie-dye.
To Finish All Items:
Let your items dry completely in a well-ventilated area and then place them in the dryer on high heat for 20 minutes so that the color can set. And do not fear, your items will not smell of alcohol or permanent marker once you are done, but I would suggest washing and drying the items before using them.
Read Next100+ Tie Dye Patterns and Techniques

