Craft Foam Bicycle Stamp
In no time at all, you can create your own Craft Foam Bicycle Stamp from Heidi Borchers. Homemade craft foam projects are a quick and easy way to get creative and save money at the same time. Use your stamp to personalize clothes, accessories and so much more.

Materials:
- Pre-made canvas or denim shoulder bag
- Tulip Soft Fabric Paint – colors of your choice
- Paint brush
- Craft foam
- Clip art design of choice printed on paper
- Foam board
- Pencil
- Scissors
- Craft knife
Instructions:
-
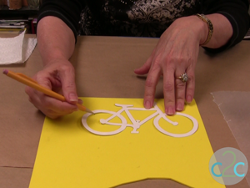
Cut pattern from paper. Lay on craft foam and trace with pencil.

-
Cut along outside pattern lines with scissors.

-
Cut along inside pattern lines with craft knife.

-
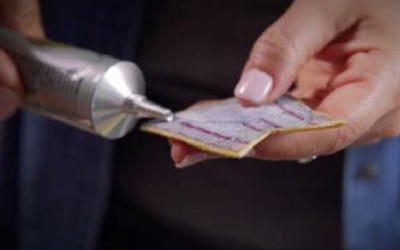
Cut foam board approximately 1″ larger than pattern. Determine which way you want stamp to face and apply Aleene’s Tacky Glue to back of craft foam design. Be sure to apply glue to all areas.

-
Press glued side to foam board. Let dry.

-
Brush paint onto craft foam. Be sure that you remove any pooled paint from corners.

-
Immediately press onto fabric. If desired, be sure to pre-mark back of foam board with lines should you wish to line up your stamped images.

-
Lift to reveal stamped image. Repeat with additional paint color(s) if desired. Let dry.

For a comprehensive video tutorial of this project, check out How to Make a Bicycle Themed Stamp from Craft Foam.
Read NextNo Sew Terry Cloth Skirt Tutorial

