This project was submitted by one of our readers, just like you.
Crochet Edge Linen Throw
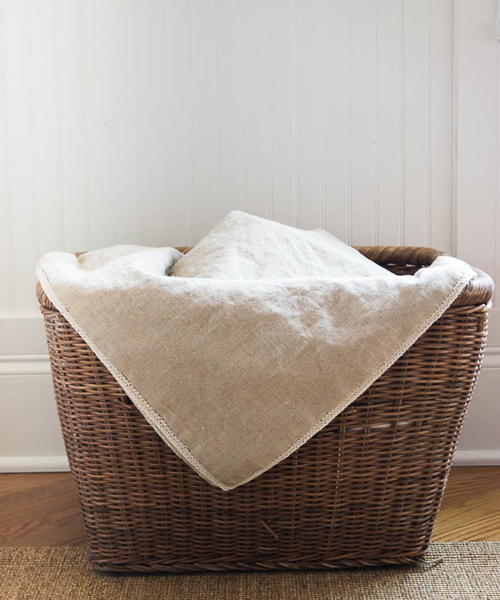
"I’m all about creating cozy in the fall and winter months, like my big chunky throw. However, I’m not keen about all those heavy blankets lying around my home in the spring and summer so I end up stashing them away for a couple of months. But there are times in the spring and early summer when I find myself needing some kind of throw to cover my legs, even in these warmer months. And while I specifically made this as a throw to cover my legs on a cool spring or summer evening, I realized that this linen throw has many uses."

Crochet HookD/3 or 3.25 mm hook
Yarn Weight(2) Fine (23-26 stitches to 4 inches)
Crochet Gauge2 single crochet stitches per centimeter
Finished Size55" by 55"
Materials List
- Linen in the desired length. I wanted a square, so since my fabric was 57" wide, I bought 1 2/3 yard.
- 1 ball DMC Pearl Cotton Ball Size 5 53 Yards-I used Cream
- 2 balls Aunt Lydia’s Crochet Cotton, #3
- Sewing Machine
- Crochet Hook, size D/3
- Needle
- Iron
- Ironing Board
- Piece of cardstock with a line drawn across 1/4? down from stop and another 1/2? down from top. See website for illustration
- Disappearing ink pen, optional
Make Mitre-edge on Linen
You are going to want to wash your throw before you sew, but before you wash it, run a quick stitch with your sewing machine or you will have a unraveled, knotted mess! Wash and dry your linen. I dried mine on a very low heat Iron down, using spray starch, 1/4" on all sides and then iron down,using spray starch, 1/2" on all sides. I found the easiest way to do this part is to have a a piece of cardstock marked at those increments that I could fold the fabric over and iron. (see website) Once you have 1/4" turned over and ironed, and then 1/2" turned over and ironed, it’s time to make your mitred corners. There is a link to a tutorial I did on mitred corners on the website. Once your mitred corners are done, you may be inclined to sew the hem down. I found it best to wait on this. If you sew it down, all your knots from sewing the backstitch will show. If you’ve starched it well, the crease will remain while you sew in the backstitch and you can sew the hem afterwards.
Edging on Linen
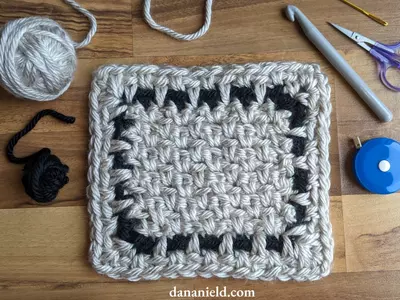
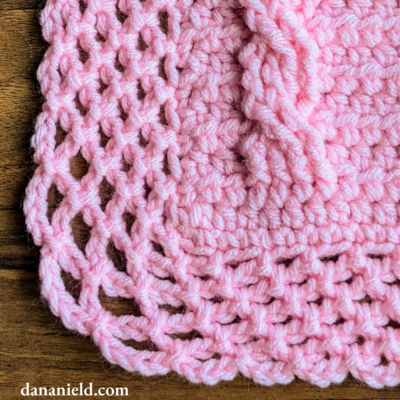
I made marks every 2 cm around the perimeter of the linen with the disappearing ink, threaded my needle with the pearl cotton and sewed the backstitch at the edge. If you aren’t familiar with the back stitch, it’s very simple. Come up from the back of your fabric and out point number 1. Then go in point number 2 and out point number 3. You will then go back in point number 1 and out point number 4. From point 4 you’ll go in at 3 and out at 5. Get it? (there is an illustrated image on my website) Once you’ve sewn the backstitch around your throw, you can get started with putting the crochet edge on. Work 4 single crochets into each back stitch segment. There is a youtube video on my site which will show you how to pick up four stitches within each backstitch segment. You’ll repeat this for each backstitch segment all around your throw. At your corners, add two extra chain stitches as your turn the corner. In other words, when you get to the last segment before the corner, after you’ve done your 4th stitch, do two chains before you start the 1st single crochet in the first segment on the next side. Make sense? Once you’ve gone all the way around, putting 4 single crochets into each back stitch segment, You can start your extending your edge as wide as you’d like. I did 3 rows of single crochet to get the edge I have. In the video on my site I mention the ‘little Vs'. That’s what the stitches look like from the top to me. In any event, you want to single crochet in every stitch, which you can tell by the V made on the previous row. When you get to each corner put 3 extra single crochet stitches in your corners, as shown in the video on my site. Do this at every corner, no matter how many rows you make your edge. Once you’ve added all the rows you want, tie off your crochet thread and weave it into the edging. To finish it, use your sewing machine to sew down the hem that you had ironed and starched earlier.
Read NextCrochet Edge Linen Throw
Your Recently Viewed Projects
princess6860504
Nov 29, 2018
You can create such an heirloom piece of linen, a multi-purpose linen cloth, for your family or to impress a gift recipient. Probably the most difficult part would be the steps to prep the linen prior to crocheting the trim. Have patience with that aspect. I have a feeling the finished linen cloth will become a beautiful addition to your screened in porch for the spring and summer months!
Report Inappropriate Comment
Are you sure you would like to report this comment? It will be flagged for our moderators to take action.
Thank you for taking the time to improve the content on our site.



![Yarn Washing Symbols [PDF]](http://irepo.primecp.com/2019/08/421747/Yarn-Washing-Symbols-2_Large400_ID-3350169.png?v=3350169)
