A Peaceful Wild Watercolor
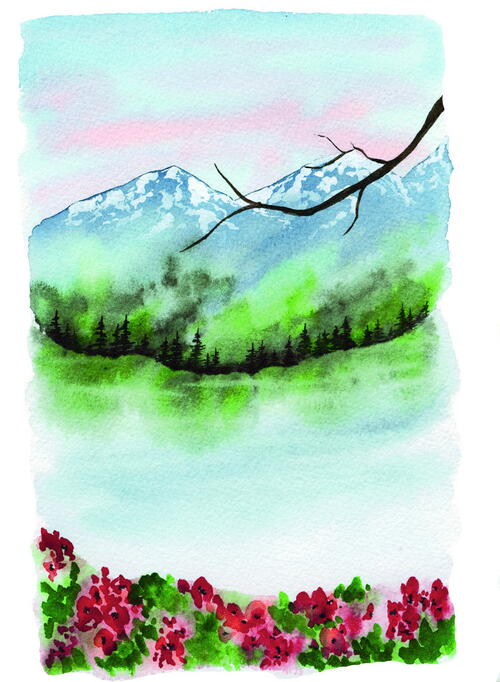
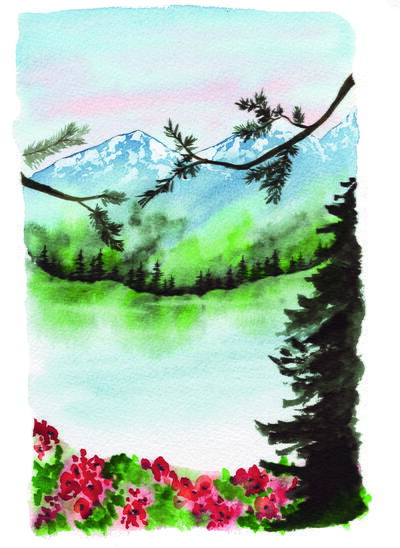
This beautiful nature watercolor DIY is serene and inspiring!
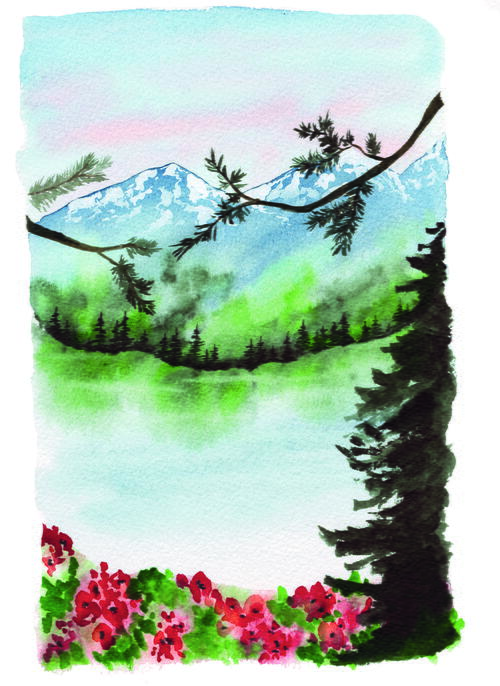
Peace is the word that comes to mind most often when I think about venturing into the wilderness, which is why I go back again and again. For our final project, let’s capture that essence using every element we’ve practiced: a textured sky, mountains, trees, wildflowers, and water. This design isn’t the most complicated, nor is it the most difficult in the book—but for me, it represents why we need the wilderness in the first place.
Main MaterialPaint
Primary TechniquePainting
SUGGESTED COLOR PALETTE:
Prussian Blue, Opera Pink, Indigo, Hooker’s Green, Perylene Green, White Gouache, Permanent Red, Pyrrol Scarlet, Lamp Black, Burnt Umber
STEP ONE: THE SKY
-
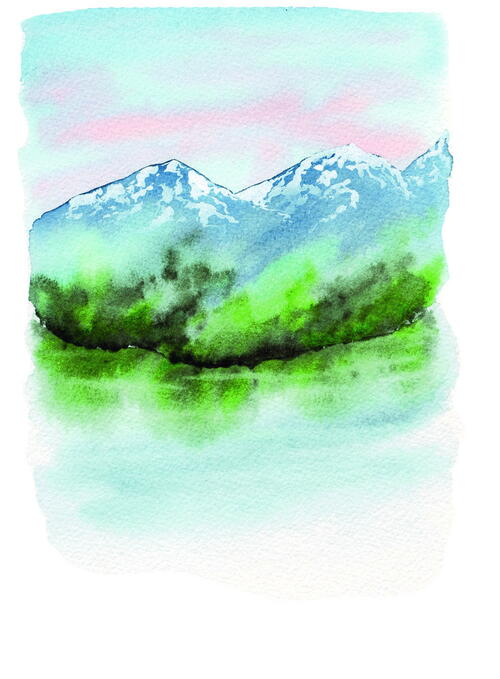
Paint a wash of Prussian Blue for the sky, and while the sky is still wet, add a few strokes of Opera Pink for soft cotton candy clouds. Keep the sky on the top third of your paper. Let dry.
STEP TWO: THE MOUNTAIN
-
Create the first layer of the mountain using a mid-range Indigo, stopping about the middle of the paper. Then, while the mountain is still wet (wet-on-wet technique, page 19), add some blooms of Hooker’s Green and Perylene Green along the bottom of the mountainside for texture and to act as a base layer for the tree line. These blooms can be highly pigmented in places—we want that contrasting texture to add complexity to the mountain forest. Let dry.
-
Next, paint snow on the peaks of the mountain with white gouache. Start with white marks on the peaks, then fan them out from there, getting sparser the farther down the mountain you go. Make sure to leave some blue spaces for depth.
STEP THREE: THE WATER
-
Under the mountain, layer a thin wash of clean water, then use a light color value Prussian Blue to create a subtle base layer for the water.
-
Let dry, then repeat the process with slightly darker blue. While the water is still wet, add a blurry reflection of the trees along the bottom of the mountain. Then, use a damp brush to lift a few lines of pigment and reveal the white space underneath throughout the lake, leaving behind subtle white ripples in the water.
STEP FOUR: THE BACKGROUND TREES
-
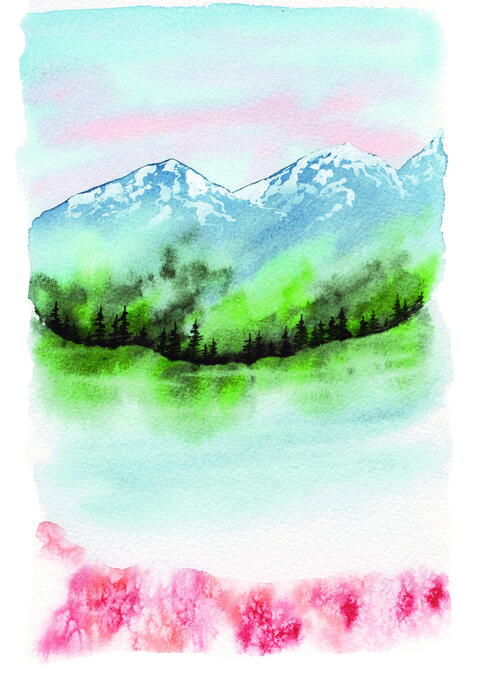
Using the wet-on-dry technique (page 19, painting on dry paper), paint a line of Perylene Green trees where the mountain meets the lake, connecting the two parts of the scene together. These trees should be a dark color value, but not too dark.
STEP FIVE: THE WILDFLOWERS
-
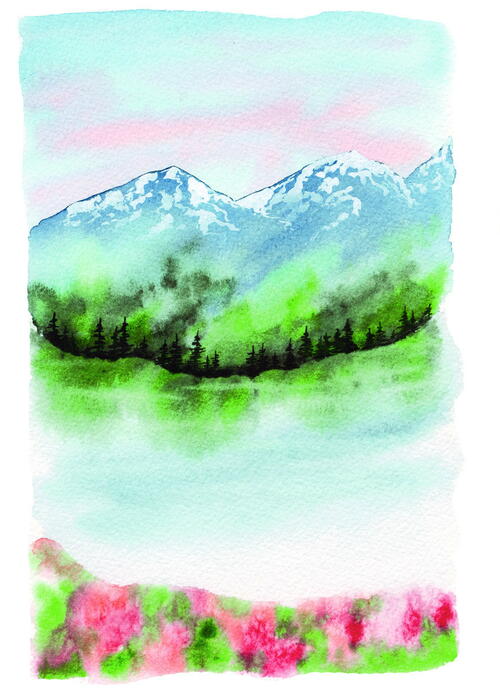
Along the bottom of the scene below the lake, use the wet-on-wet technique to paint the base layer for red and orange wildflowers. Start with a clean wash of water, then tap in blobs of Permanent Red and Pyrrol Scarlet.
-
Optional: While the layer is still wet, sprinkle salt to add a more complex texture. Let dry completely, then wipe away the salt.
-
Re-wet the area, then add wet-on-wet patches of Hooker’s Green around the flower base layer. It may take some manual blending and lifting using a damp brush to ensure the green doesn’t overtake the red and orange patches.
-
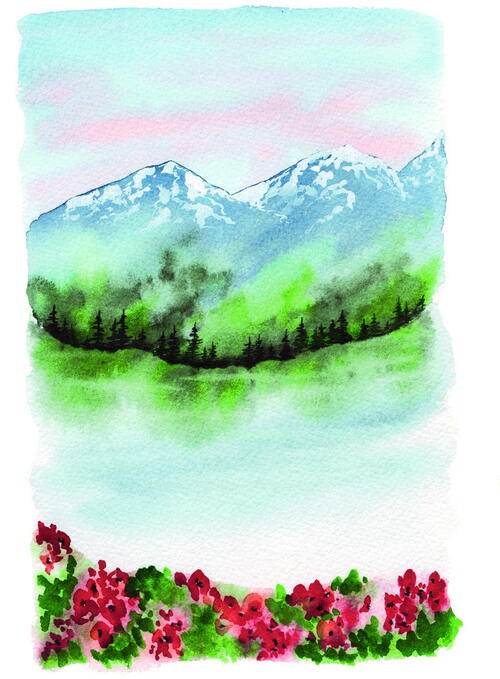
After that layer is dry, paint wet-on-dry blobs of flowers and grass, and then add Lamp Black details in the center of the flowers to complete the flowery riverbank.
STEP SIX: THE FOREGROUND TREES
-
Because nature is never perfect, let’s disrupt this scene with one final detail: branches protruding in the foreground, partially obstructing the mountains. Start with Burnt Umber branches coming down from either side, and then add thin Perylene Green lines for pine needles along part or all of the branch tendrils. Finally, paint part of a pine tree along the side of the scene in Perylene Green.
Read NextThrifty Polka Dot Card Table Set

