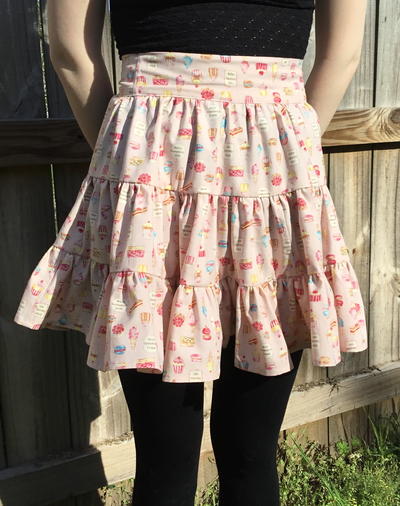
Strawberry Cream Tiered Apron
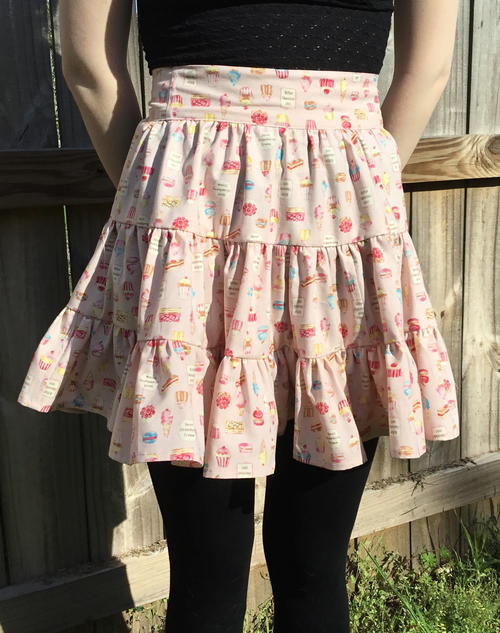
Make an adorable DIY half apron! This darling pattern is almost too sweet to pass up. If you're looking for a girly new apron to wear in the kitchen, this is the perfect option!
From the Designer: "Adorable illustrated sweets adorn this pink cotton novelty fabric, which lends itself to the ruffles of the apron’s tiers. Wear this confection while making confections, or any other cooking or baking you might have to do!"
Estimated CostUnder $10
Time to CompleteIn an evening
Main MaterialFabric
Primary TechniqueSewing

Project TypeMake a Project
Sewn byMachine
Materials List
- 1 yd cotton print fabric, 42” – 45” wide
- 6” ruler
- Rotary cutter and mat or scissors
- Coordinating thread
- Tailors chalk or other fabric marking method of your choice
Instructions:
-
Square up fabric.
-
Trim off both selvedge edges.
-
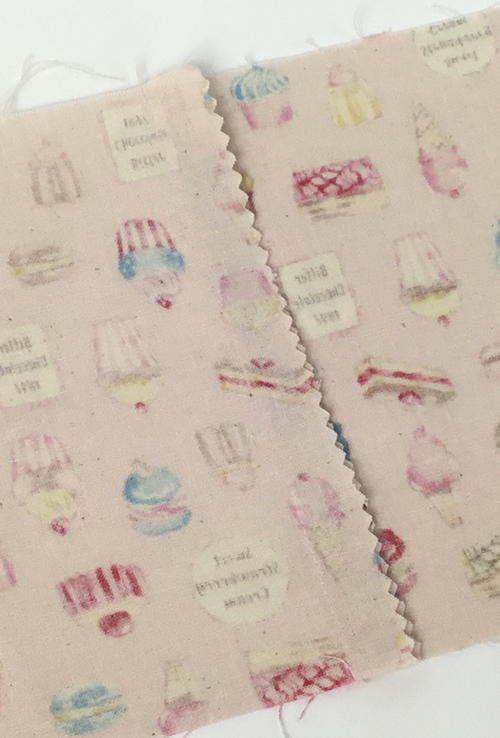
Cut fabric into six pieces that are 6” tall by full width of fabric.
-
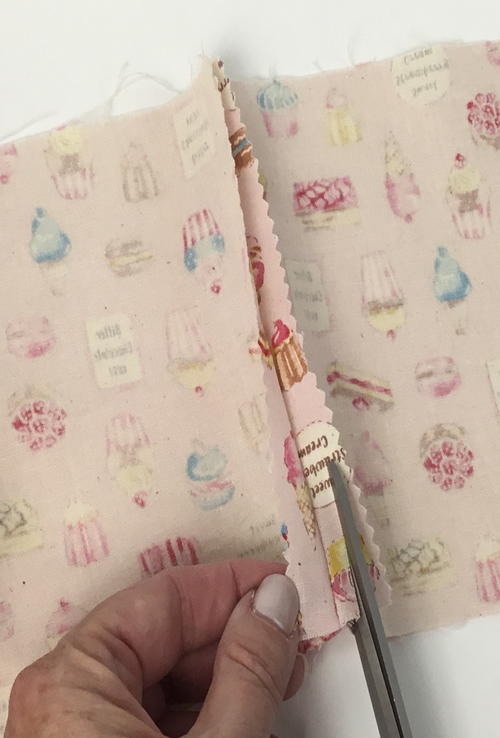
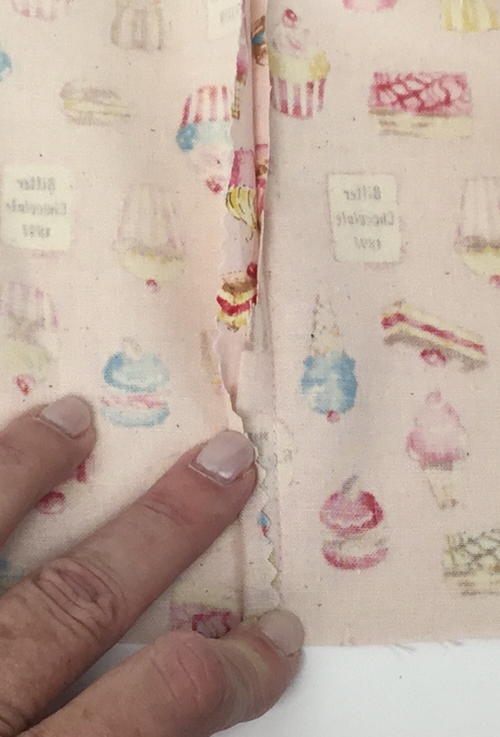
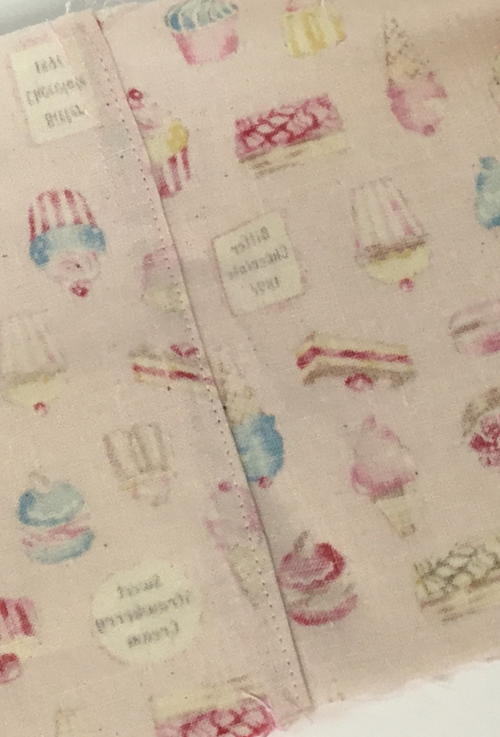
Line up the cuts short end to short end and sew into one long piece using flat-felled seams.
-
Cut long strip into pieces as follows, letting the flat-felled seams fall where they may:
Top Tier: 25"
Middle Tier: 50"
Bottom Tier: 100" -
Set remaining fabric aside for sash.
-
Mark center of each strip at top and bottom.
-
Make a mark 2 ½” in from each short end at top of each tier.
-
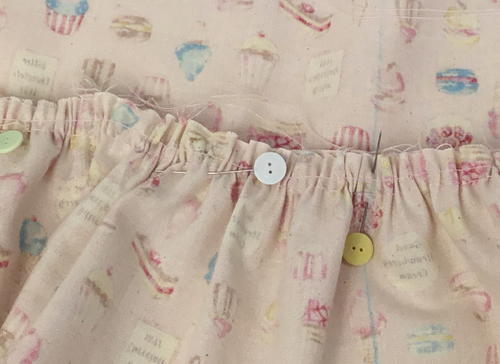
Using a basting stitch, run two lines of stitching ¼” apart near top edge of each tier, beginning and ending at the 2 ½” marks.
-
Make a ¼” rolled hem at bottom of third tier.
-
Gather Top Tier until it measures 18” across at top edge.
-
Gather Middle Tier until it measures 25” across at top edge.
-
Gather Bottom Tier until it measures 50” across at top edge.
-
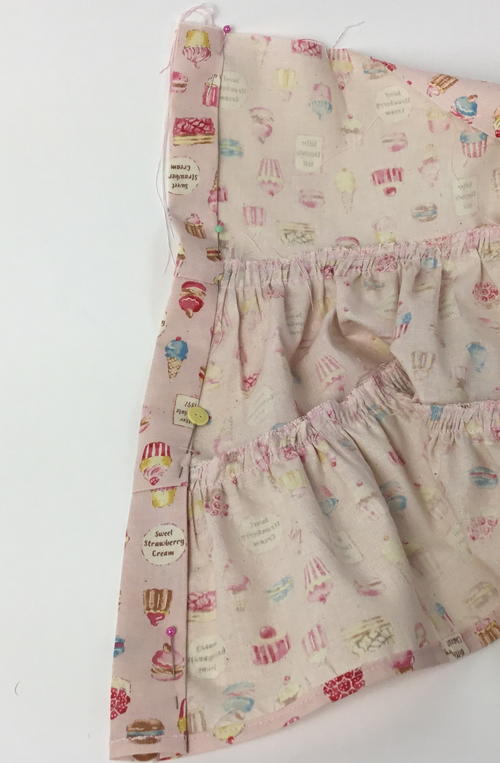
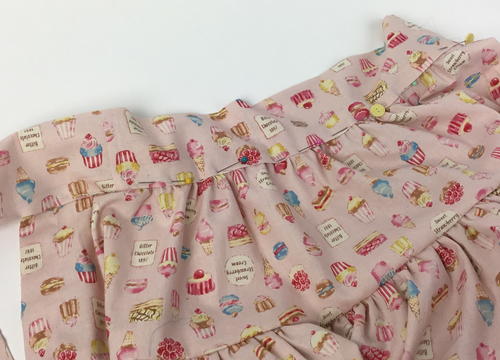
Right sides facing, and matching center marks and side edges, pin Middle Tier to Top Tier, and Bottom Tier to Middle Tier, adjusting gathers as needed to make them look even.
-
Stitch Tiers together.
-
Optional: For the sake of durability, if you have access to an overlock machine feel free to overlock the Tier seams, or zig zag over them with your regular sewing machine if you wish.
Side Hems:
-
Press under 1 ½” of fabric on each side towards the back.
-
Press under ½” of fabric and top stitch into place for a 1” finished side seam.
Sash:
-
With right sides facing, fold remaining strip together lengthwise, mark the center.
-
NOTE: It’s possible, if you are making this for someone with a tiny waist, that you have a sash that’s too long. Feel free to cut off any extra now, and put the leftovers in your scrap stash, or use some to make a patch pocket.
-
Mark 7 ½” out from each side of center mark.
-
NOTE: This makes the apron fabric 15” wide. If that seems too wide or not wide enough for the person meant to wear the apron, feel free to adjust the opening!
-
Cut each short side to a 90 degree angle as shown in photo.
-
Sew each side of Sash from end of point to mark before center mark. This will leave a 15” opening.
-
Clip the corners at the points, turn the Sash right side out, and press, pressing the seam allowances of the 15” opening towards the opening on each side.
-
Insert the assembled Tiers into the opening, just far enough to cover the gathering stitches, and pin into place.
-
Topstitch all the way around the Sash, starting at either point.


More Fabulous Craft Ideas for You
One craft project we love to recommend for our readers who enjoy creating Strawberry Cream Tiered Aprons is making a matching set of kitchen accessories. Consider crafting a coordinating pot holder, oven mitt, and dish towel featuring the same strawberry and cream color scheme. These kitchen essentials will not only brighten up your cooking space but also make wonderful handmade gifts for friends and family.
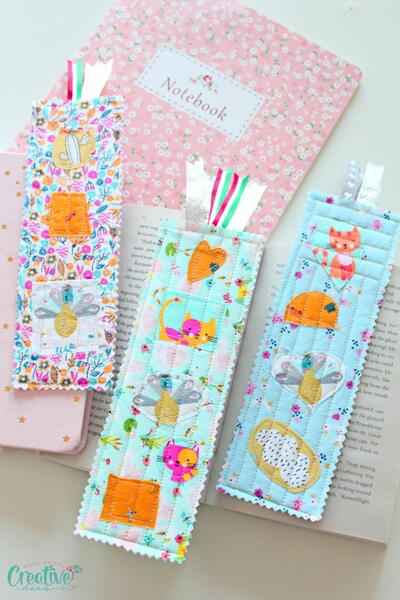
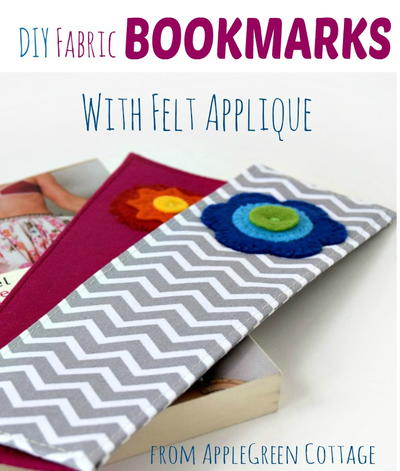
Another fun project for fans of the Strawberry Cream Tiered Apron is to create a set of fabric bookmarks. Use scraps of the same fabric from your apron to make charming bookmarks that can be given as thoughtful gifts or kept for yourself to use while diving into your favorite books. Add a touch of embroidery, buttons, or lace trim for an extra special touch.
If you're looking for a larger project to showcase your love for the Strawberry Cream Tiered Apron, why not try making a reversible tote bag with pockets? This practical and stylish bag can be used for grocery shopping, carrying your crafting supplies, or as a chic everyday carryall. Customize the size and pocket placement to fit your needs and showcase your favorite fabric prints. Enjoy making these projects and embracing your creativity in the world of crafting!

